How to install iPod cable (with pics)
#1
 03-23-2010, 11:20 PM


I have been searching on how to install the iPod cable in the Outlander and I couldn't find any decent how to. I bought the iPod cable and did it myself today and it took me about 20 minutes. it is not very difficult.
The part I wasn't sure of was how to remove the vents to the right and left of the MMCS.
Here is how to do it step by step:
1. Obviously you have to buy the cable. The one I got is MZ360221EX. It has the proper iPod connector and not the Aux connector.
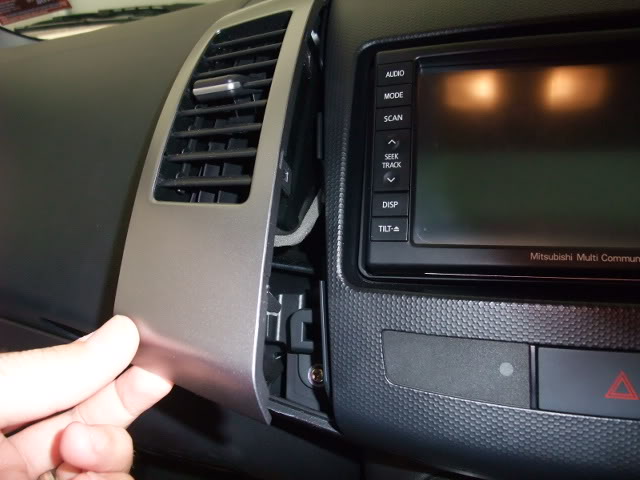
2. Remove the vents to the right and left of the MMCS. There is four pins that holds the vent inplace. Use something that is thin enough and push in in underneath the vent.
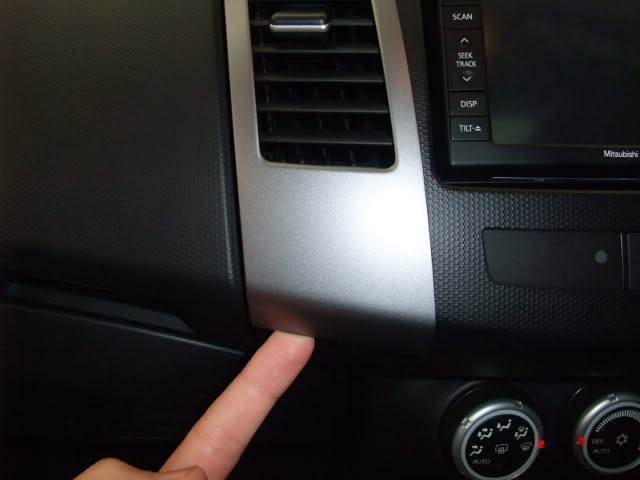
Lift the bottom out and then the top.
This is what the pins at the bottom look like:
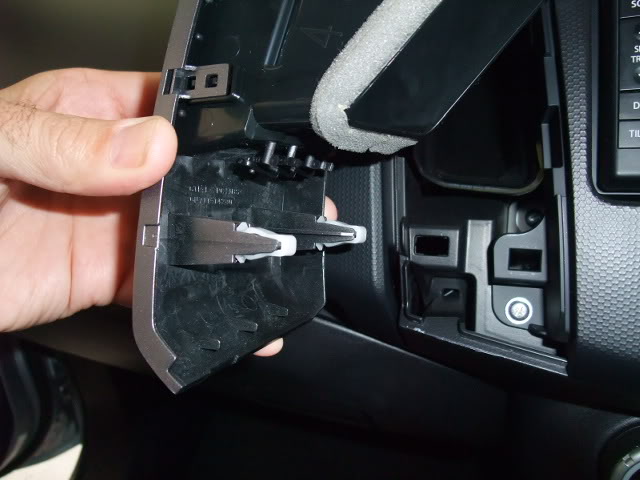
3. Do the same for the other side so that both vents are removed.
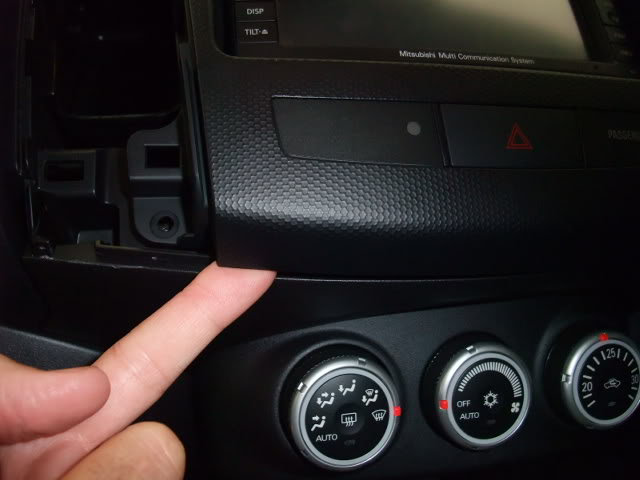
4. Next you have to remove the cover around the MMCS. It is held in place with a few clips that is the same as the ones on the vents. Again, use something flat and separate the bottom first.
5. Lift the bottom and pull FORWARD, not too far up. The top pins should go out forward and not up.
Watch out for the control wires at the bottom so that you don't damage them.
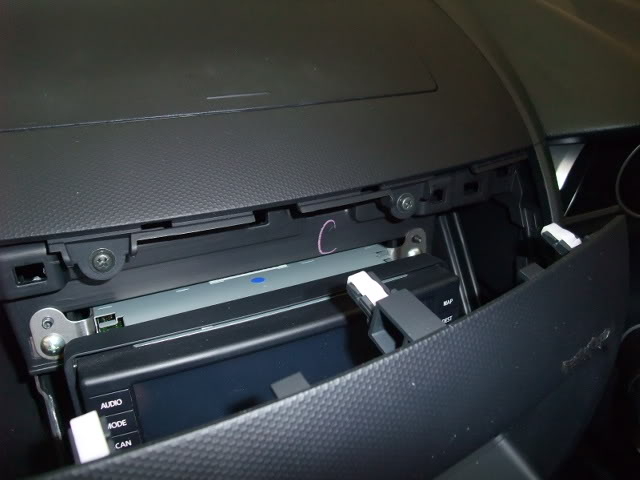
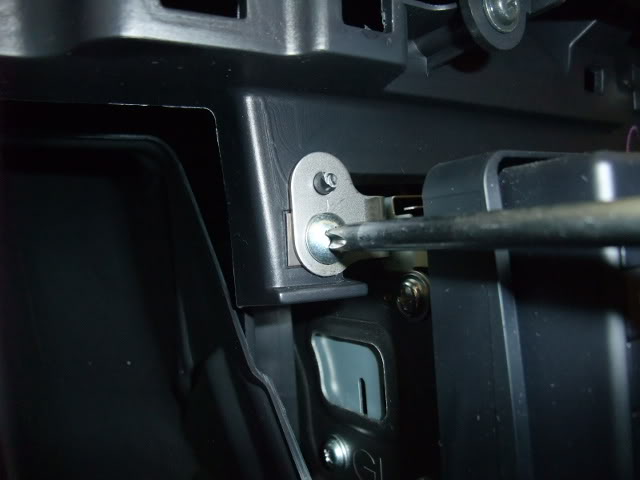
6. The next thing is to remove the MMCS itself. It is retained by four screws. Two on the left and two on the right. Remove the four screws as show below.

...and now the top...
7. Now that the MMCS is loose, pull it forward to remove it. Be careful that you do not damage the wires connected to the back.

The hard part is done now.
8. Just connect the round DIN type connector from the cable onto the MMCS at the back as show on the connection diagram that came with the cabe.
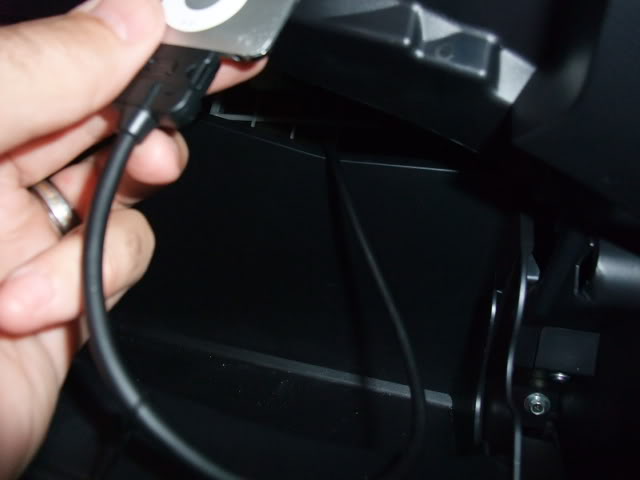
9. Route the cable through the rear of the dashboard to the glove compartment. There is ample space for the cable and almost enough to get your hand through.
I have my cable coming down to the left of the MMCS at the back and into glove compartment. For the guys with left-hand drives, you will take it down to the right.
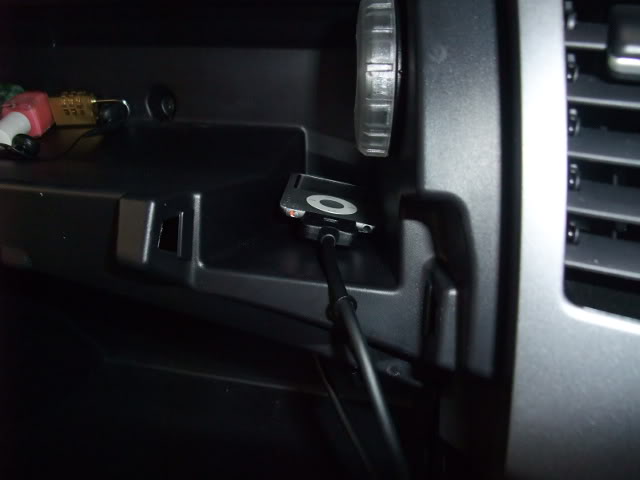
If you want to put the iPod in the box above the glove box, there is enough space for the cable not to pinch it. Just make sure you stay clear of the holes for the lid pins.
10. Just put the MMCS back and screw in the four retaining screws.
11. Put the cover around the MMCS back and clip in the pins. Slide the top in first and then the bottom.
12. Clip back the two vents starting with the top and then the bottom.
Your should be done now and ready to test out your iPod.
On the MMCS Audio window, "iPod" will be grayed out until the iPod is physically connected. All control functions can be done from the MMCS and nothing on the iPod itself.
I connected my wife's iPhone and it didn't recognize the cable as an genuine cable, so it didn't charge, but the music still worked.
Good luck...
The part I wasn't sure of was how to remove the vents to the right and left of the MMCS.
Here is how to do it step by step:
1. Obviously you have to buy the cable. The one I got is MZ360221EX. It has the proper iPod connector and not the Aux connector.
2. Remove the vents to the right and left of the MMCS. There is four pins that holds the vent inplace. Use something that is thin enough and push in in underneath the vent.
Lift the bottom out and then the top.
This is what the pins at the bottom look like:
3. Do the same for the other side so that both vents are removed.
4. Next you have to remove the cover around the MMCS. It is held in place with a few clips that is the same as the ones on the vents. Again, use something flat and separate the bottom first.
5. Lift the bottom and pull FORWARD, not too far up. The top pins should go out forward and not up.
Watch out for the control wires at the bottom so that you don't damage them.
6. The next thing is to remove the MMCS itself. It is retained by four screws. Two on the left and two on the right. Remove the four screws as show below.
...and now the top...
7. Now that the MMCS is loose, pull it forward to remove it. Be careful that you do not damage the wires connected to the back.
The hard part is done now.
8. Just connect the round DIN type connector from the cable onto the MMCS at the back as show on the connection diagram that came with the cabe.
9. Route the cable through the rear of the dashboard to the glove compartment. There is ample space for the cable and almost enough to get your hand through.
I have my cable coming down to the left of the MMCS at the back and into glove compartment. For the guys with left-hand drives, you will take it down to the right.
If you want to put the iPod in the box above the glove box, there is enough space for the cable not to pinch it. Just make sure you stay clear of the holes for the lid pins.
10. Just put the MMCS back and screw in the four retaining screws.
11. Put the cover around the MMCS back and clip in the pins. Slide the top in first and then the bottom.
12. Clip back the two vents starting with the top and then the bottom.
Your should be done now and ready to test out your iPod.
On the MMCS Audio window, "iPod" will be grayed out until the iPod is physically connected. All control functions can be done from the MMCS and nothing on the iPod itself.
I connected my wife's iPhone and it didn't recognize the cable as an genuine cable, so it didn't charge, but the music still worked.
Good luck...

#3
03-24-2010, 12:15 AM

Thanks for the writeup! Just so people know, the Kenwood kca-ip500 or its clones are compatible with the system. The clones are compatible to varying degrees (cheapest ones don't control/do text).
Last edited by ivanz; 03-24-2010 at 12:19 AM.


#7
03-24-2010, 08:39 PM
Probably not easy to get it online. Call your local dealer and get them to order it...or order the one I mentioned from eBay (make sure its genuine if you want it to have 100% control/functionality as the original part).
#8
03-25-2010, 10:45 AM
thanks...
#10
03-25-2010, 01:55 PM
There are 81 listings for kca-ip500 on ebay.com. You can call other dealers from around the country and have them charge on your credit card and ship it to you if you want the original OEM part.