evotastic.ca 600whp Drag Evo


Thread Starter
|
Junior Member
Joined: Jan 2012
Posts: 26
From: Ottawa, ON, Canada
Hi all, this project was started more than a year ago. I will be posting up some content to get up to date on where I'm currently standing, slowly  .
.
I am trying to build a 600whp, Evo 1. The early evos run the same engines as dsm's (mostly), and I found it may be fitting to have it here. If you're interested in following me further, you can follow me on twitter @eevotastic
Thanks!
Exhaust & Back

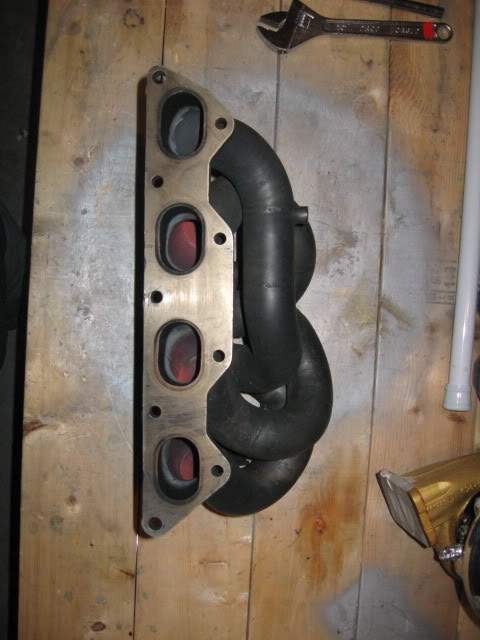
The overly technical setup was built not to bottleneck the turbo. If a 59mm compressor gets maxed out on the .55 A/R DSM housing, it might be a wise idea to go for a bigger exhaust housing if the compressor size is increased by 3mm. Also, a 62mm turbo will have considerably slower spool than your average 16G. Add to that the size of the T3 setup, and you�ll be lucky to spool before midnight. In comes the divided T3, equal length, ceramic coated tubular manifold. It includes two 44mm gate ports, to hopefully gain some spooling RPM. Read more
Stay tuned
.I am trying to build a 600whp, Evo 1. The early evos run the same engines as dsm's (mostly), and I found it may be fitting to have it here. If you're interested in following me further, you can follow me on twitter @eevotastic
Thanks!
Exhaust & Back
The overly technical setup was built not to bottleneck the turbo. If a 59mm compressor gets maxed out on the .55 A/R DSM housing, it might be a wise idea to go for a bigger exhaust housing if the compressor size is increased by 3mm. Also, a 62mm turbo will have considerably slower spool than your average 16G. Add to that the size of the T3 setup, and you�ll be lucky to spool before midnight. In comes the divided T3, equal length, ceramic coated tubular manifold. It includes two 44mm gate ports, to hopefully gain some spooling RPM. Read more
Stay tuned
Thread Starter
|
Junior Member
Joined: Jan 2012
Posts: 26
From: Ottawa, ON, Canada
For those asking, pics of the car can be seen @ flickr.com/photos/evotastic
Shortblock

Nothing overlooked on the block. Some say the rods I chose are not big enough, but we shall see. The block was built by one of the best builders, with plenty 700hp builds under their belt. I wish I had pictures to show of the build process, but unfortunately I don�t. The block that I used is the original one, which is a �93, 7bolt block.
Read more
Shortblock
Nothing overlooked on the block. Some say the rods I chose are not big enough, but we shall see. The block was built by one of the best builders, with plenty 700hp builds under their belt. I wish I had pictures to show of the build process, but unfortunately I don�t. The block that I used is the original one, which is a �93, 7bolt block.
Read more
Thread Starter
|
Junior Member
Joined: Jan 2012
Posts: 26
From: Ottawa, ON, Canada

Thread Starter
|
Junior Member
Joined: Jan 2012
Posts: 26
From: Ottawa, ON, Canada
Transmission

In deciding what will hold the power, I settled for the biggest and baddest manual trans available. With the exception of going with an automatic transmission or a dogbox, there is no stronger transmission. As ran on John Shepherd’s 1000whp + 7 second dragster, should take me far enough. They don’t say whether the trans grenaded itself right after that pass or shortly after, but let’s hope it doesn’t ever auto destruct. Chose to go with a 4 spider center differential over a welded diff for the sake of city driving. Shepherd rates the 4 spider to around 600whp, which is right on my goal. We’ll see when I get there whether I regret this. Also chose all the fancy options. Evo 3 1st gear & input shaft, which is a taller gear. Evo 3 fifth gear, which is also taller. May assist in not bursting my eardrums on the highway. REM ISF (whatever that does…).
The Stage 4 is our best trans without going to our dog box. We exclusively ran this trans in our 8 second Talon. This trans comes standard with a locked center diff so it is more tailored for those weekend warriors but a 4 spider can be added for daily drivers. With a properly working clutch this trans will shift at 10,000 rpms with ease. This upgrade replaces all of the 1-4 internals and shafts and has a custom ratio 3-4 to keep the rpms up between shifts and through the traps. For those wanting to run the stage 4 and retain drive-ability we can substitute a 4 spider for an additional charge.
- New Shep Trans Spec 2nd Gear
- New 1-2 Hub/Sleeve kit with Double Synchro Rings
- New 5th Gear Synchro Rings
- New 1-2-3-4- 5-R Synchro Springs
- New Input, Output, and both Drive Shaft Seals
- New Input Shaft Bearings
- New Intermediate Gear Bearings
- New Roll Pins
- New End Nuts
- New Center Diff Side Shims
- New Nylon Shifter Pad
- Shims for setting preload
- New 1st Gear and Input Shaft
- New double Synchro 3rd and 4th gear
- Double 3-4 Synchros
- New Intermediate Shaft
- Heavy Duty Shift Rails
- Upgraded Rare Earth Magnet
- Bead Blasted Case
- REM ISF� Process
- 4 spider center differential
- EVO III first gear and input shaft
- EVO III 5th gear
Thread Starter
|
Junior Member
Joined: Jan 2012
Posts: 26
From: Ottawa, ON, Canada
Initially wanted to go for a 2.4, had gotten a great shape 7bolt crank from a local, from a mitsu expo. Turned out I changed my mind for the highest revving 2.0L. 2.4 would have worked well with the rev limitations of ECMLink v3 Lite, but didn't wanna bother w/ any machine work.
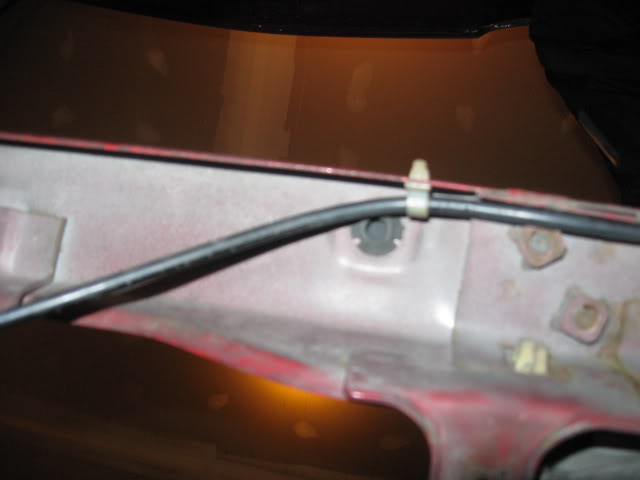
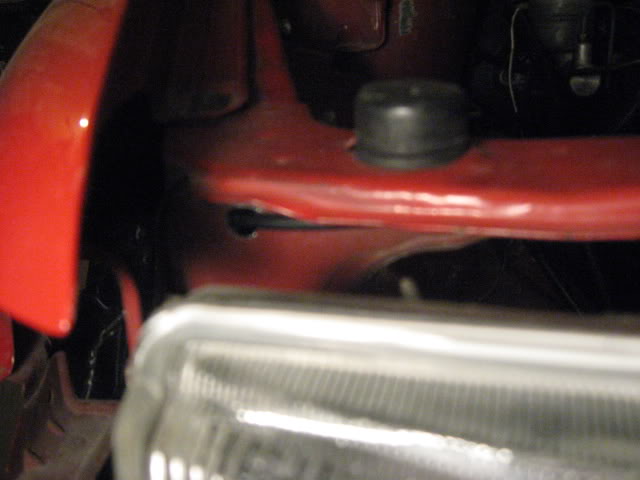
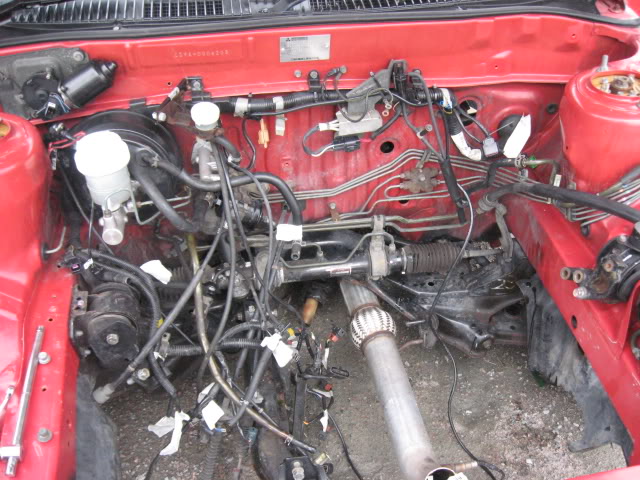
In doing the wire tuck, notice you can hide the hood latch cable by routing it along the side and past the fusebox cable hole, to the front and under the top beam if you drill a small hole to route it like so. Some of the outside pics include this mod, you can see it is well hidden under & you can reuse the OEM clips, just flip em backwards.
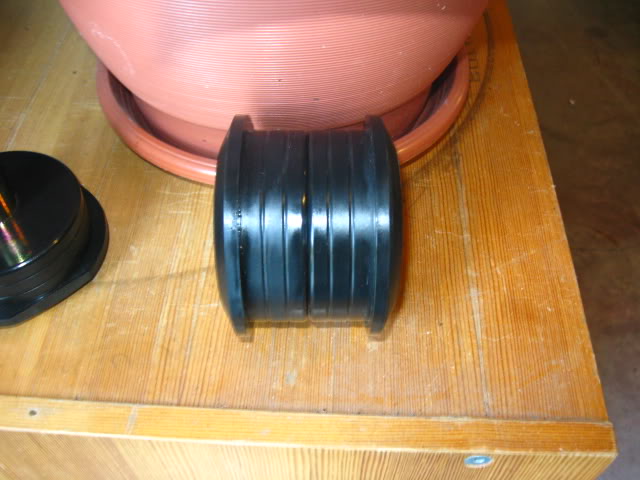
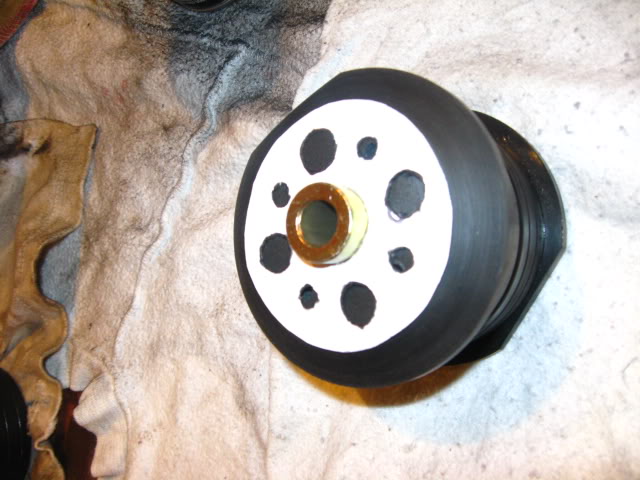
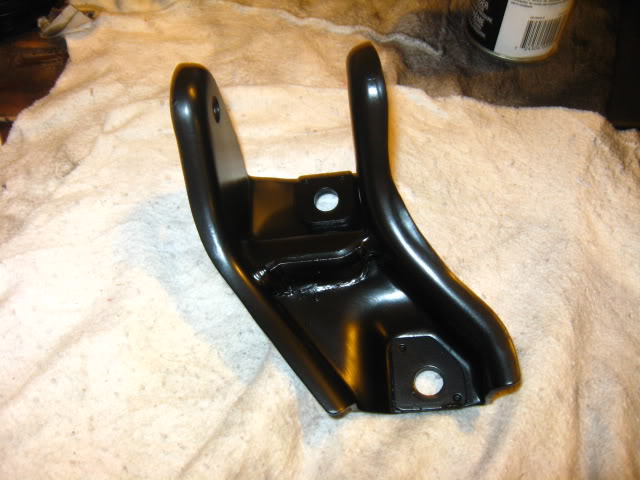
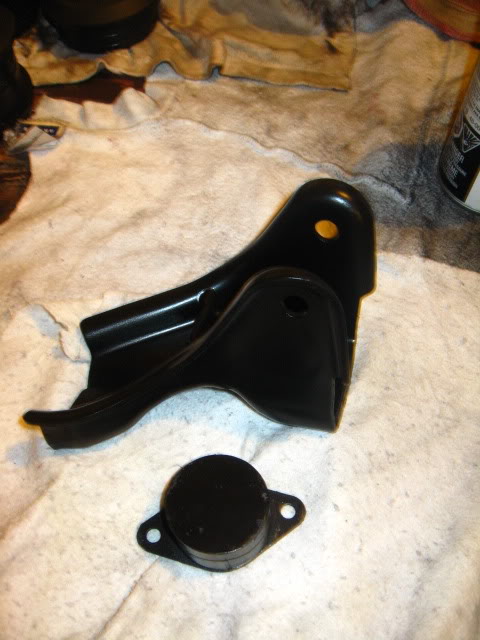
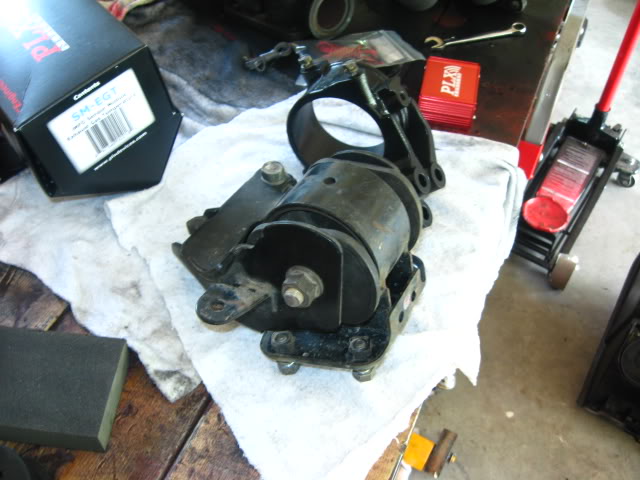
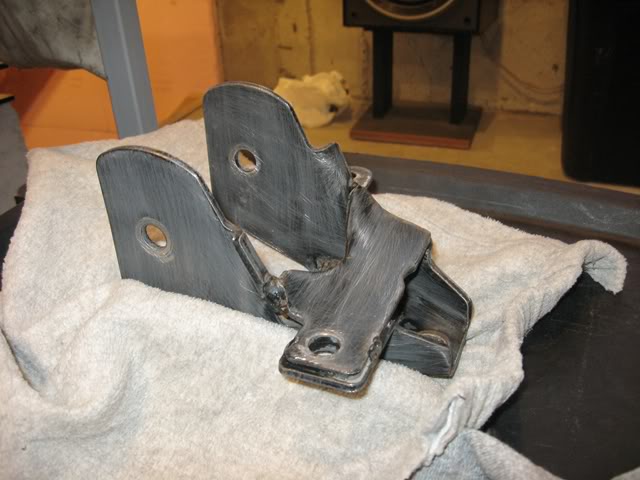
Poly mounts for the side, made a template to drill some holes in them, hoping to reduce some of the vibration created by them. Started but not finised, have yet to buy a drill bit that size. Actual metal mounts getting a shot of black.

Before & After
JMFab Mani, ceramic coated, EGT + twin 44mm ports
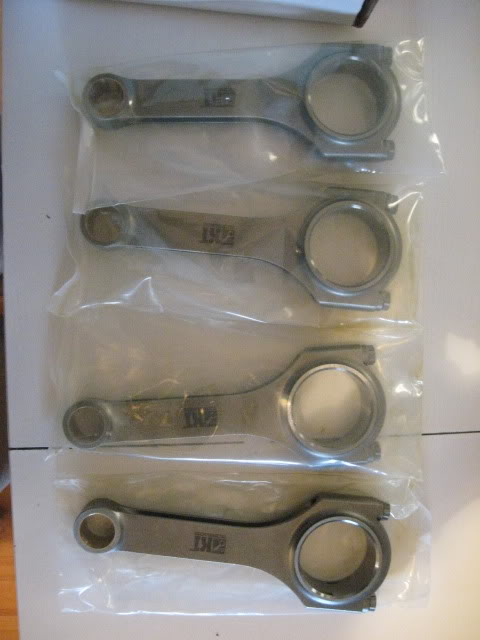
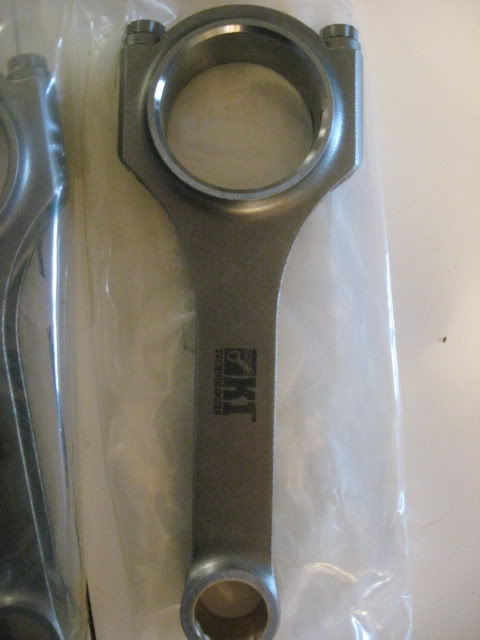
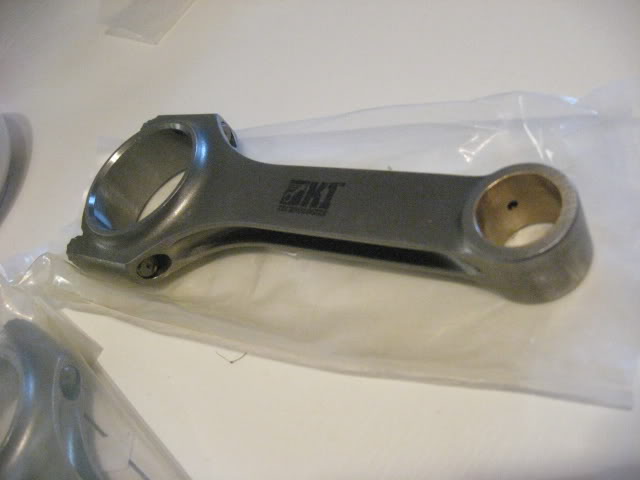
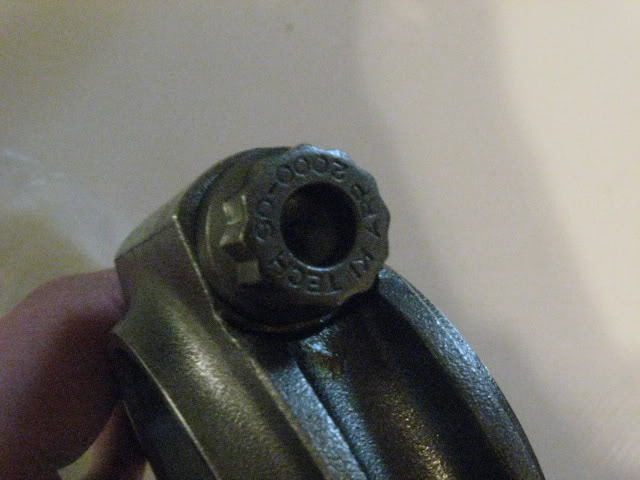
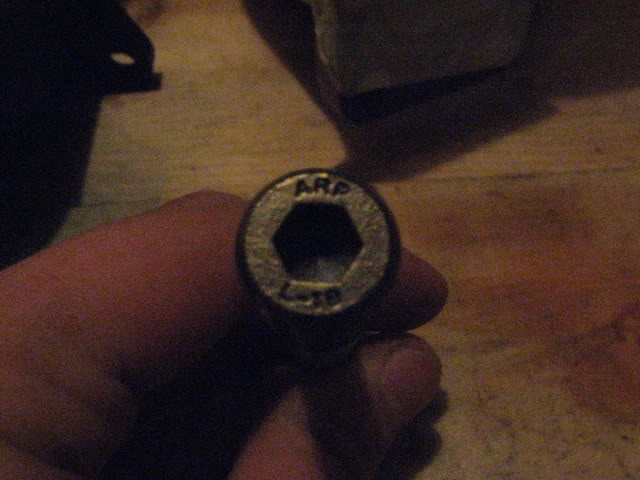
Block hardware: K1 150mm rods, L19 headstuds, ARP 8740 mains, ARP 2000 rod bolts
rods
In doing the wire tuck, notice you can hide the hood latch cable by routing it along the side and past the fusebox cable hole, to the front and under the top beam if you drill a small hole to route it like so. Some of the outside pics include this mod, you can see it is well hidden under & you can reuse the OEM clips, just flip em backwards.
Poly mounts for the side, made a template to drill some holes in them, hoping to reduce some of the vibration created by them. Started but not finised, have yet to buy a drill bit that size. Actual metal mounts getting a shot of black.
Before & After
JMFab Mani, ceramic coated, EGT + twin 44mm ports
Block hardware: K1 150mm rods, L19 headstuds, ARP 8740 mains, ARP 2000 rod bolts
rods
Thread Starter
|
Junior Member
Joined: Jan 2012
Posts: 26
From: Ottawa, ON, Canada
L19 Head Bolts
Random outside pics & inside. Inside was spray painted w/ black plastic & leather paint. You can see the difference between the door handle and the rest of the door.
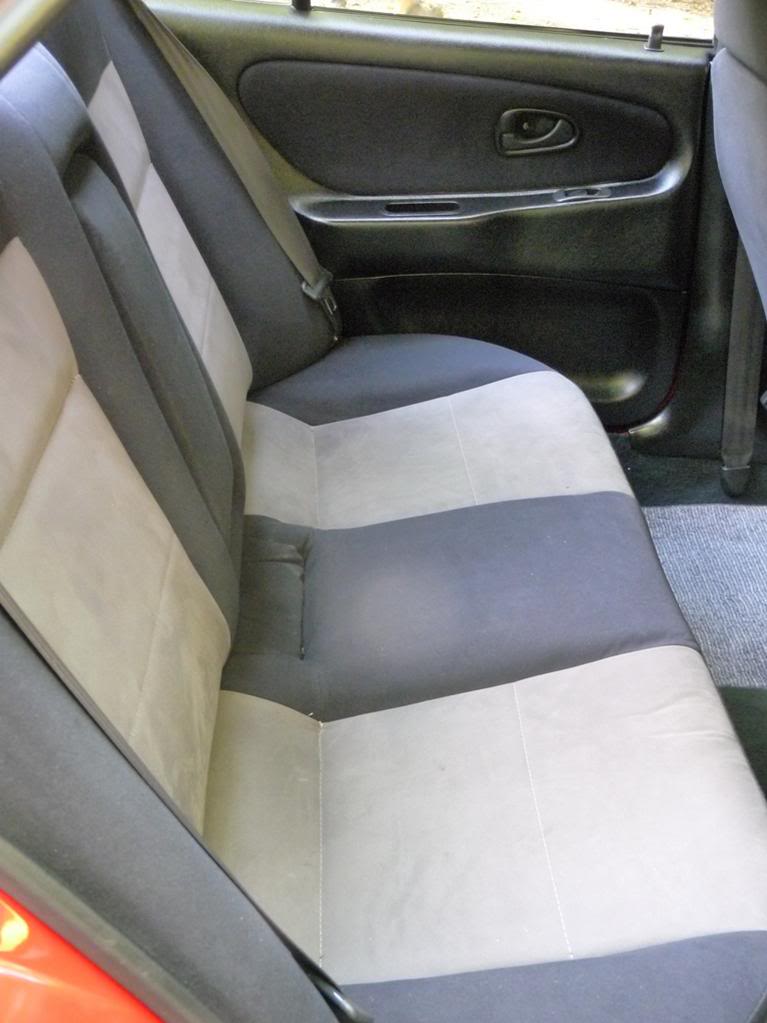
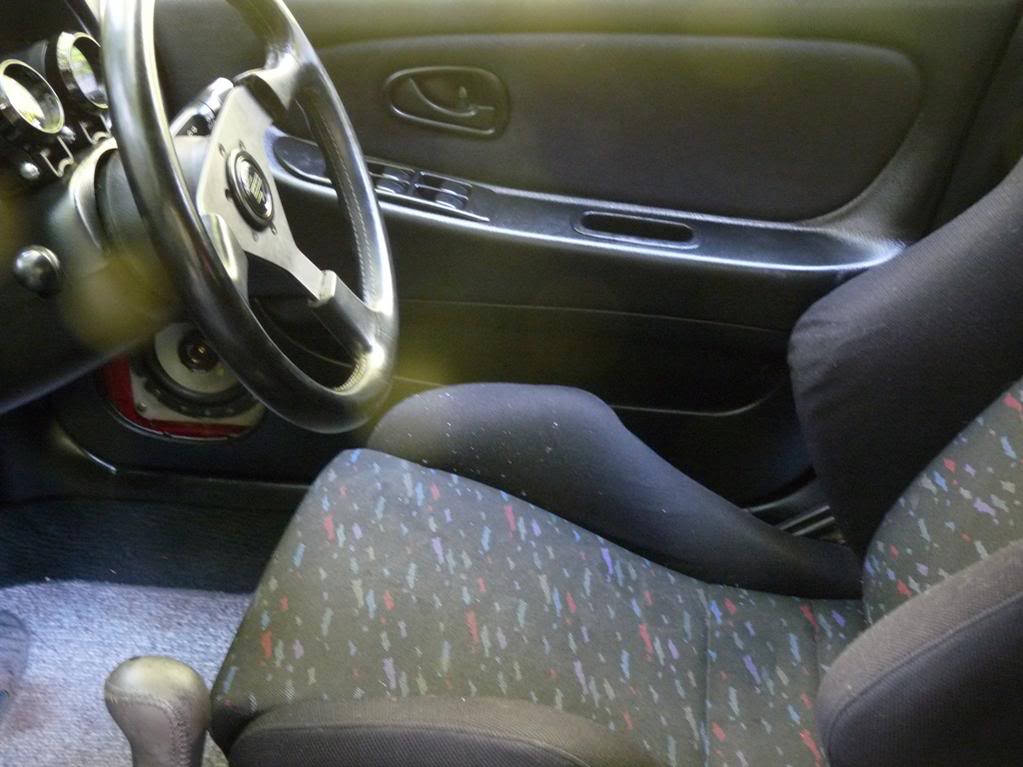
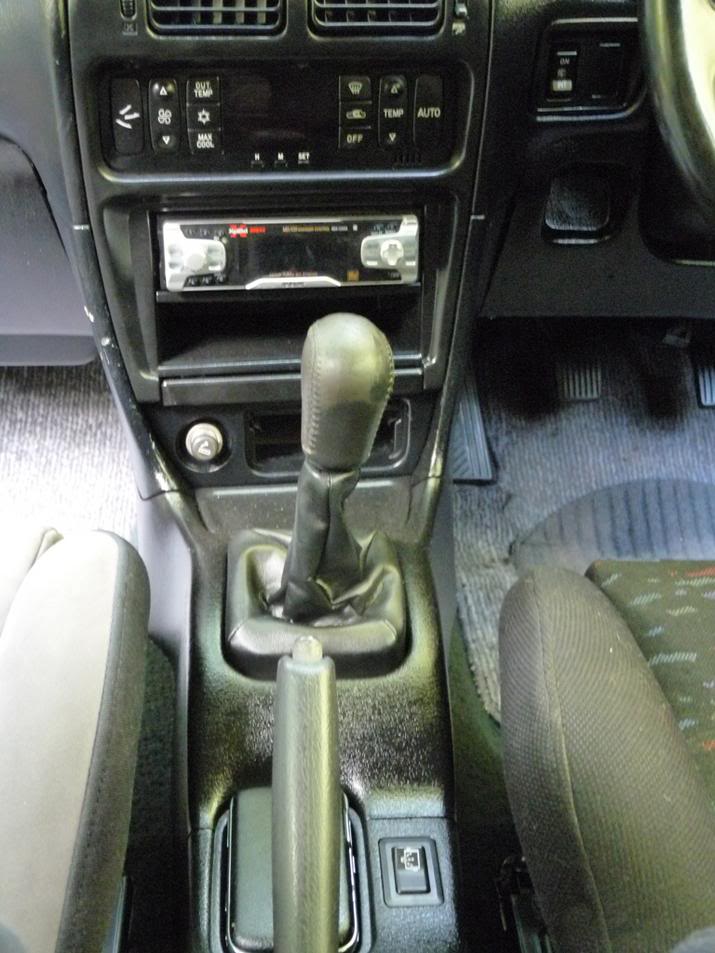
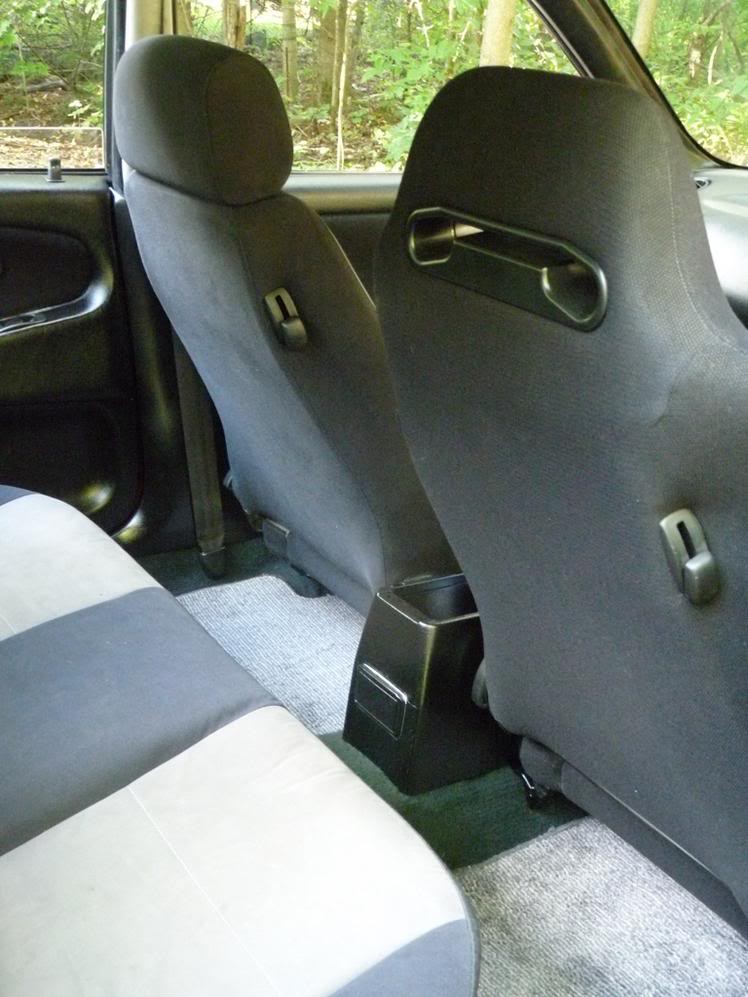
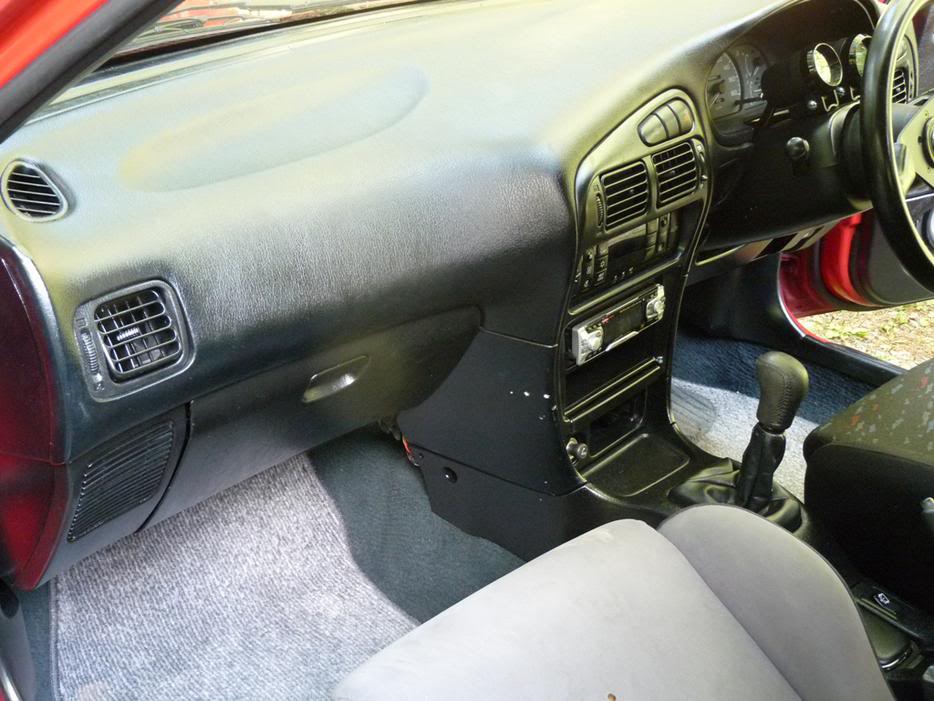
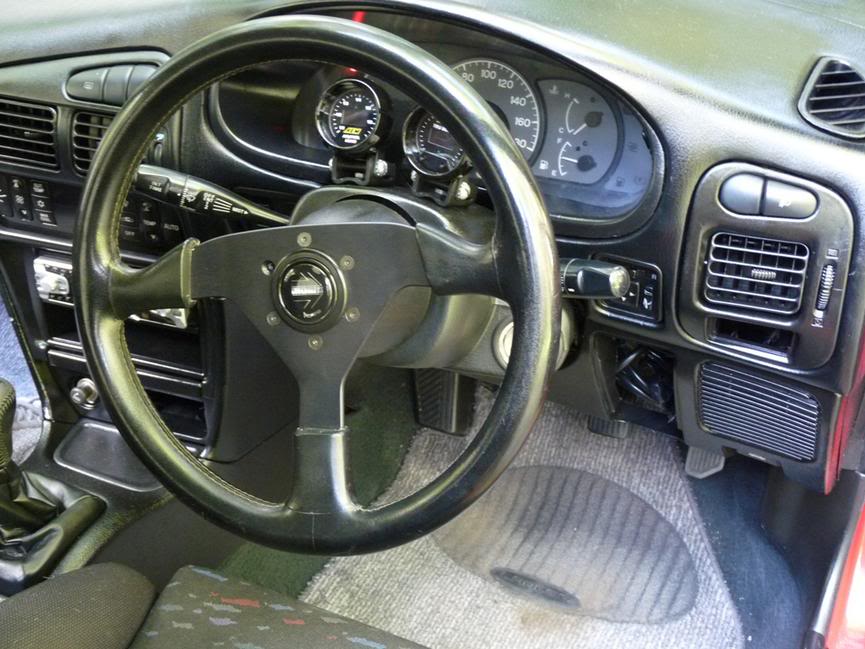
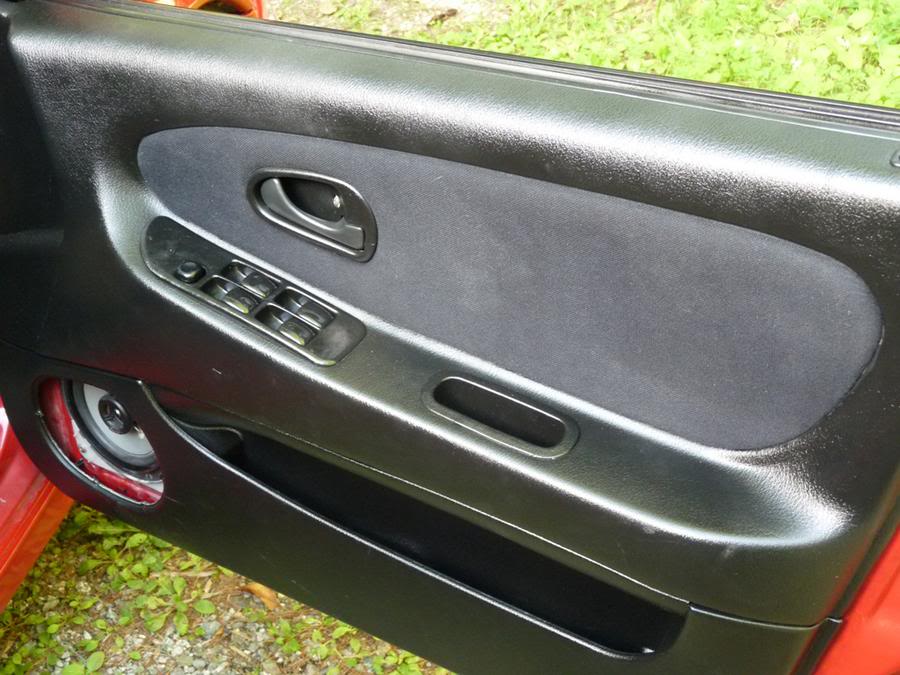
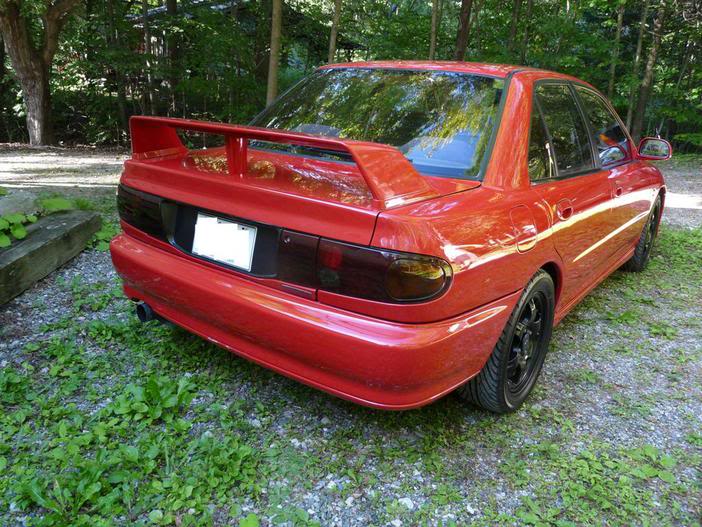
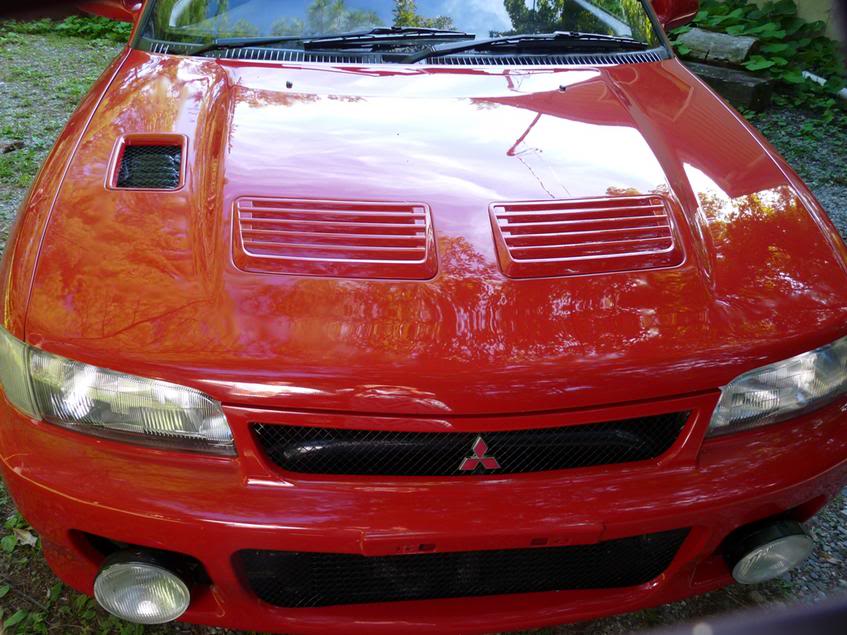
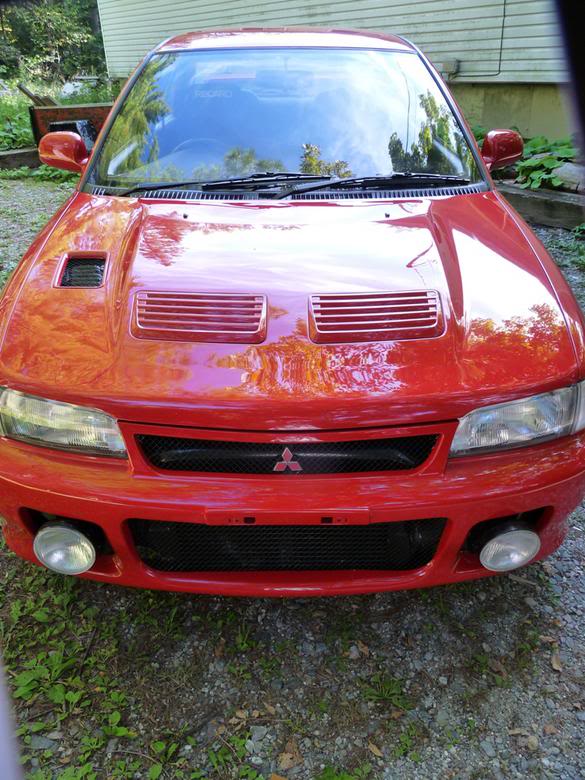
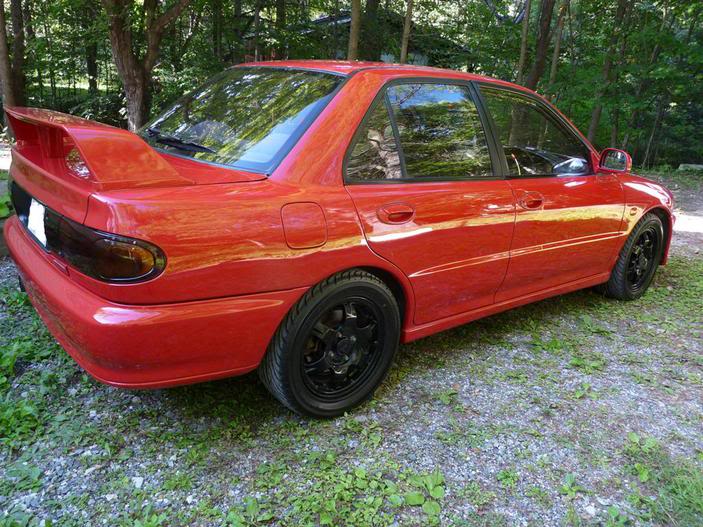
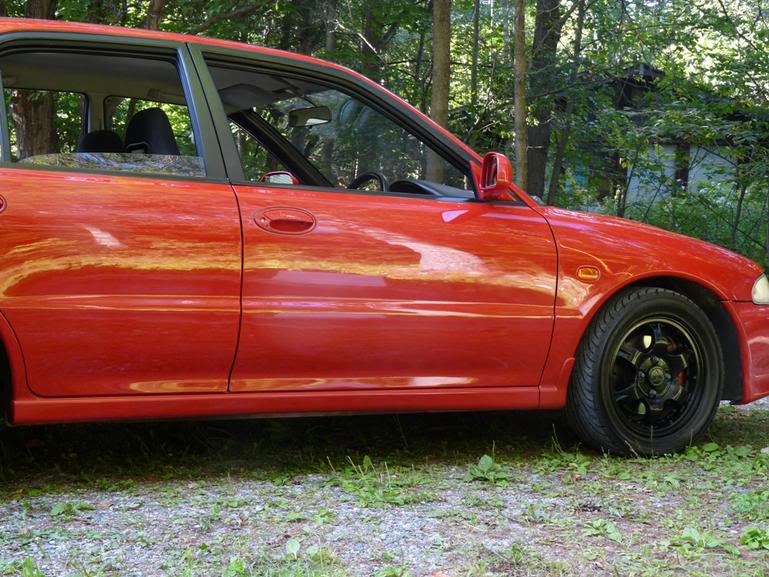

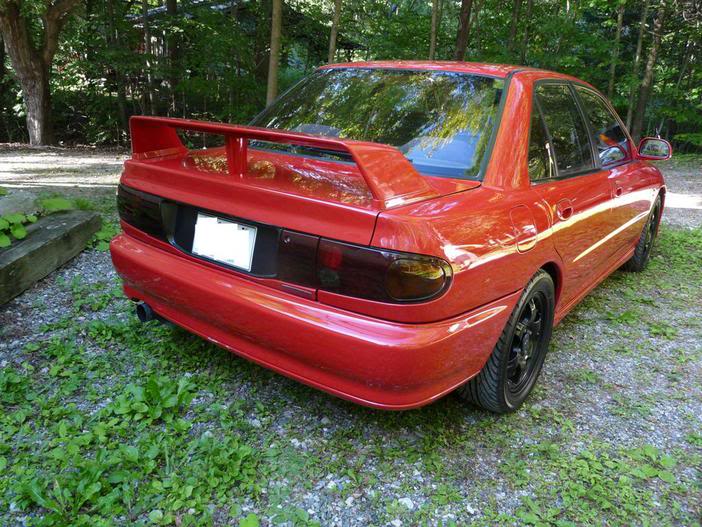

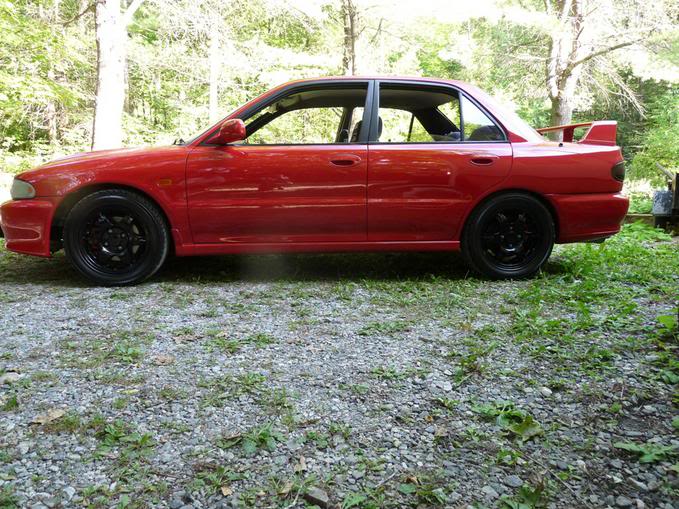
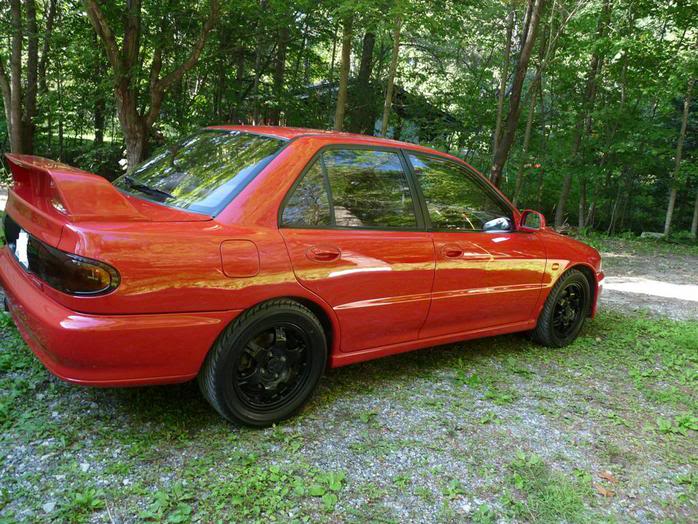
Random outside pics & inside. Inside was spray painted w/ black plastic & leather paint. You can see the difference between the door handle and the rest of the door.
Thread Starter
|
Junior Member
Joined: Jan 2012
Posts: 26
From: Ottawa, ON, Canada
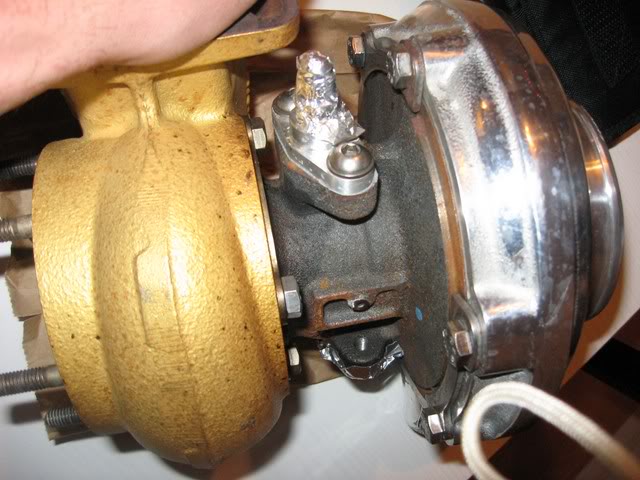
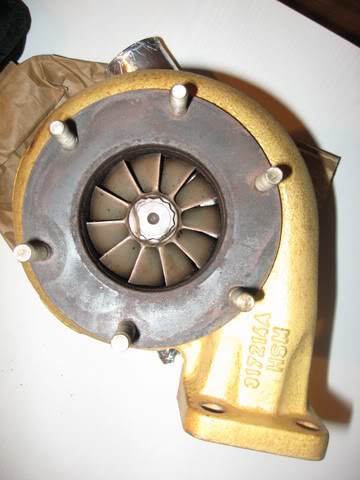
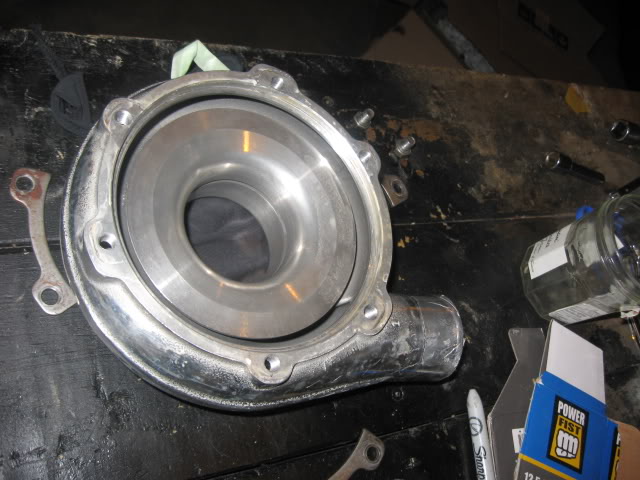
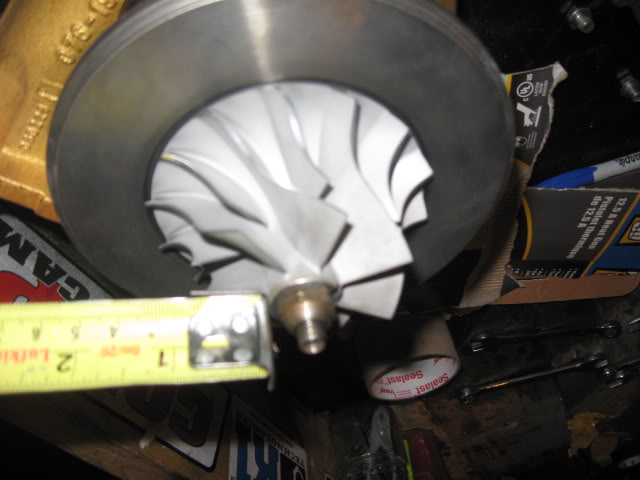
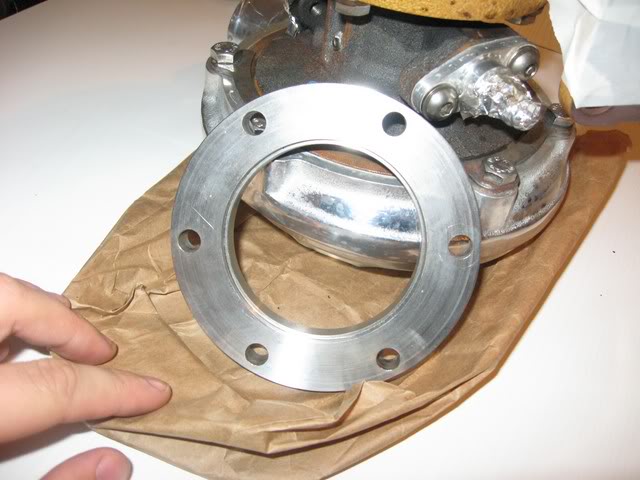
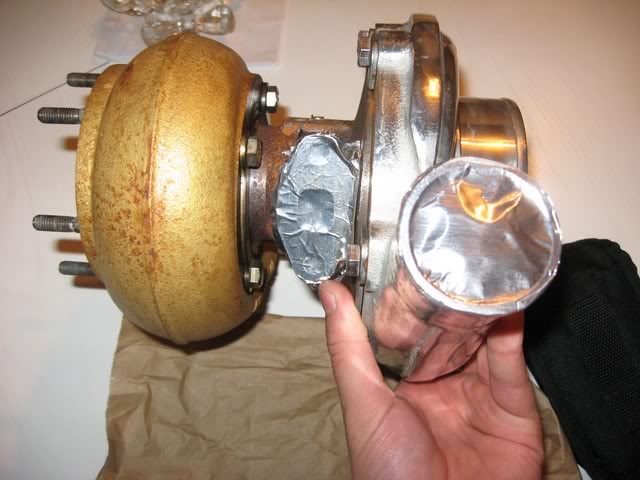
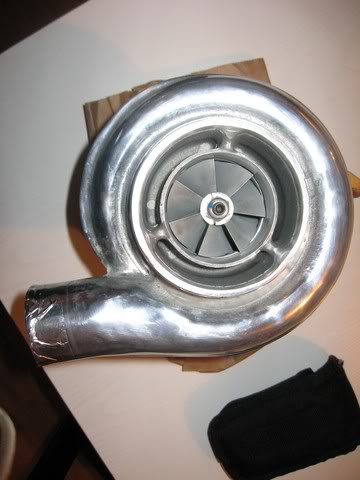
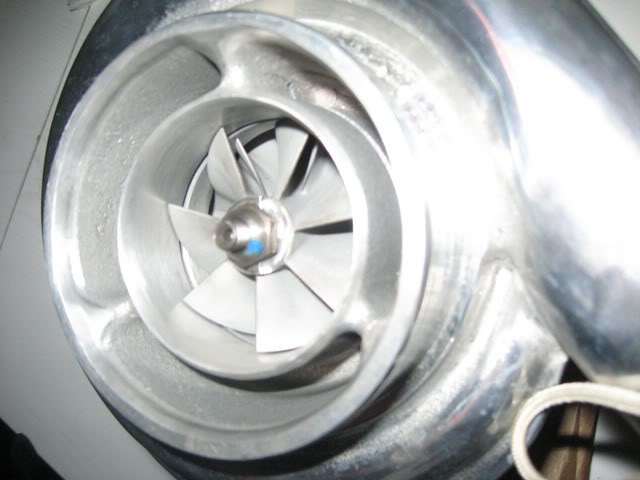
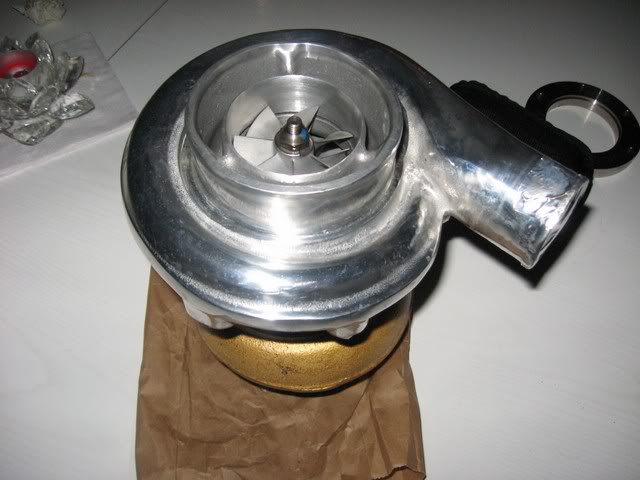
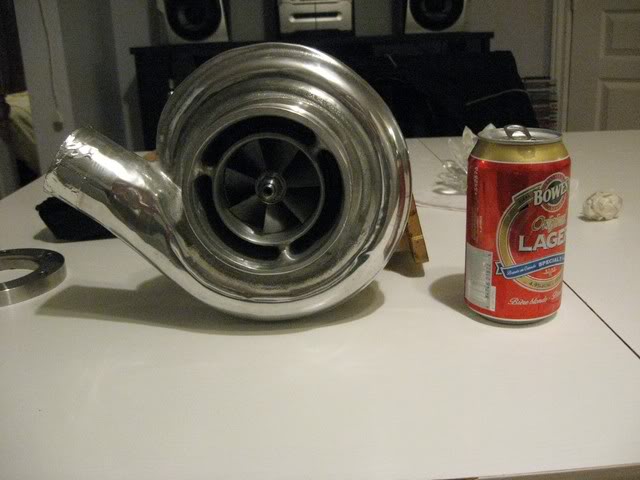
What will hopefully bring me to 600whp. According to BEP, the 259 billet comp wheel CAN make 600whp on a T3 exh housing. What I have is a cast 362 comp wheel and hopefully it will reach it. Otherwise, I will either switch the S262 for a S362, or attempt to reach my goals w/ the newer BatMoWheel billet comp wheels.


-
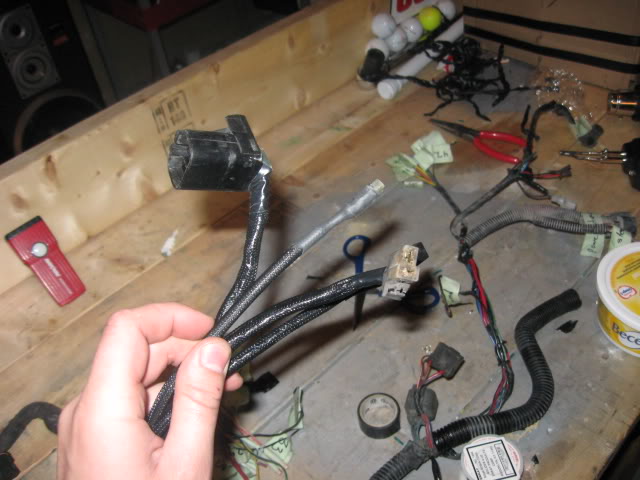
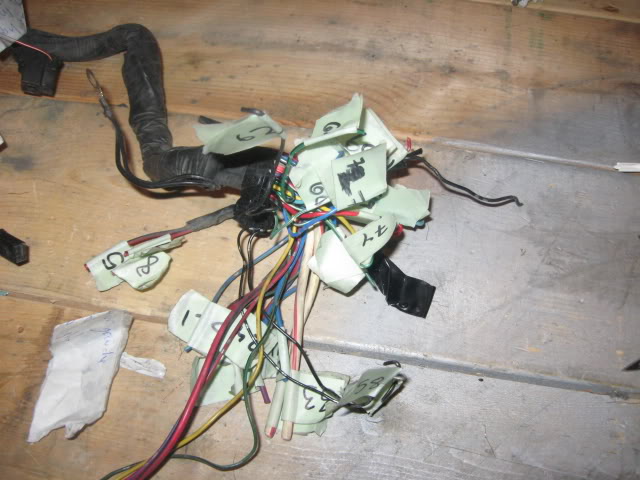
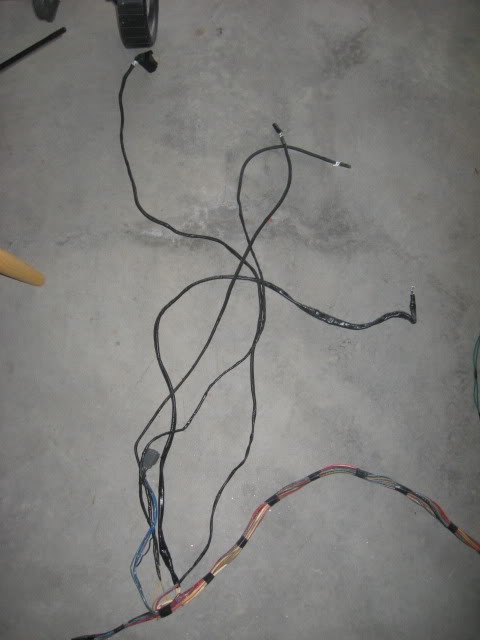
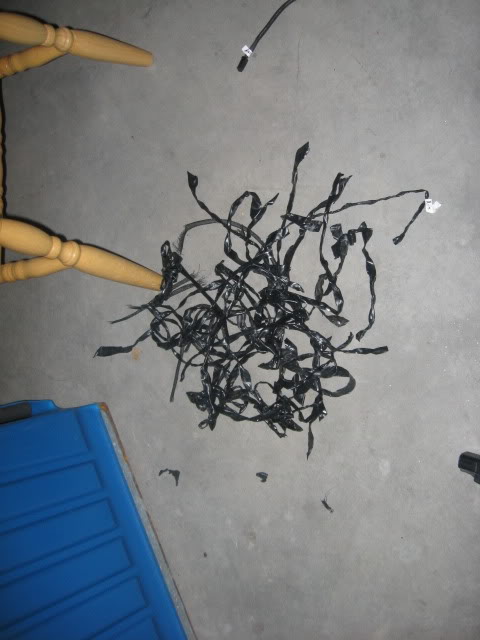
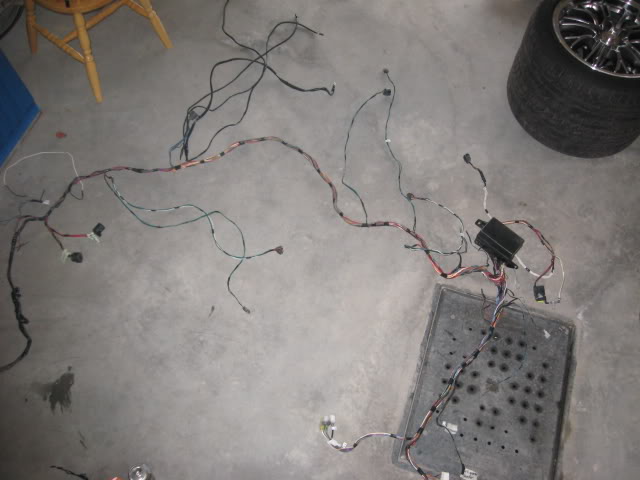
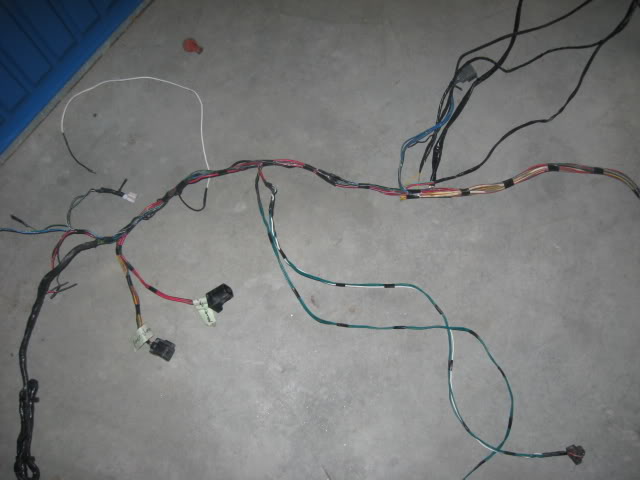
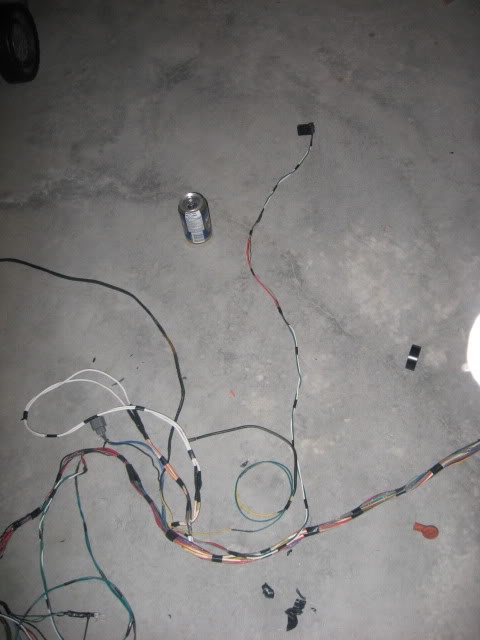
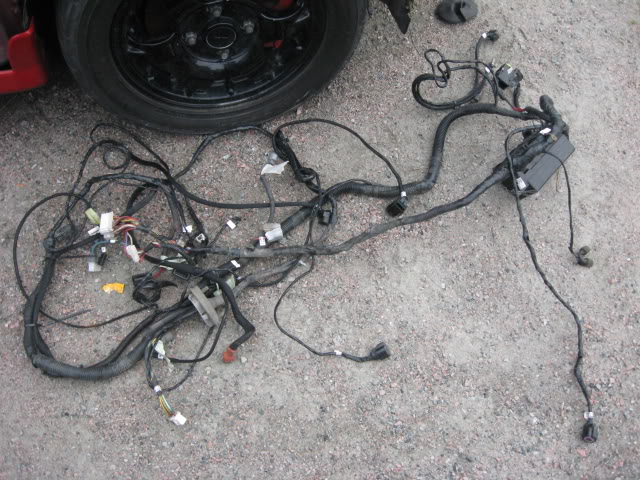
My initial wire tuck. Decided to do it right & relocate the fusebox inside the car. Will also remove all un-used wires, which I hadn't done earlier.


-
My initial wire tuck. Decided to do it right & relocate the fusebox inside the car. Will also remove all un-used wires, which I hadn't done earlier.
Thread Starter
|
Junior Member
Joined: Jan 2012
Posts: 26
From: Ottawa, ON, Canada
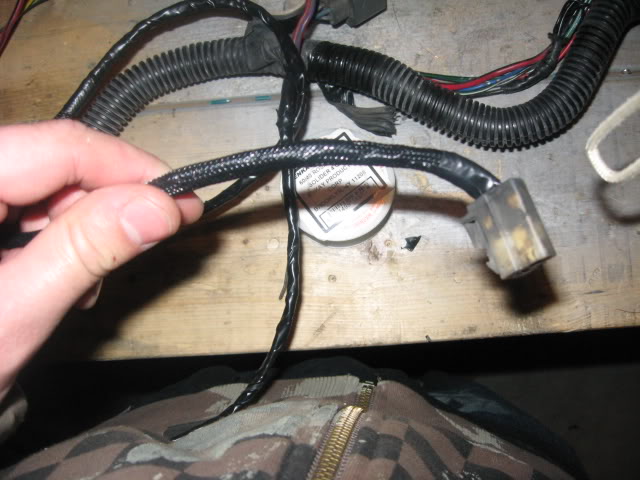
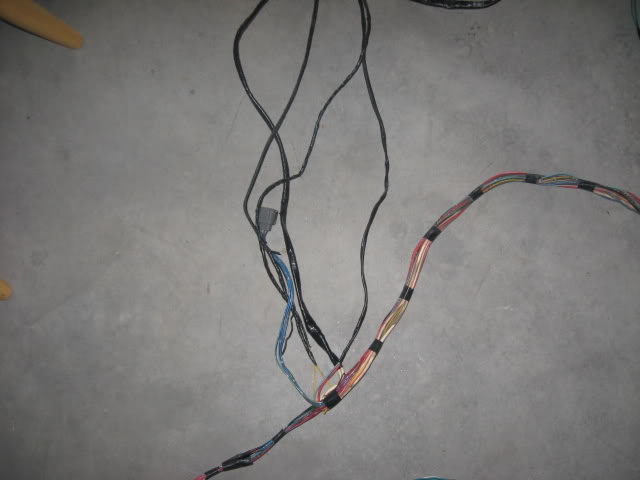
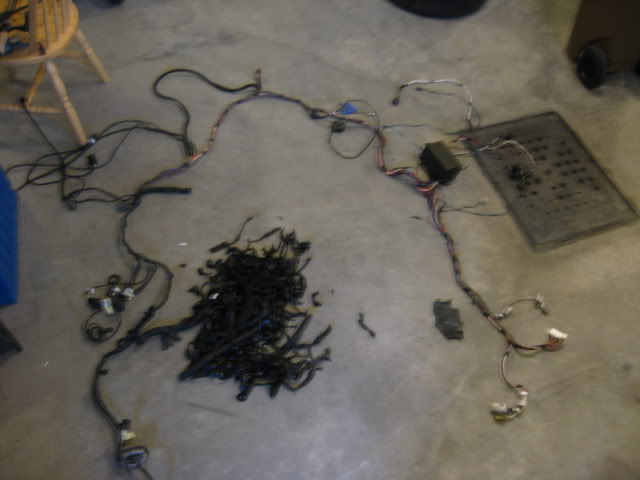
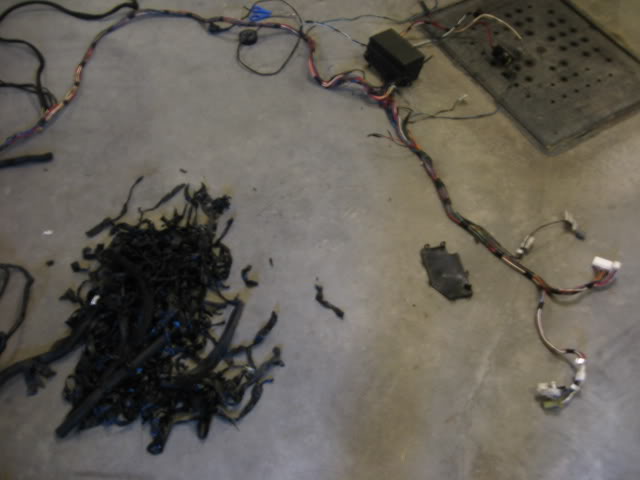
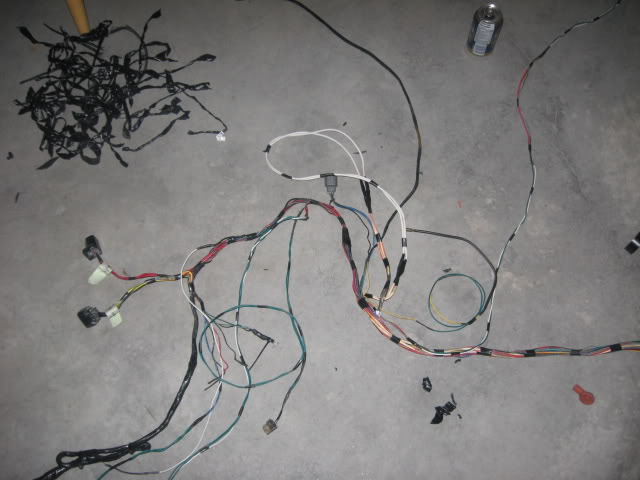
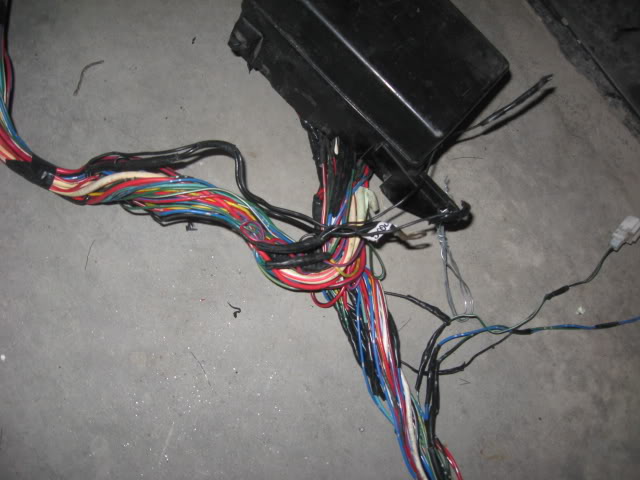
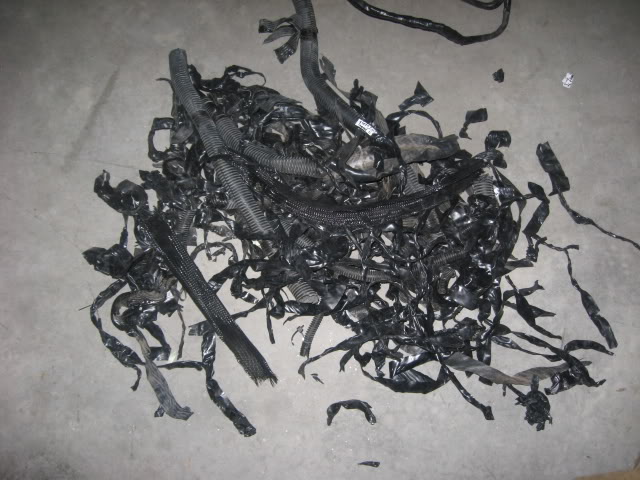
The actual wiretuck, complete re-wiring.
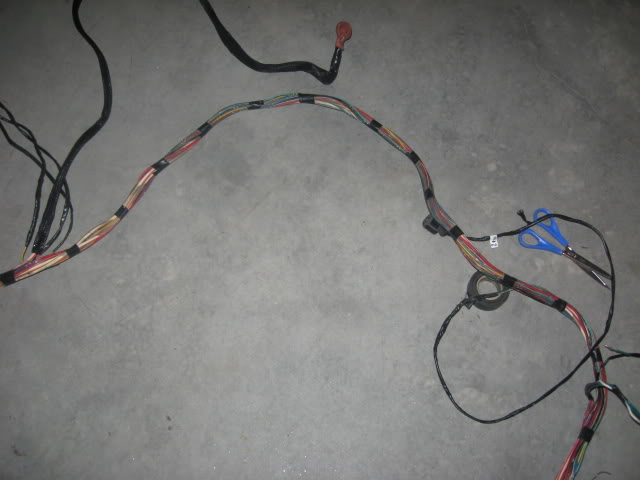
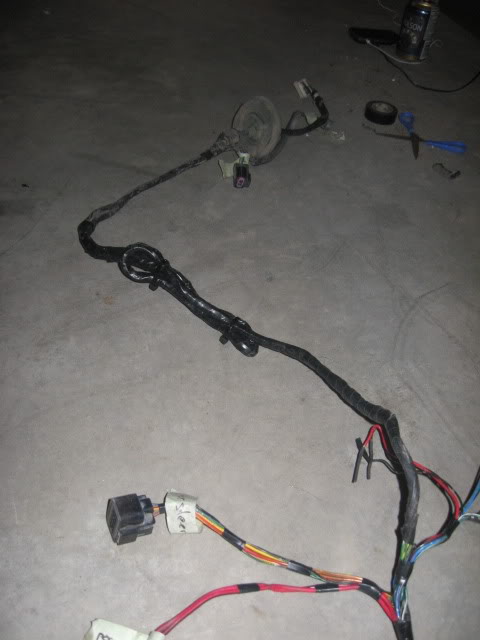
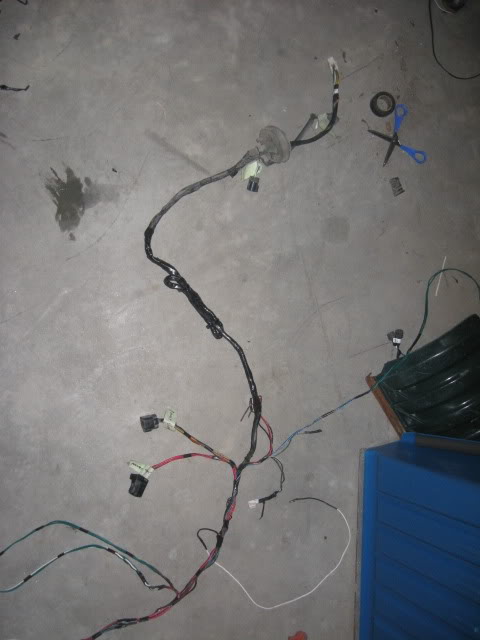
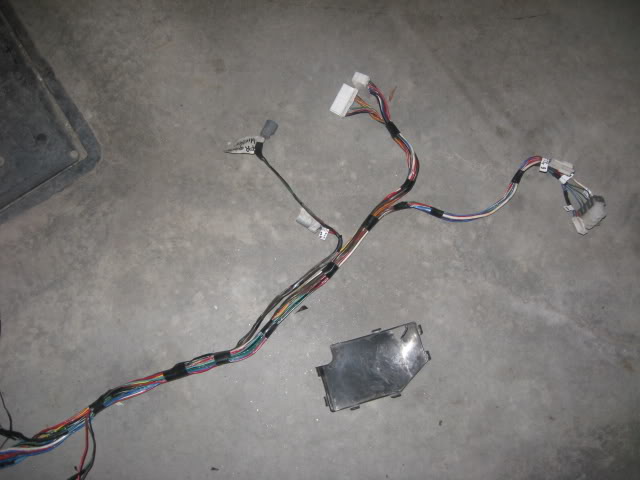

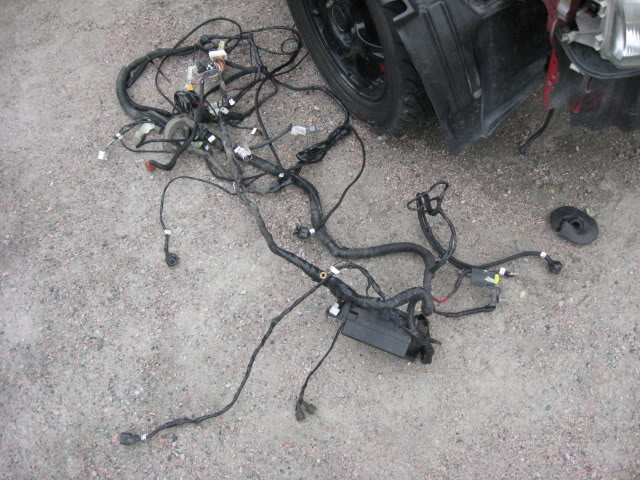
Still need to install the engine back in to complete the wiring harness. I want a single harness that goes from the inside of the car on 1 side, and into the engine bay, w/ a few connectors @ firewall level so it can easily be removed and re-intalled for pulling the engine.
Still need to install the engine back in to complete the wiring harness. I want a single harness that goes from the inside of the car on 1 side, and into the engine bay, w/ a few connectors @ firewall level so it can easily be removed and re-intalled for pulling the engine.
Thread Starter
|
Junior Member
Joined: Jan 2012
Posts: 26
From: Ottawa, ON, Canada
Update.
Local confirmed the highest HP local car w/ K1 rods (750whp) is actually with the lightweight version, which is in turn not as strong as the ones I have. I asked about the rod bolts, and that very build runs the ARP 2000 bolts. Not worried the slightest bit.
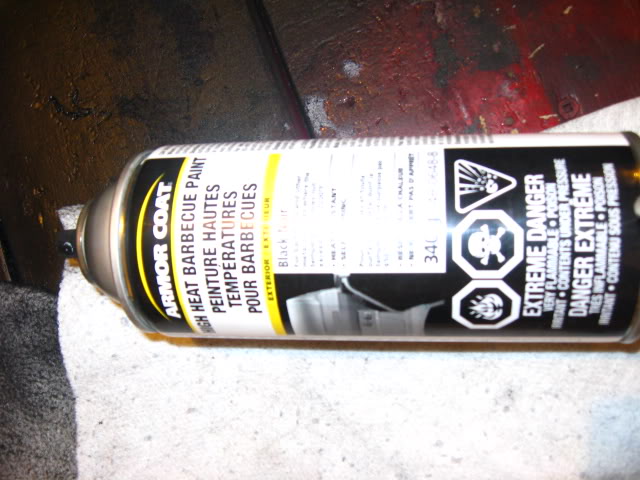
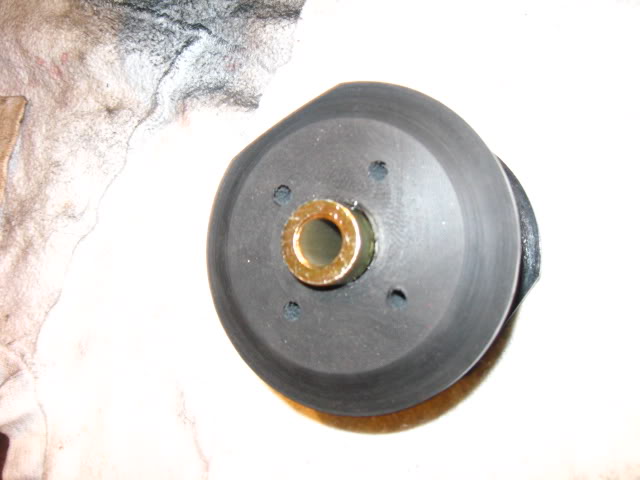
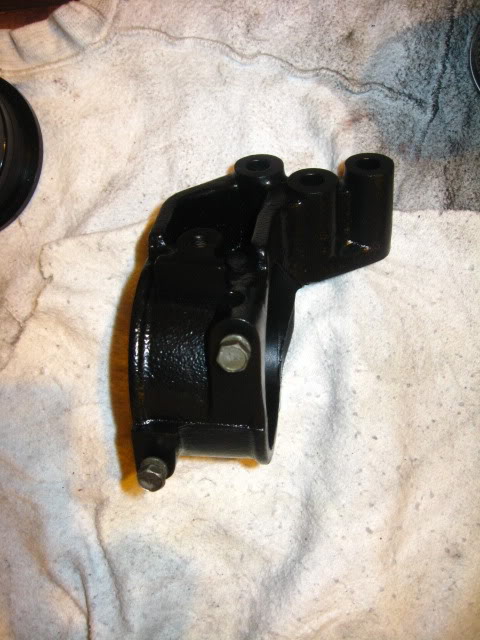
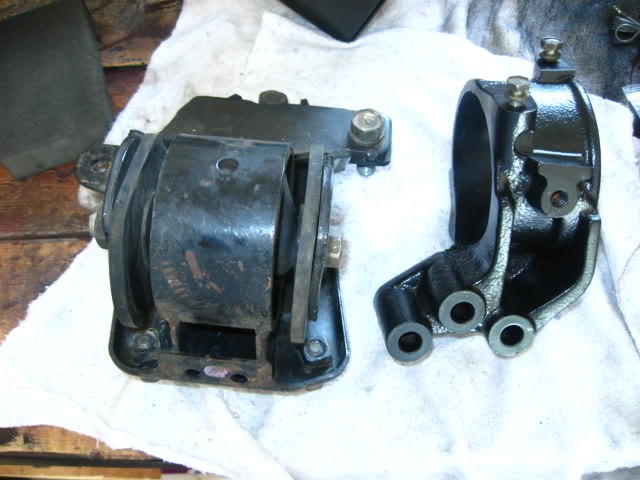
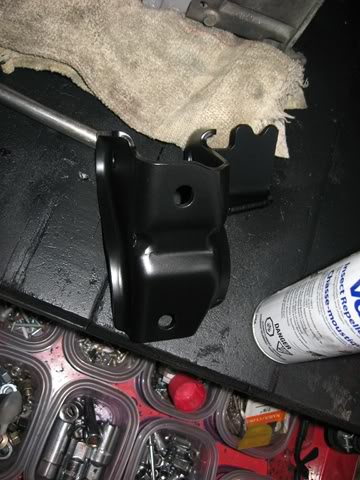
Finished painting the mounts and pressing the poly inserts in.
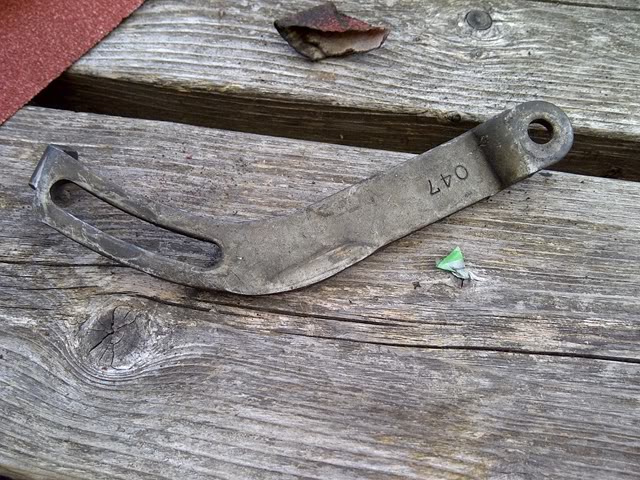
Sanded ready for first coat

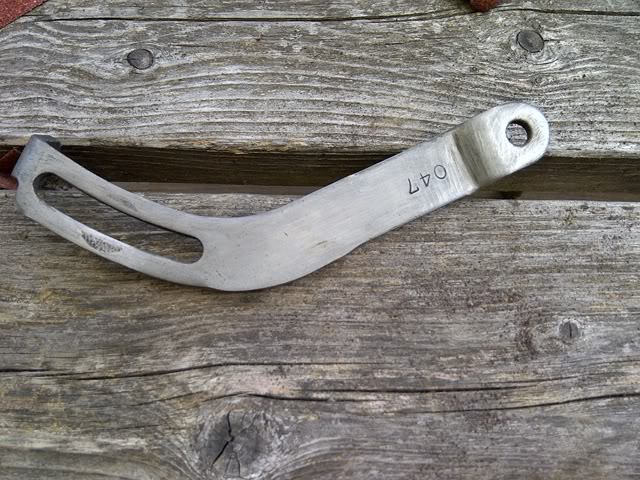
Painted
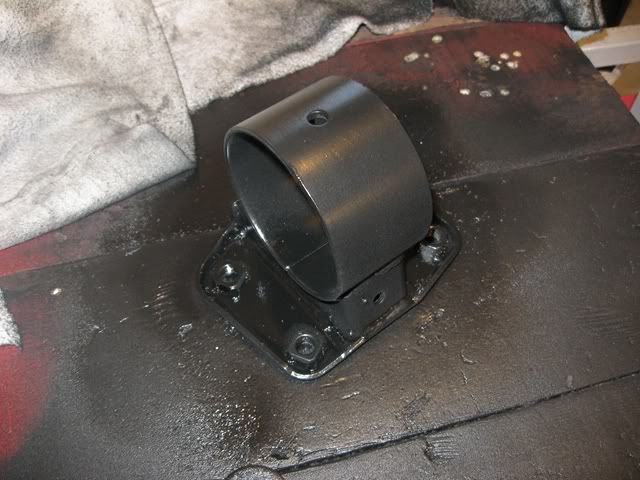
Pressed in & ready to fit
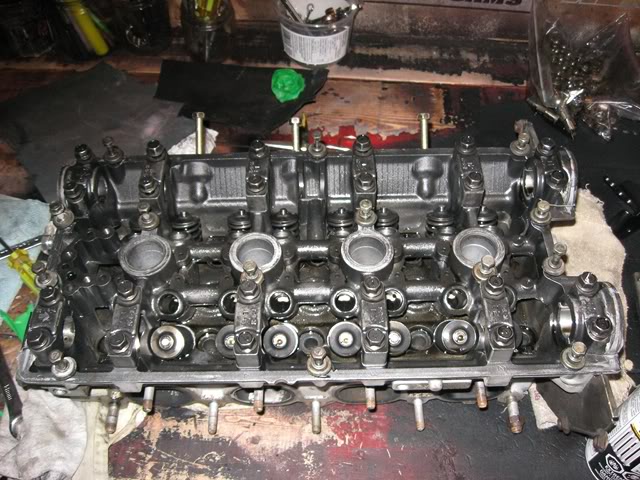
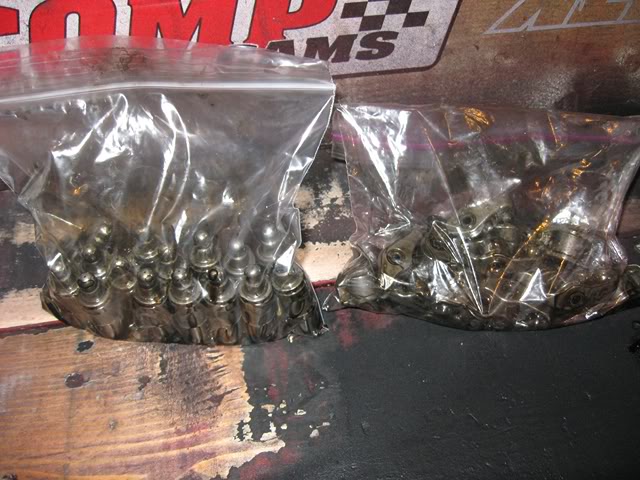
Started on the head, removed rocker arms, lifters, cam and cam gears. Still have to figure out how to remove the valve springs. Didn't do much looking yet.

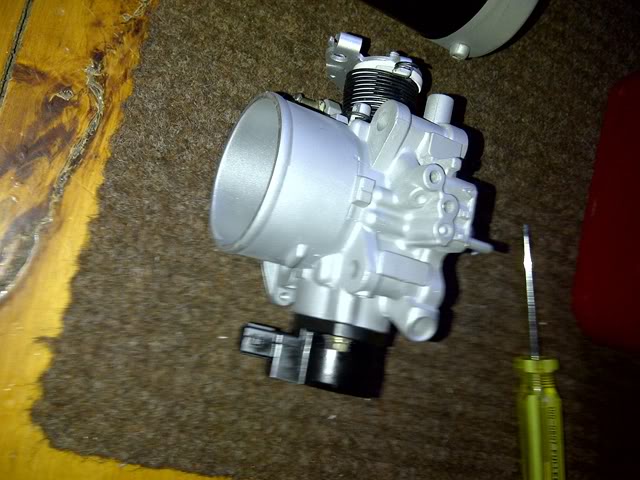
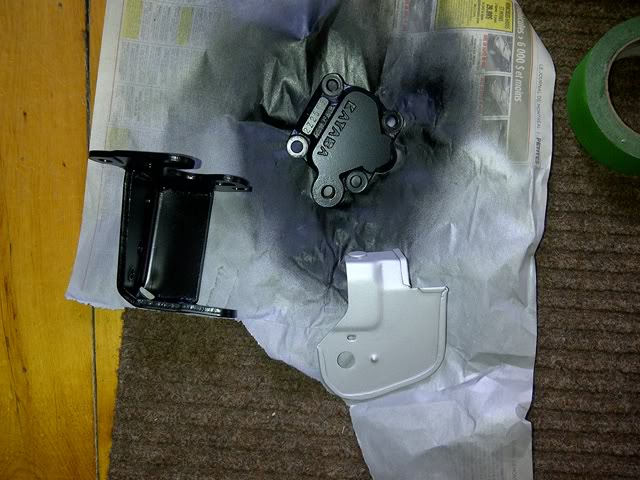
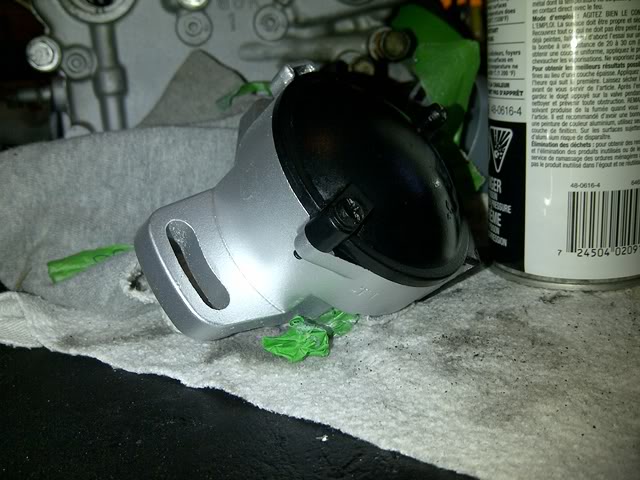
CAS is back to silver & black, didnt like the complete black look.
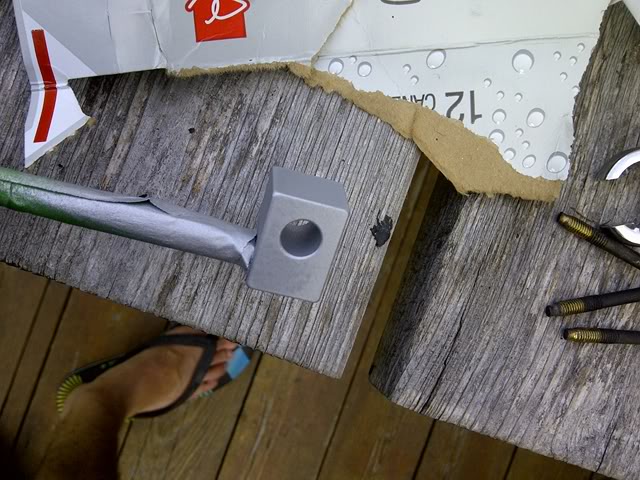
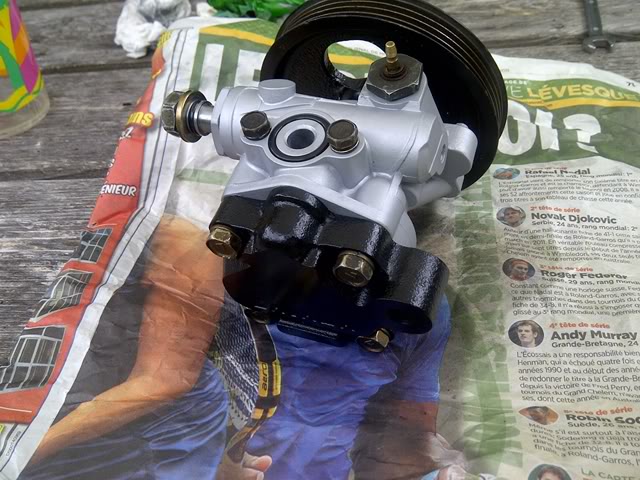
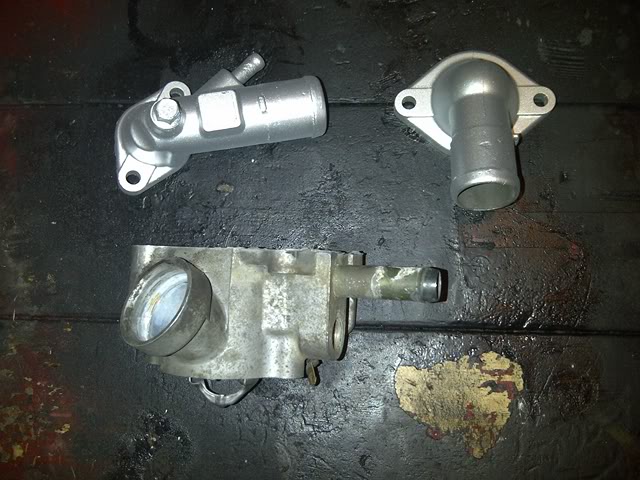
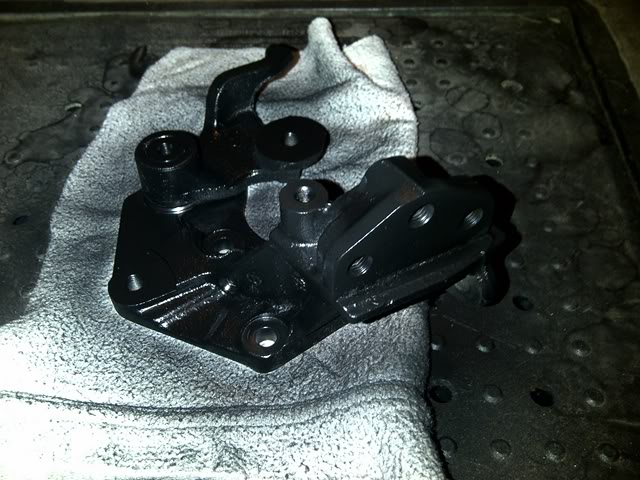
Painted t-stat elbow & water pipe, see before & after.
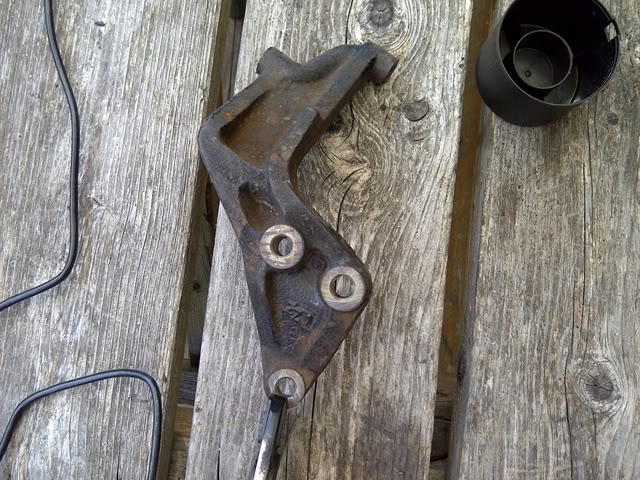
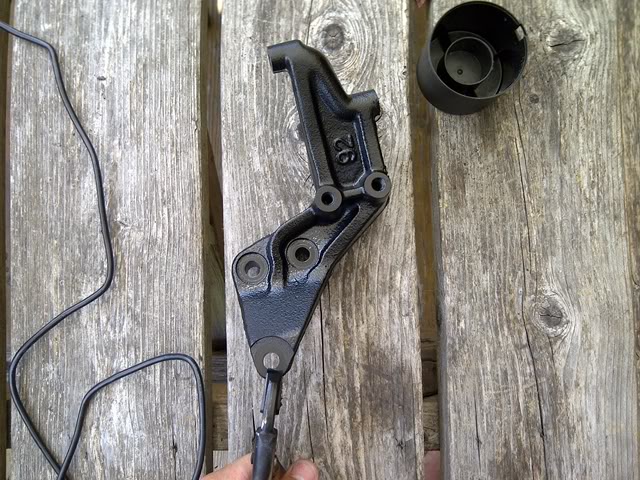
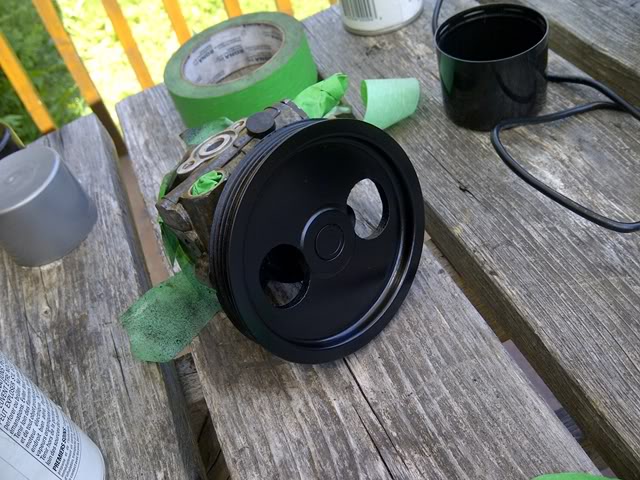
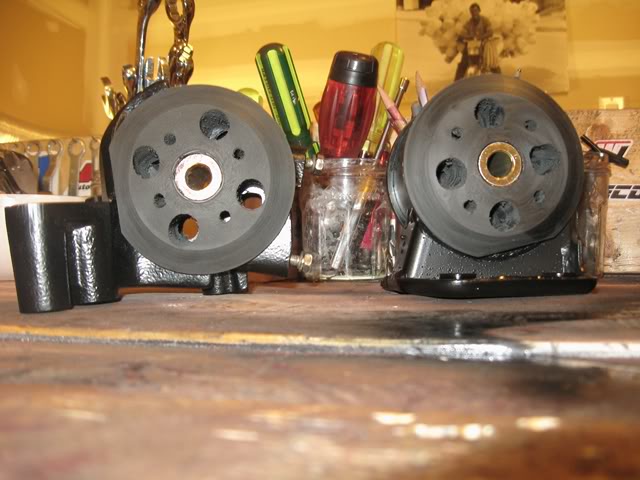
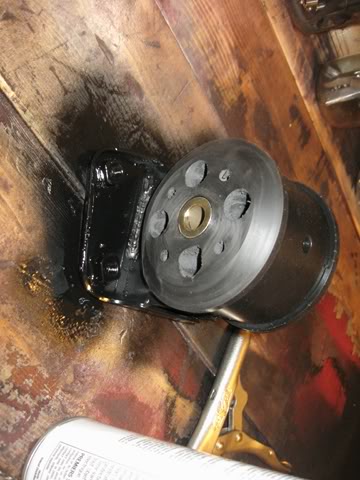
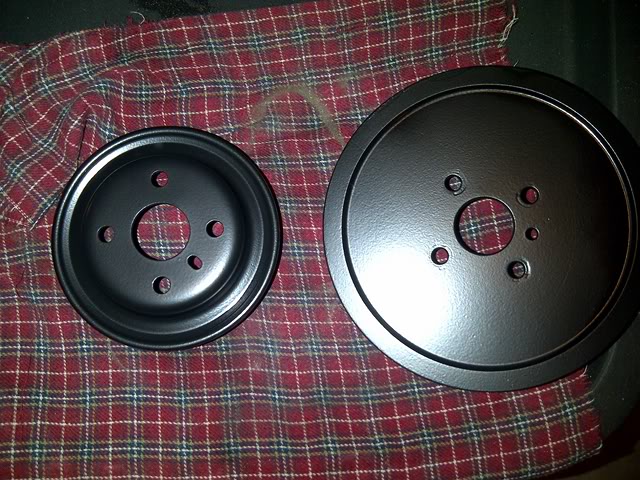
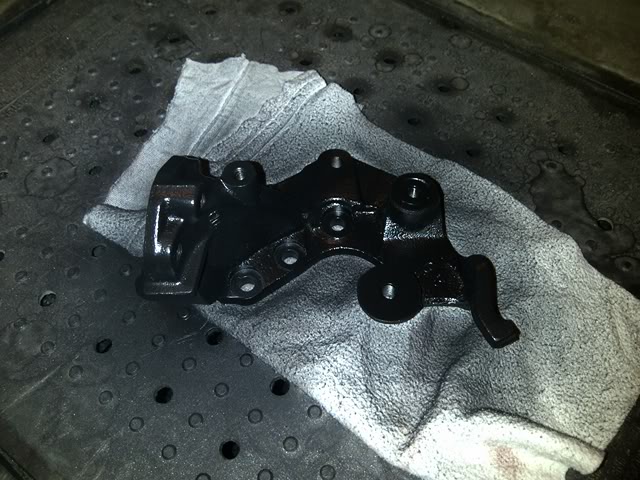
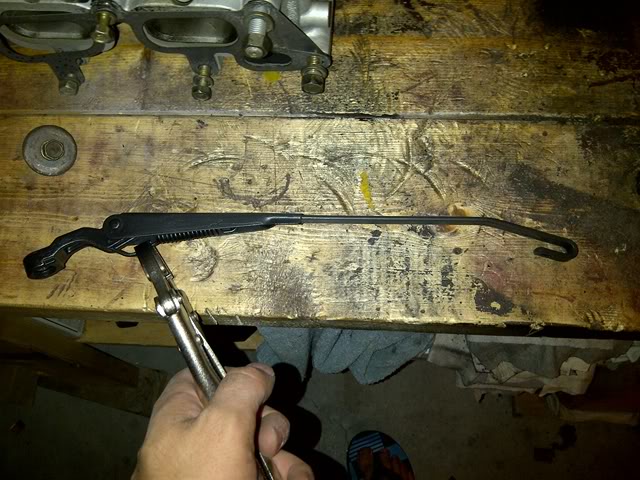
Painted pulley faces, engine side timing bracket and rear wiper arm.
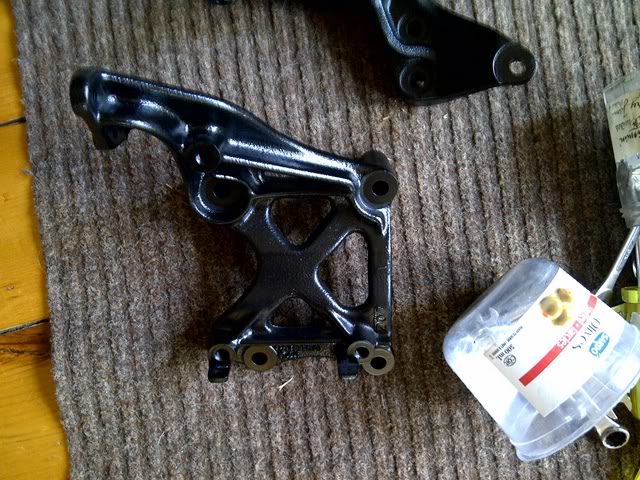
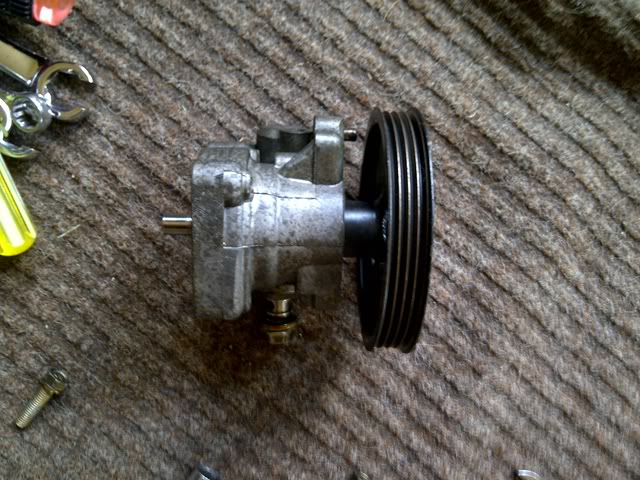
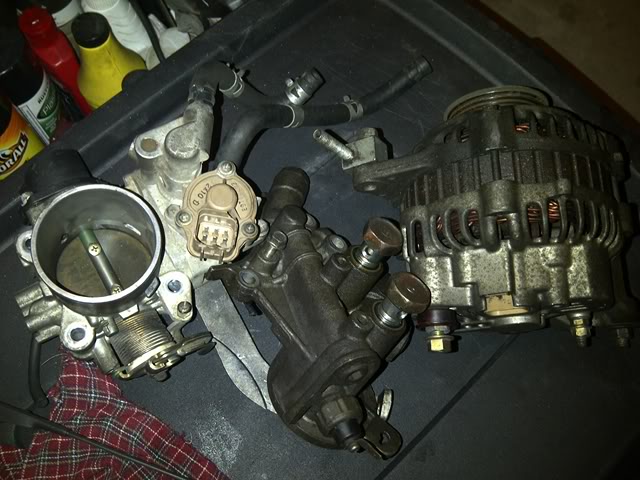
What's left to paint or polish.
Cleaned sanded & painted the stuff below.
Local confirmed the highest HP local car w/ K1 rods (750whp) is actually with the lightweight version, which is in turn not as strong as the ones I have. I asked about the rod bolts, and that very build runs the ARP 2000 bolts. Not worried the slightest bit.
Finished painting the mounts and pressing the poly inserts in.
Sanded ready for first coat
Painted
Pressed in & ready to fit
Started on the head, removed rocker arms, lifters, cam and cam gears. Still have to figure out how to remove the valve springs. Didn't do much looking yet.
CAS is back to silver & black, didnt like the complete black look.
Painted t-stat elbow & water pipe, see before & after.
Painted pulley faces, engine side timing bracket and rear wiper arm.
What's left to paint or polish.
Cleaned sanded & painted the stuff below.