
evotastic.ca 600whp Drag Evo


Thread Starter
|
Junior Member
Joined: Jan 2012
Posts: 26
From: Ottawa, ON, Canada
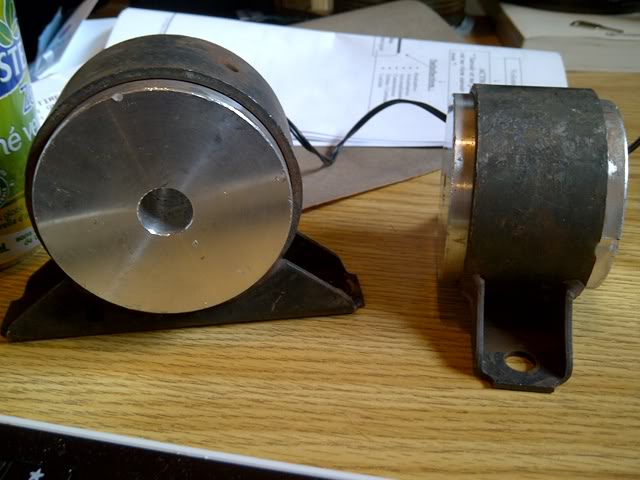
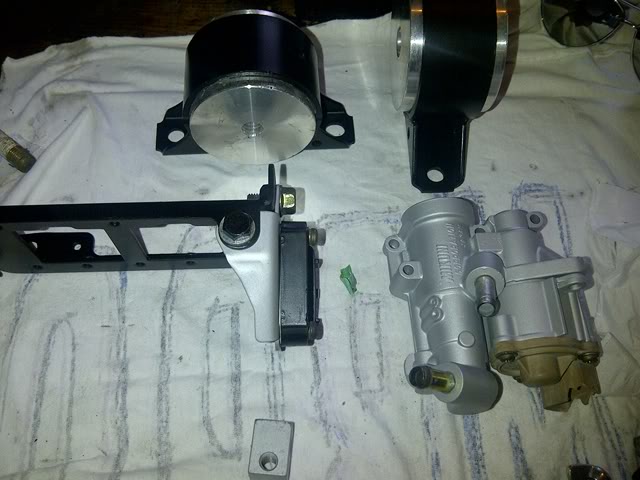
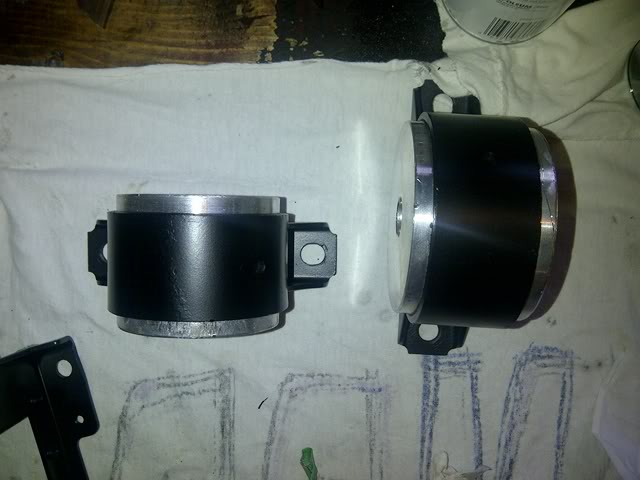
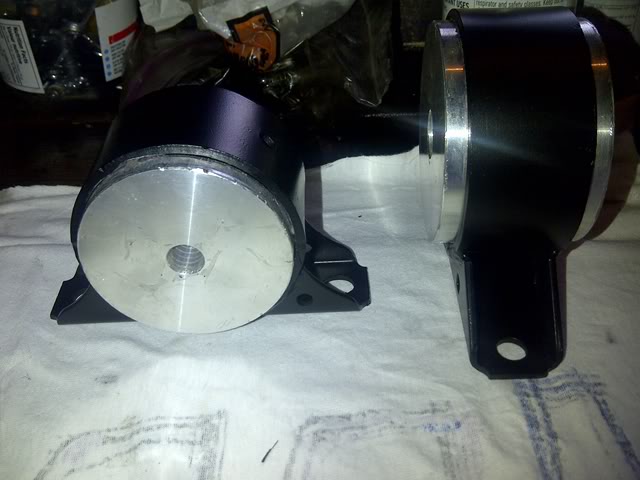
Got solid aluminum roll-stops from talontsi here. Will give the housings a coat of paint soon.
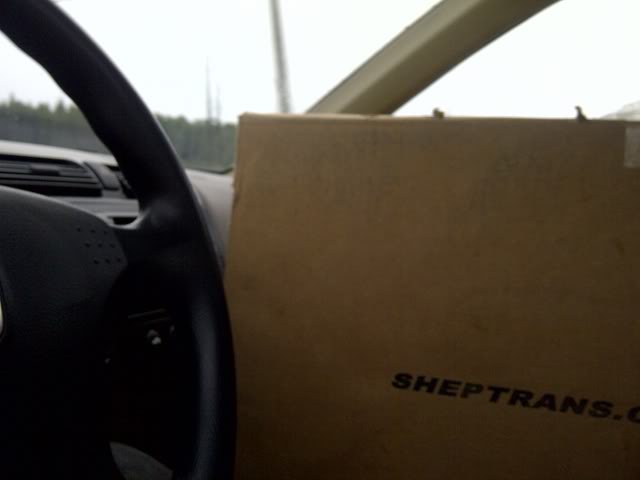
Surprise.
-
I need some bolts to put the fiav & isc back on... mounts + coil bracketry & stuff
-
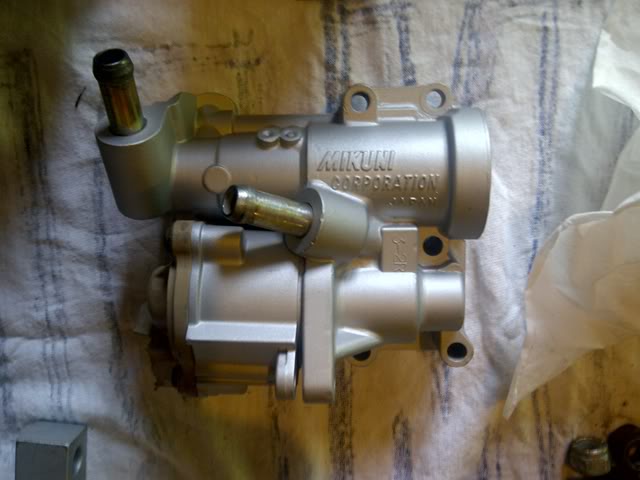
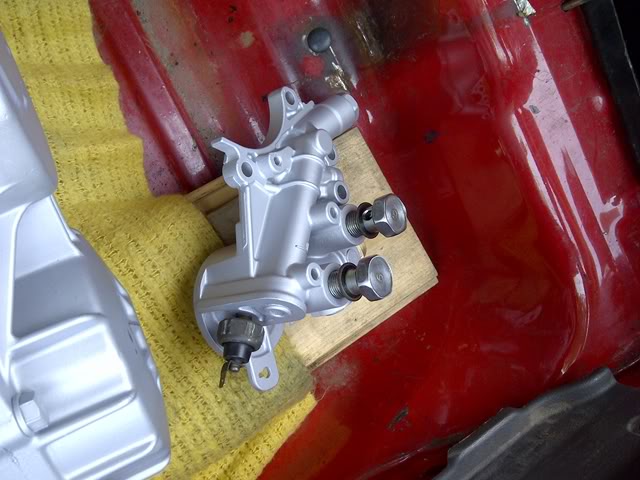
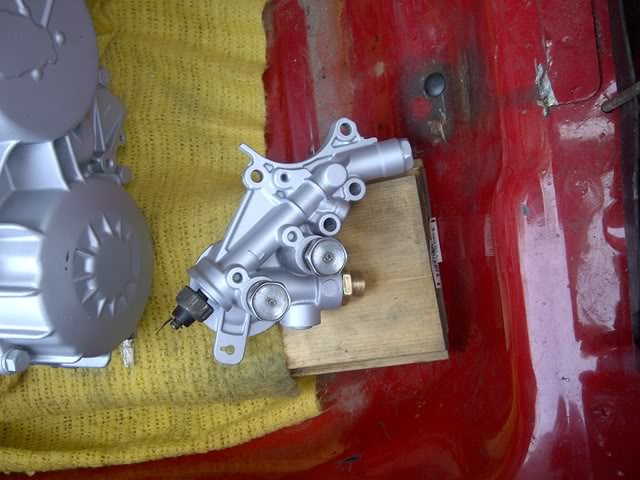
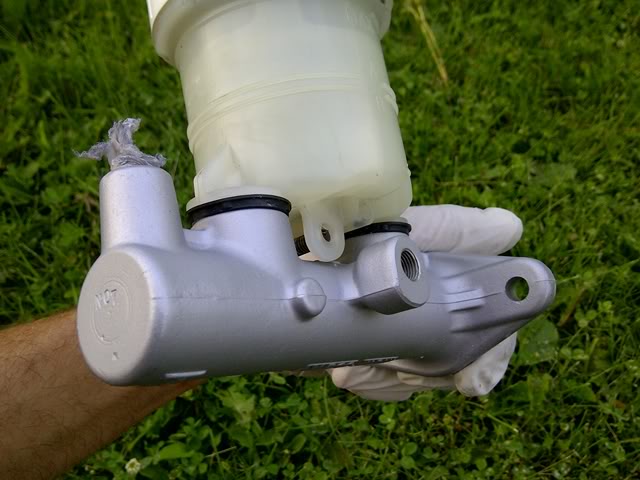
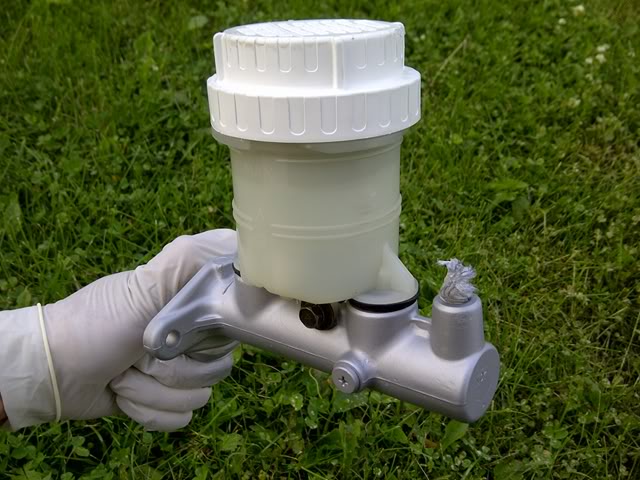
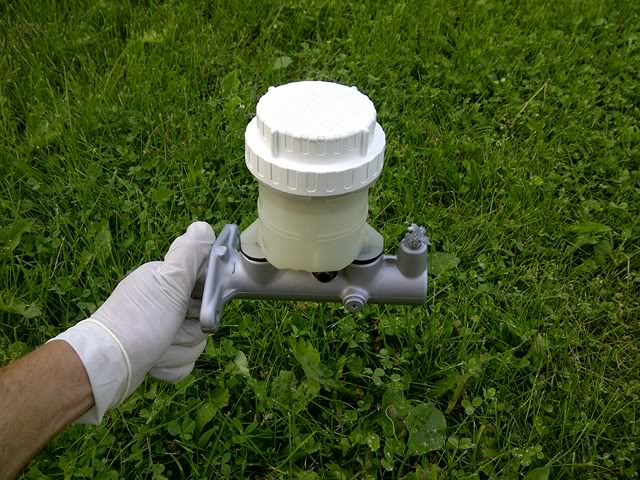
Sanded & Painted OFH
Broken bracket... will have to figure something out soon...
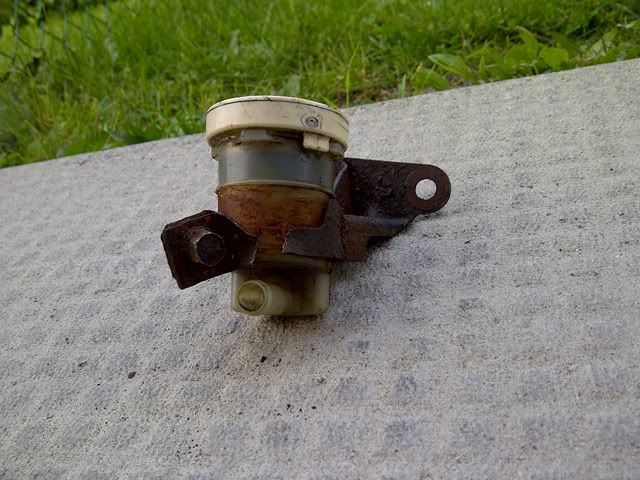
Cleaned up the reservoir and bracket, can't bring the res back though...

Surprise.
-
I need some bolts to put the fiav & isc back on... mounts + coil bracketry & stuff
-
Sanded & Painted OFH
Broken bracket... will have to figure something out soon...
Cleaned up the reservoir and bracket, can't bring the res back though...
Thread Starter
|
Junior Member
Joined: Jan 2012
Posts: 26
From: Ottawa, ON, Canada
Thanks to jet fighter evo I know have a complete interior 
-
Before
After
Last parts painted...
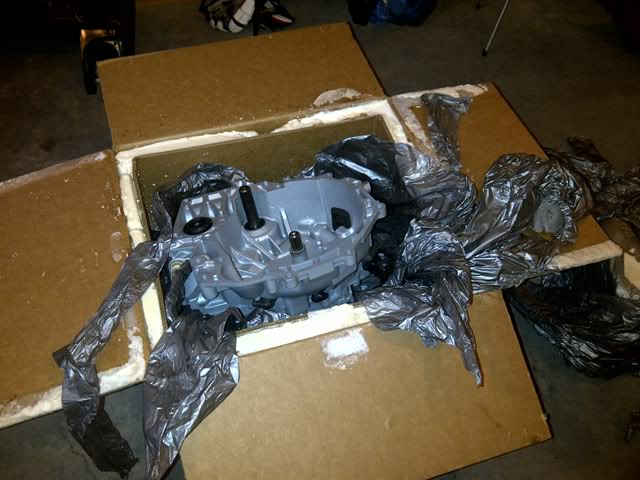
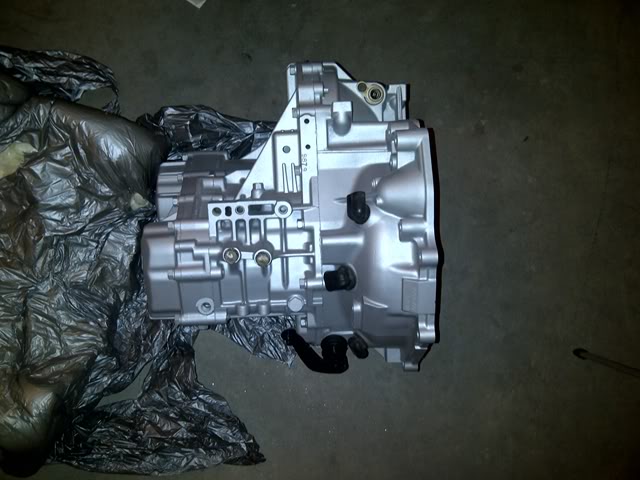
Up next... reassembly of this
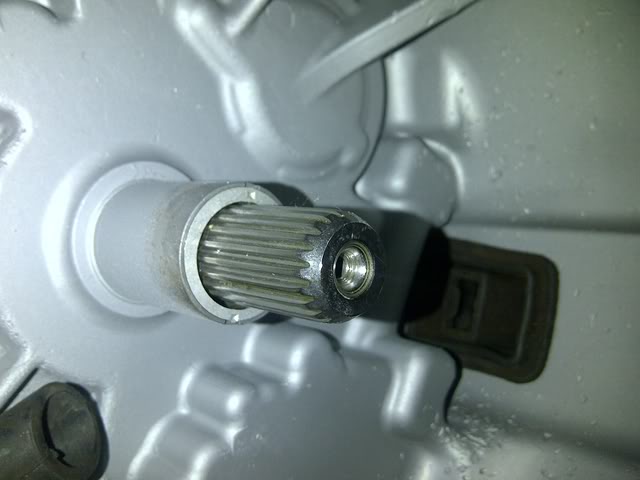
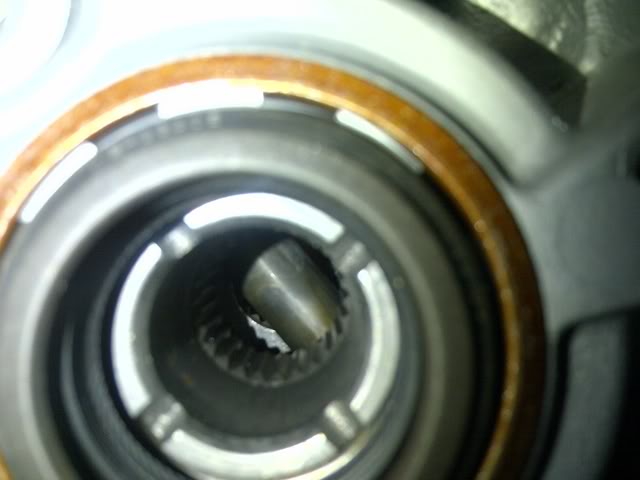
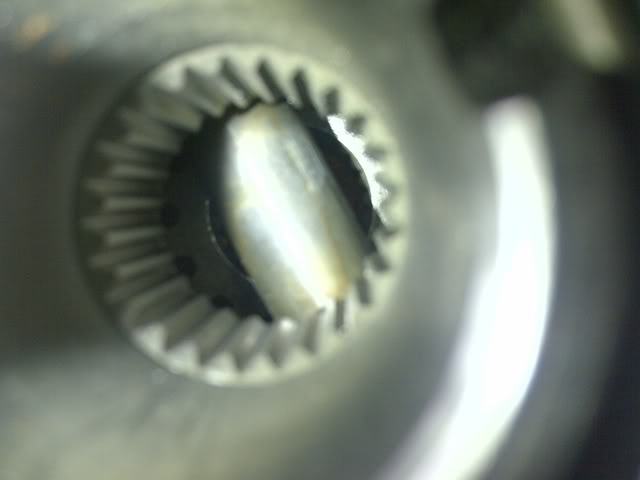
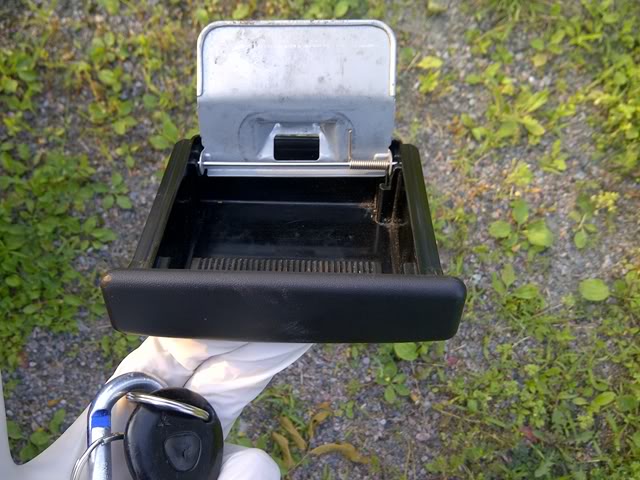
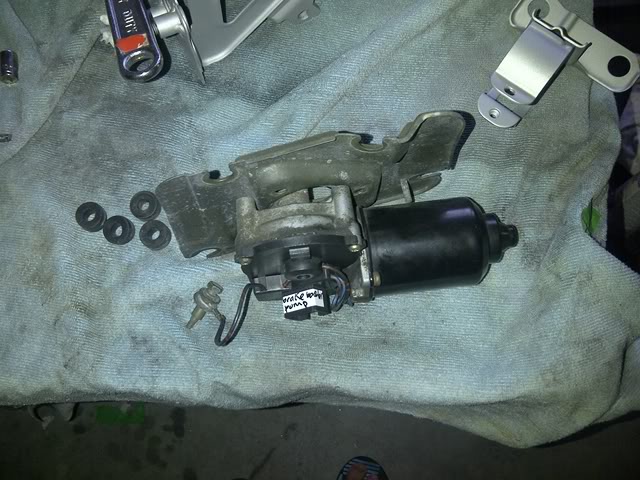
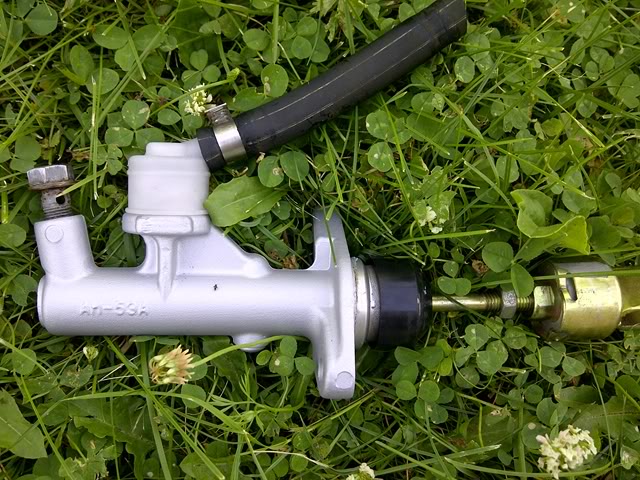
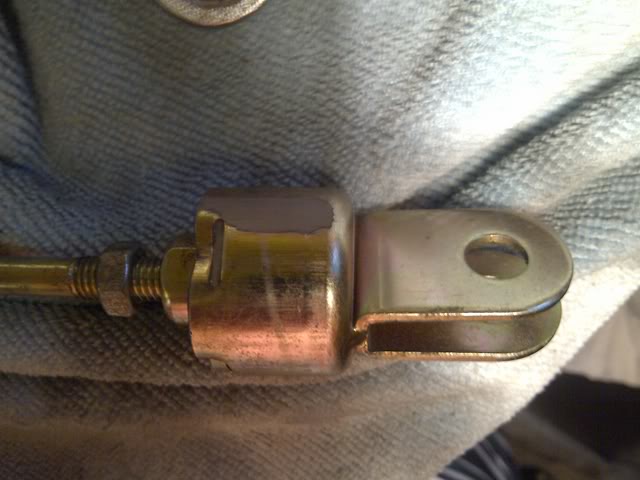
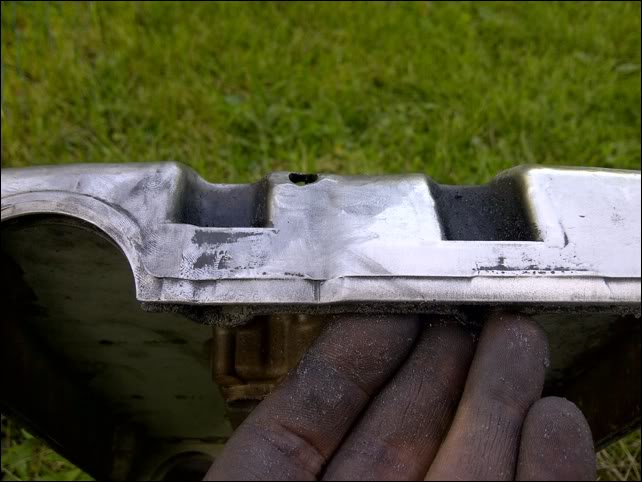
What I discovered on the clutch master. This could be related to my sticky clutch. There has been speculation regarding this: bubbles in the lines, flexing of the firewall, badly functioning slave.
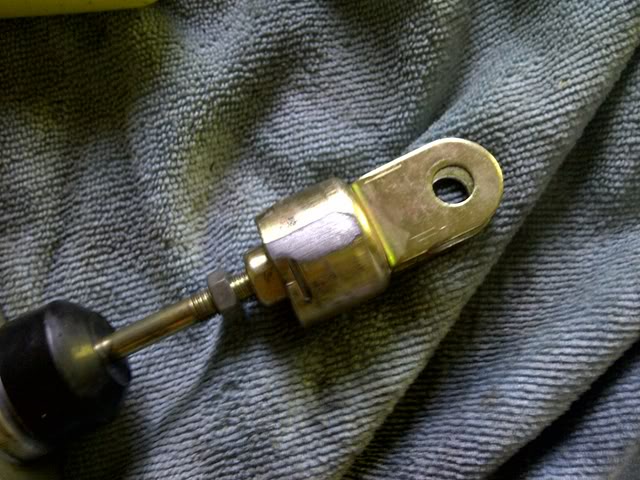
It's apparent that the end of the master fork could have gotten stuck where the metal skirt ends. I don't know where exactly the skirt lines up but it's obviously hitting something.
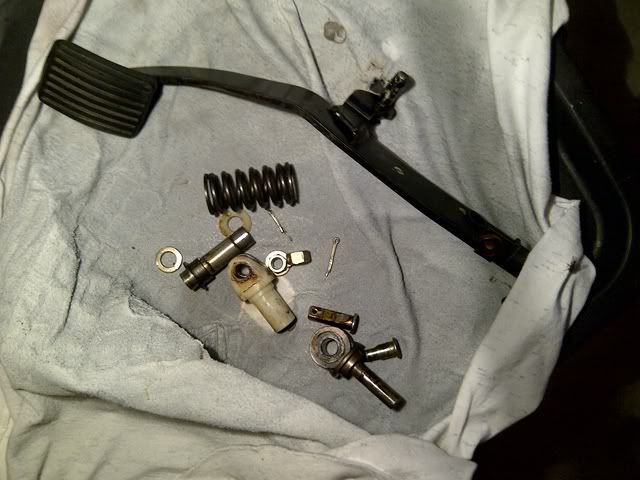
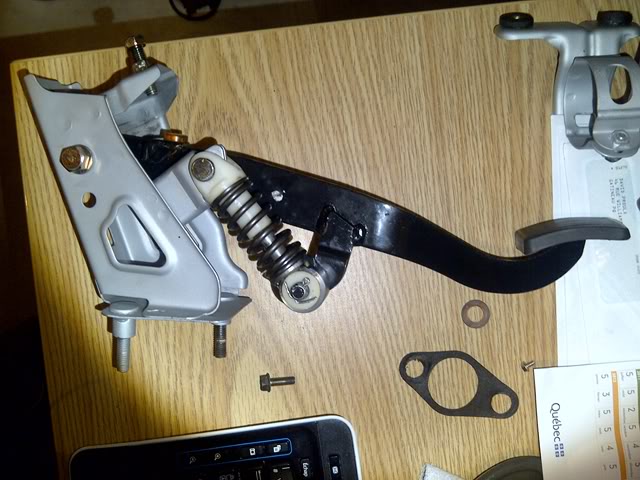
Assembled clutch pedal assembly.
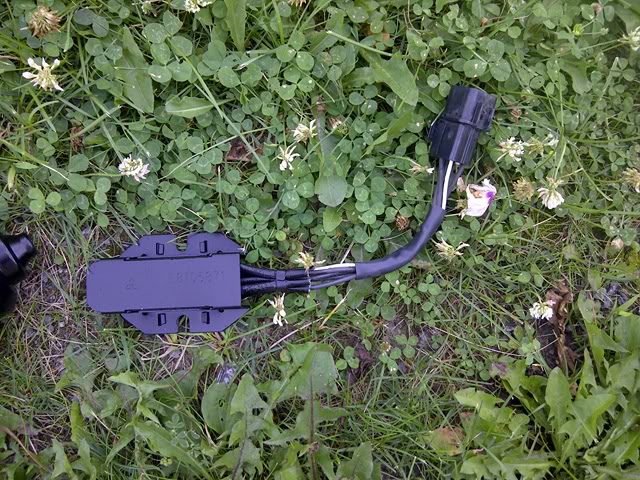
Updated first page parts. Decided on the connectors I will be using.

Halfway there...
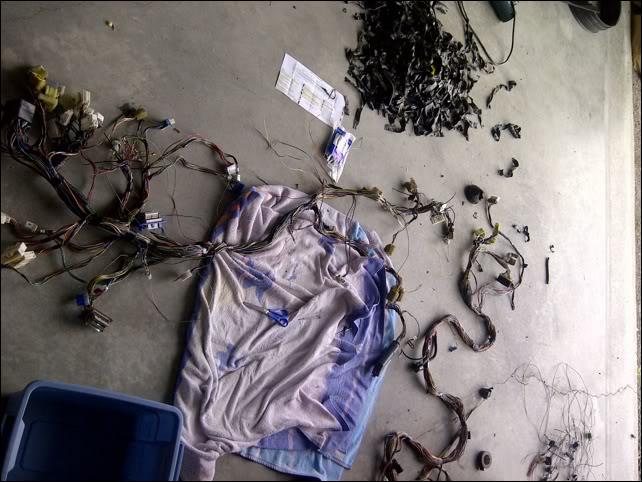
Finished separating the front engine harness to the rear. Couple spots left, hopefully I can get rid of some of the 12 wires that are still using the molex connectors in the pics. Well see. Wouldn't mind getting a 12pos Deutsh connector on top of this one. The molex junk is just not working for me.
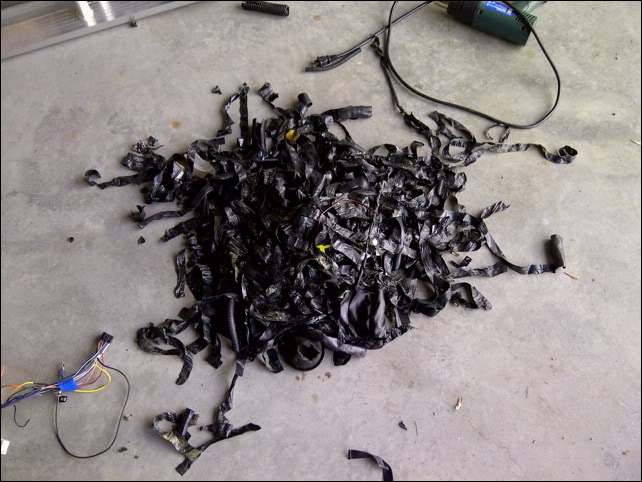
Half de-loomed.
-
Before
After
Last parts painted...
Up next... reassembly of this
What I discovered on the clutch master. This could be related to my sticky clutch. There has been speculation regarding this: bubbles in the lines, flexing of the firewall, badly functioning slave.
It's apparent that the end of the master fork could have gotten stuck where the metal skirt ends. I don't know where exactly the skirt lines up but it's obviously hitting something.
Assembled clutch pedal assembly.
Updated first page parts. Decided on the connectors I will be using.
Halfway there...
Finished separating the front engine harness to the rear. Couple spots left, hopefully I can get rid of some of the 12 wires that are still using the molex connectors in the pics. Well see. Wouldn't mind getting a 12pos Deutsh connector on top of this one. The molex junk is just not working for me.
Half de-loomed.
Thread Starter
|
Junior Member
Joined: Jan 2012
Posts: 26
From: Ottawa, ON, Canada
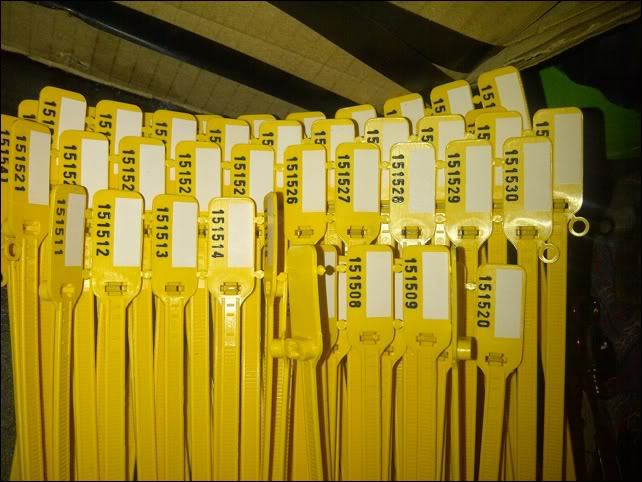
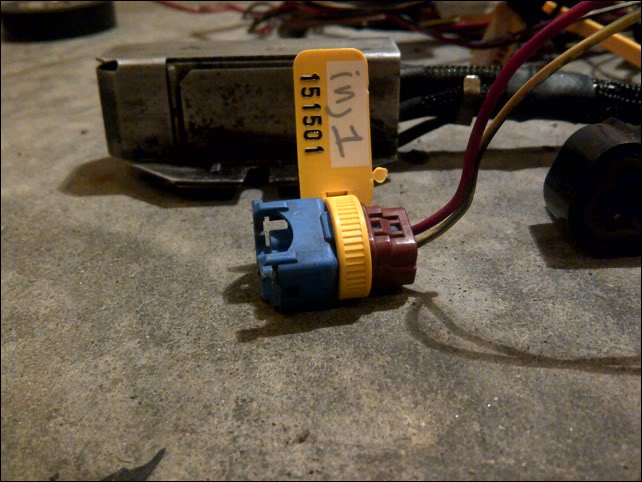
Mark unused connectors!

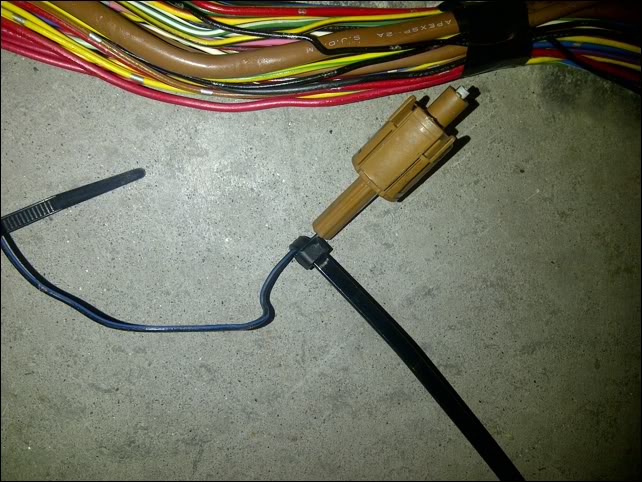
No more fading marker & tape... If the marker fades on this, the # will be taken down and a chart made just like the fusebox covers have one.
Not there yet...
Done removing all unused connectors and ECU Pins. At this point what could be done is to shorten the fusebox cables from the 3rd harness, the body harness, to wiring more or less around the ECU.
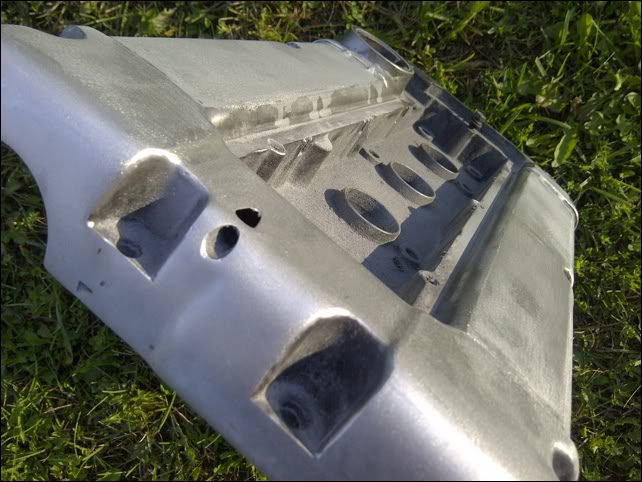
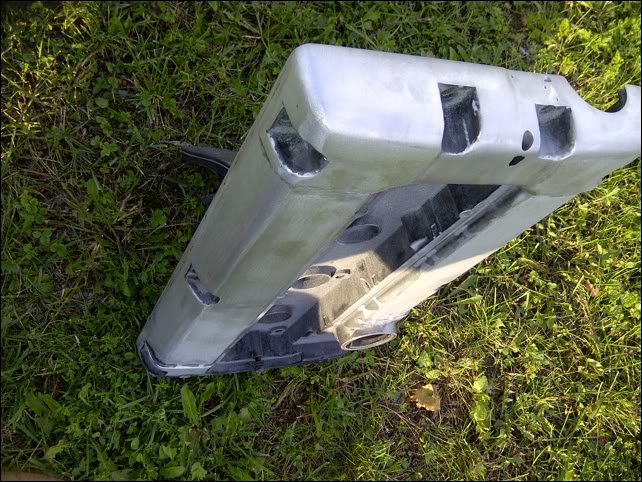
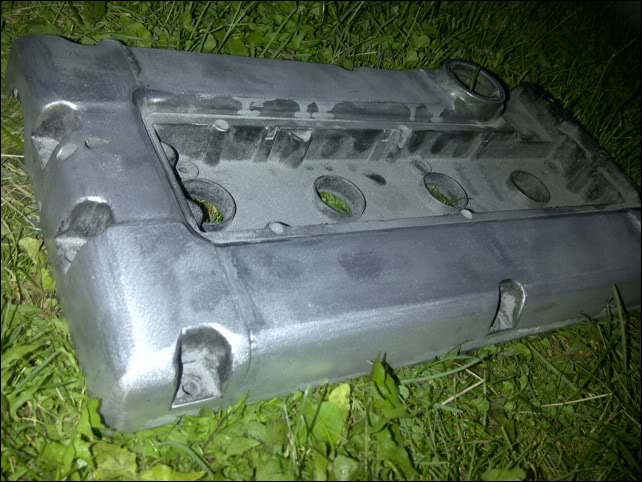
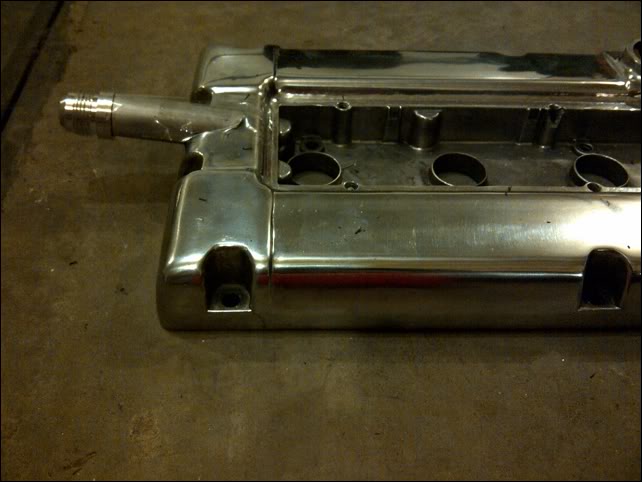
Decided to polish it. Least expensive & nicest looking. Got it all down to about 100grit, at least the flat & visible parts. Need some more sandings discs for the timing side, lots of nooks and crannies on that side.
Before
After
No more fading marker & tape... If the marker fades on this, the # will be taken down and a chart made just like the fusebox covers have one.
Not there yet...
Done removing all unused connectors and ECU Pins. At this point what could be done is to shorten the fusebox cables from the 3rd harness, the body harness, to wiring more or less around the ECU.
Decided to polish it. Least expensive & nicest looking. Got it all down to about 100grit, at least the flat & visible parts. Need some more sandings discs for the timing side, lots of nooks and crannies on that side.
Before
After
Thread Starter
|
Junior Member
Joined: Jan 2012
Posts: 26
From: Ottawa, ON, Canada
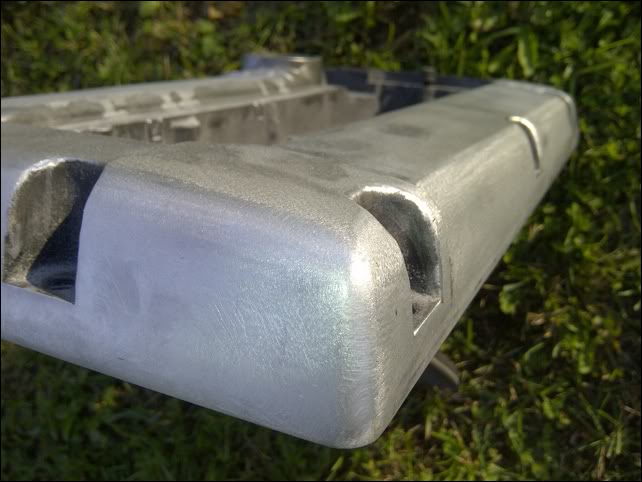
Got the dimples out with some sanding discs since I took that pic.
-

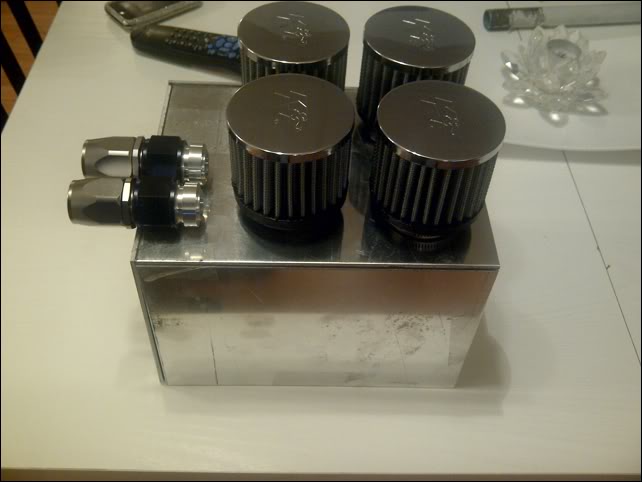
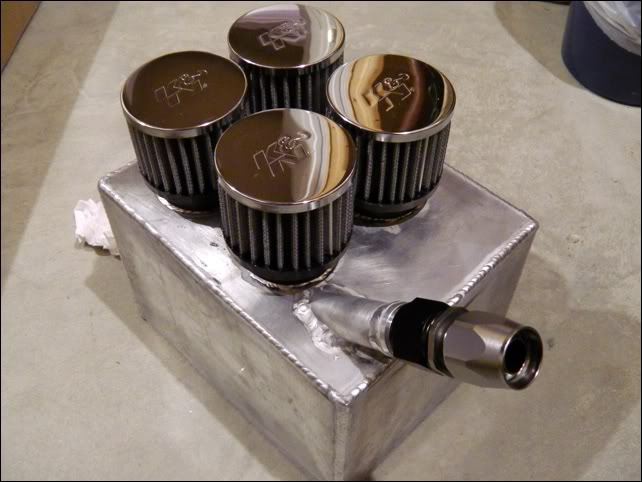
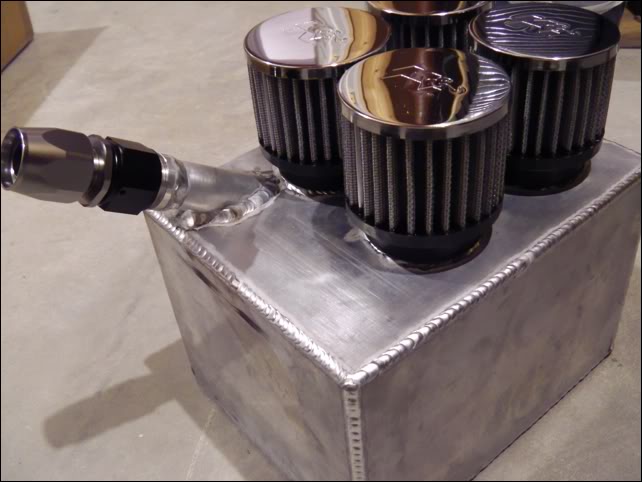
Bungs will have slight angle worked into them, less expensive than 90deg hose ends.

Getting all my stuff welded tomorrow!
-
-
Bungs will have slight angle worked into them, less expensive than 90deg hose ends.
Getting all my stuff welded tomorrow!
-

Thread Starter
|
Junior Member
Joined: Jan 2012
Posts: 26
From: Ottawa, ON, Canada
Thanks to Brian @ Erbified Motorsports for making this possible!

Much more cooling stuff has yet to come. Up next is my custom water pipe and removal of all coolant hoses in the engine bay & custom built radiator. Hint: my oil cooler is for sale.
Stay tuned!
Much more cooling stuff has yet to come. Up next is my custom water pipe and removal of all coolant hoses in the engine bay & custom built radiator. Hint: my oil cooler is for sale.
Stay tuned!
Thread Starter
|
Junior Member
Joined: Jan 2012
Posts: 26
From: Ottawa, ON, Canada
Big update coming. Who wants it?
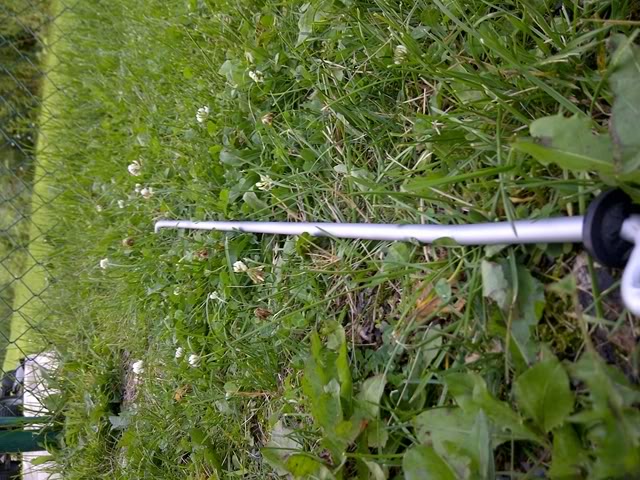
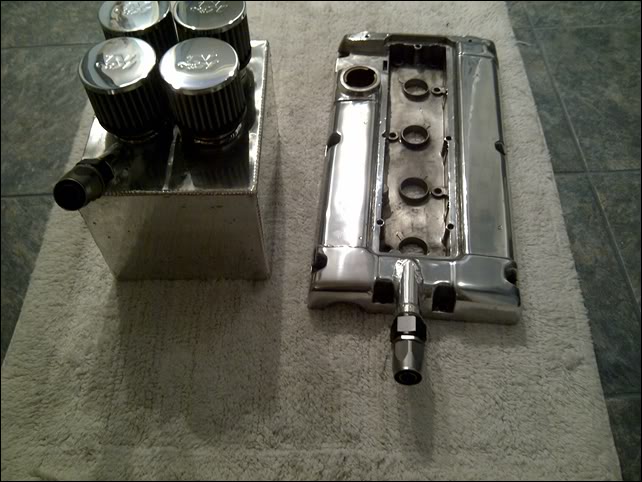
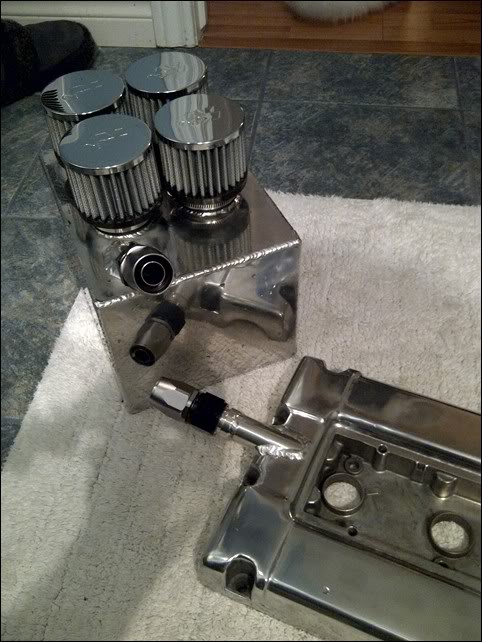
Coolant solution has been figured out. Only thing missing is some hose ends and welding. The -20AN hoses are NOT flexible. You�ll notice in the picture that I have to work out the angles into the bungs, rather than have the hose bend. Don�t mind the tape, it�s to let the welder know exactly how I want the bungs. Water cooled tubos are sort of a no go at this point, mostly due to having removed the water pipe. Heater pipe was removed, tapped for 3/8 NPT and red loctited shut.No biggied to tap in a -4AN or whatever in there.

-20AN everything. The ID of the -20AN is actually smaller than most openings I could see. Regardless, things worked out fine. Brand new, custom sized, dual pass radiator came along. Fit nicely under the crash beam. On top of this, it has an oil cooler on the OFH side. -8AN bungs welded to the OFH, -8AN fittings on the cooler, good to go.

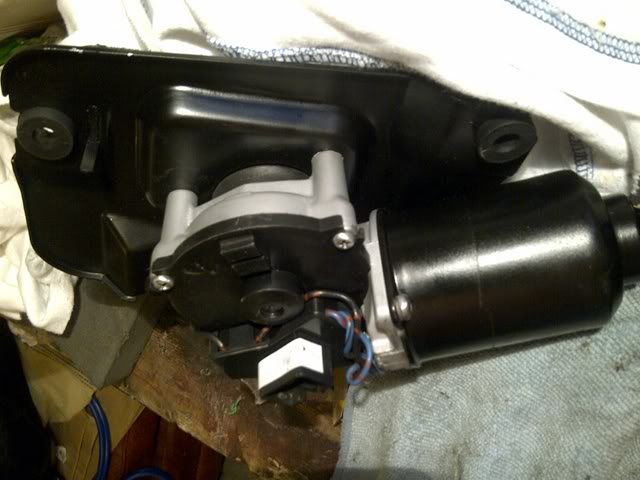
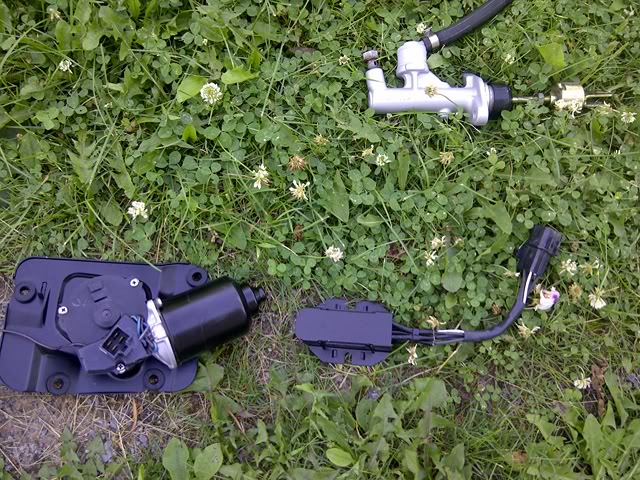
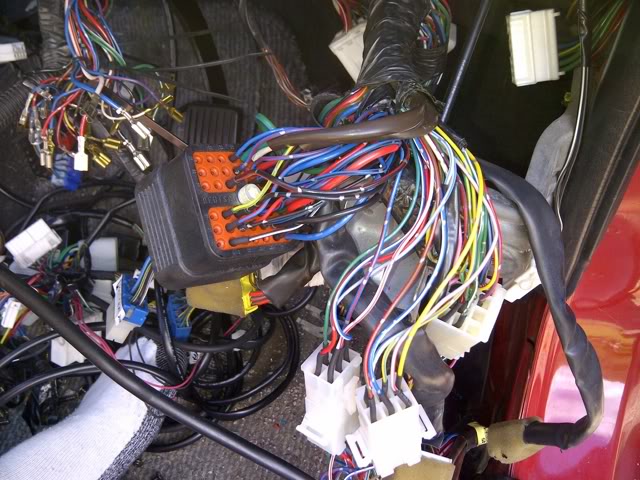
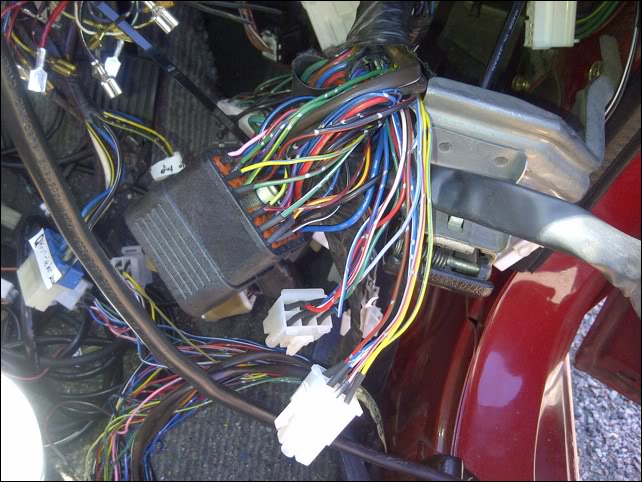
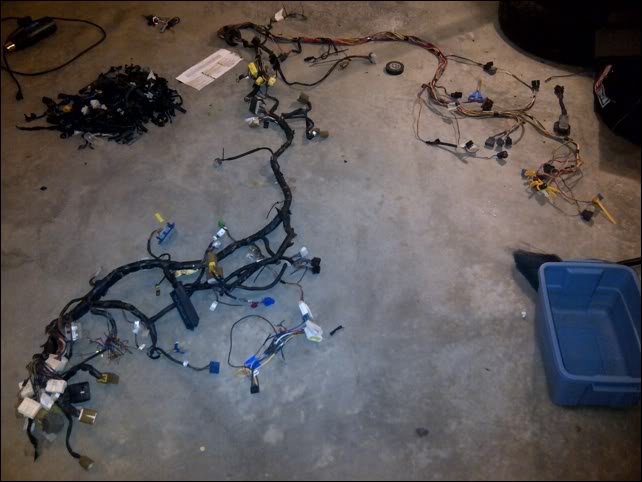
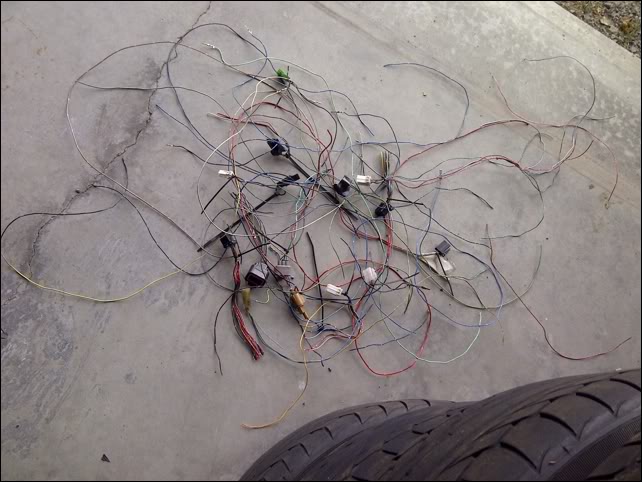
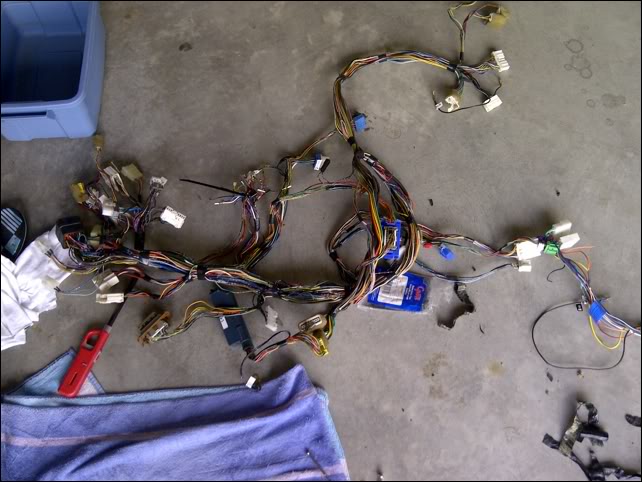
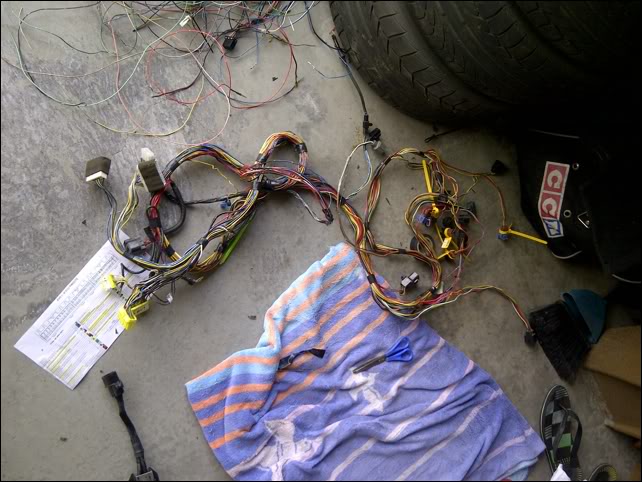
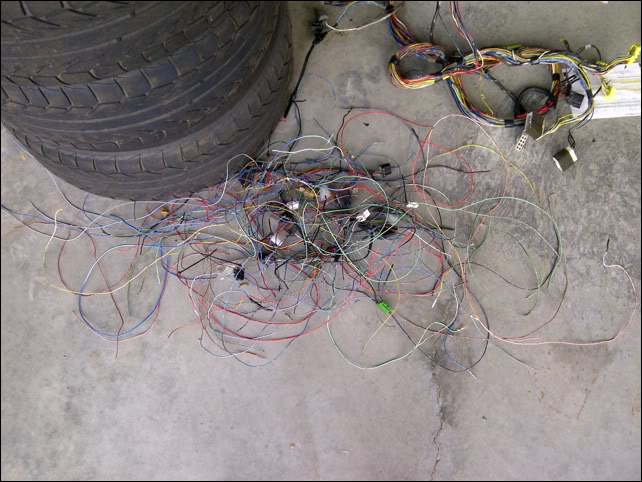
Wiring is also mostly completed. All 3 harnesses were grouped together, saved upwards of 20lbs of wiring. Engine, chassis and body harnesses were all combined into one. Everything besides high beams, wiper motor and brake fluid level sensor have been wired in.

Yeah. It�s alot of wires. lol.


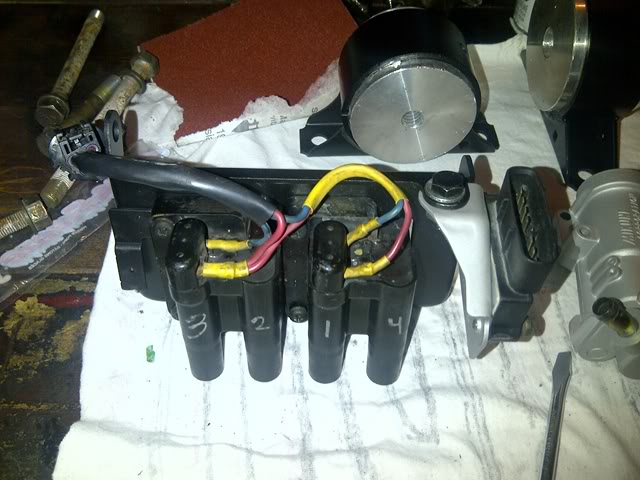
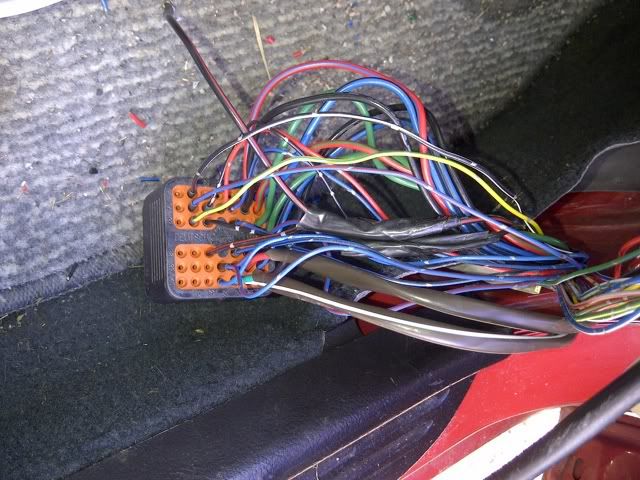
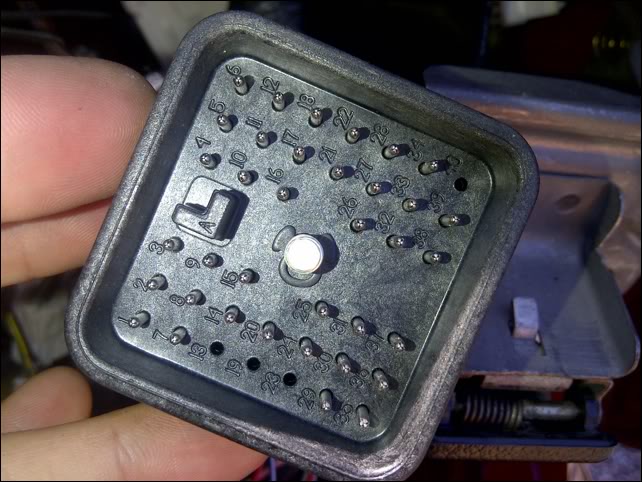
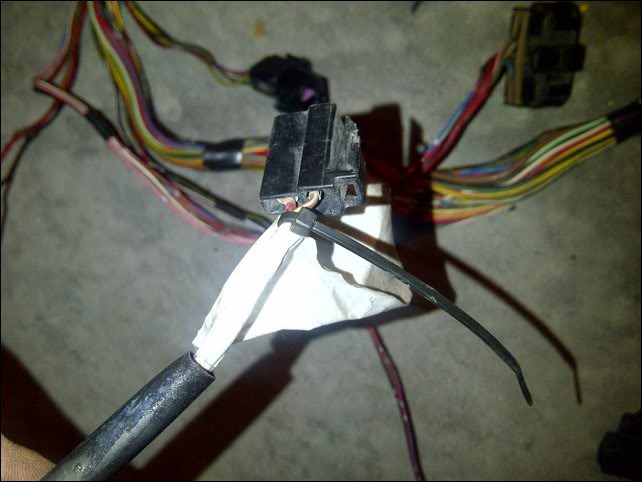
Early evo owners: I need to know how the wires in the picture are wired into the cavities & which corresponding relay goes along with it for this relay box. I had grouped them when I tore down the wiring, but my computer broke & I can�t find the pictures.


It�s wired in this pic. Can�t see any wires.

And, the routing.


Car will be started soon, hopefully, and broken in without a turbo. Reasoning behind this is that I am itching to run the car & get a head start on the break in. While I am missing some work and parts on the 3�� piping for the IC, I am missing nothing to run NT besides a small exhaust piece that would connect between my 2G OEM manifold and my V Banded exhaust.
More fast evo soon, maybe even a running one!
Coolant solution has been figured out. Only thing missing is some hose ends and welding. The -20AN hoses are NOT flexible. You�ll notice in the picture that I have to work out the angles into the bungs, rather than have the hose bend. Don�t mind the tape, it�s to let the welder know exactly how I want the bungs. Water cooled tubos are sort of a no go at this point, mostly due to having removed the water pipe. Heater pipe was removed, tapped for 3/8 NPT and red loctited shut.No biggied to tap in a -4AN or whatever in there.

-20AN everything. The ID of the -20AN is actually smaller than most openings I could see. Regardless, things worked out fine. Brand new, custom sized, dual pass radiator came along. Fit nicely under the crash beam. On top of this, it has an oil cooler on the OFH side. -8AN bungs welded to the OFH, -8AN fittings on the cooler, good to go.
Wiring is also mostly completed. All 3 harnesses were grouped together, saved upwards of 20lbs of wiring. Engine, chassis and body harnesses were all combined into one. Everything besides high beams, wiper motor and brake fluid level sensor have been wired in.
Yeah. It�s alot of wires. lol.
Early evo owners: I need to know how the wires in the picture are wired into the cavities & which corresponding relay goes along with it for this relay box. I had grouped them when I tore down the wiring, but my computer broke & I can�t find the pictures.
It�s wired in this pic. Can�t see any wires
.And, the routing.
Car will be started soon, hopefully, and broken in without a turbo. Reasoning behind this is that I am itching to run the car & get a head start on the break in. While I am missing some work and parts on the 3�� piping for the IC, I am missing nothing to run NT besides a small exhaust piece that would connect between my 2G OEM manifold and my V Banded exhaust.
More fast evo soon, maybe even a running one!
Thread Starter
|
Junior Member
Joined: Jan 2012
Posts: 26
From: Ottawa, ON, Canada
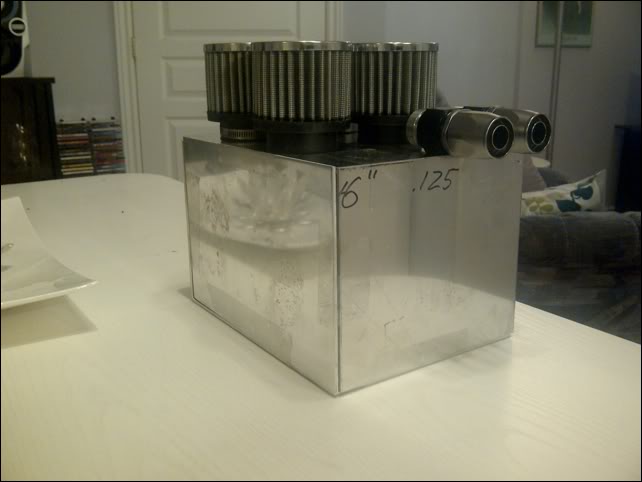
Many of you, especially the evo owners, have asked how my intercooler will fit and how big I am running. 4’’ thick, almost 30 inches long, just under 14 inches high . Suffice to say, it barely fits lol. I really want to be able to drive this car in the city without any overheating issues, so leaving the upper vent of the bumper free of any fmic core was important. Oh and, don’t mind the electrical tape, it’s just until I the brackets get welded. Wish I could weld. Enjoy the pics
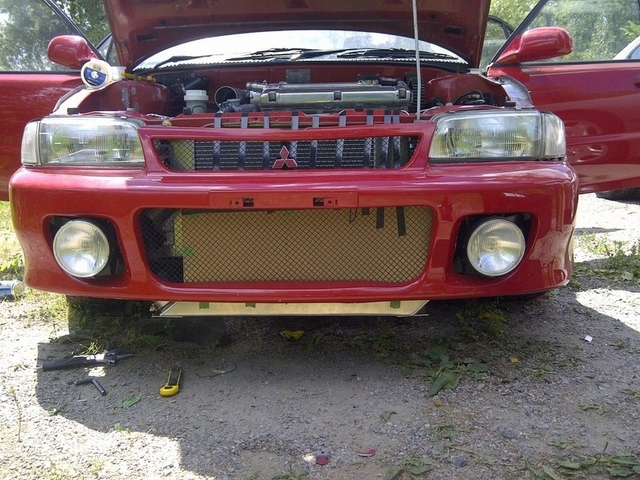
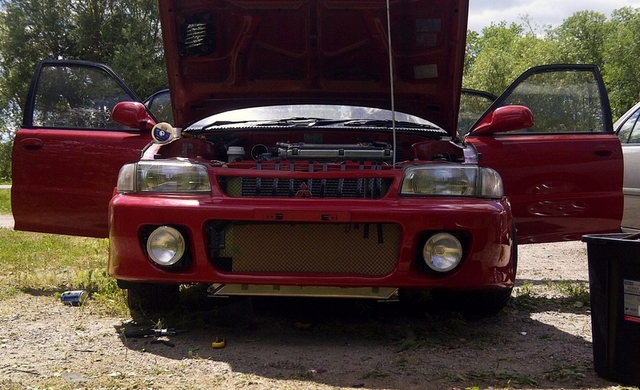
Off to the shop for finishing touches and to double-check everything, this is my first build afterall!
. Suffice to say, it barely fits lol. I really want to be able to drive this car in the city without any overheating issues, so leaving the upper vent of the bumper free of any fmic core was important. Oh and, don’t mind the electrical tape, it’s just until I the brackets get welded. Wish I could weld. Enjoy the picsOff to the shop for finishing touches and to double-check everything, this is my first build afterall!
Thread Starter
|
Junior Member
Joined: Jan 2012
Posts: 26
From: Ottawa, ON, Canada
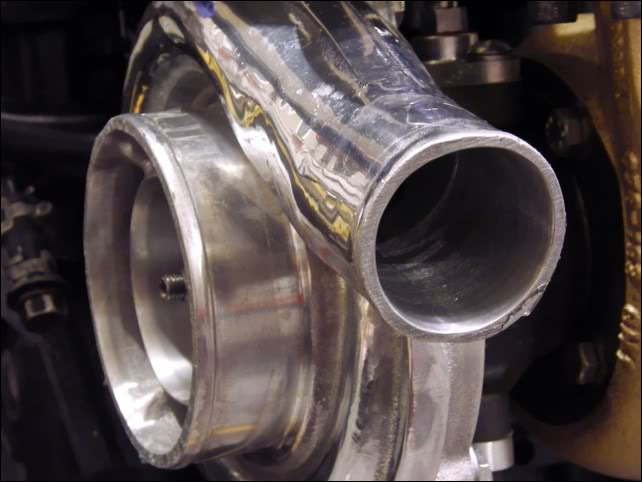
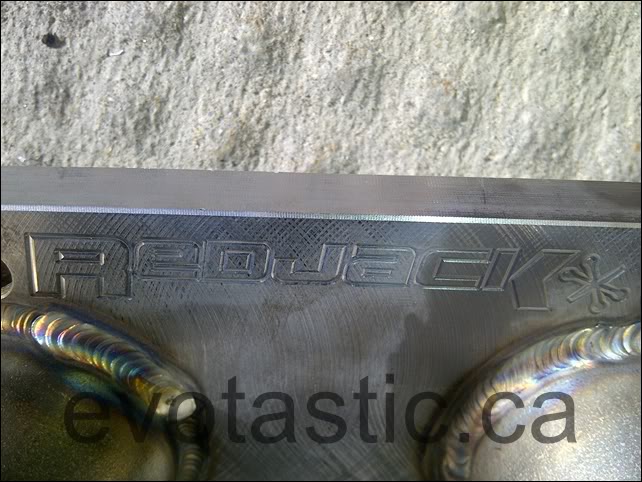
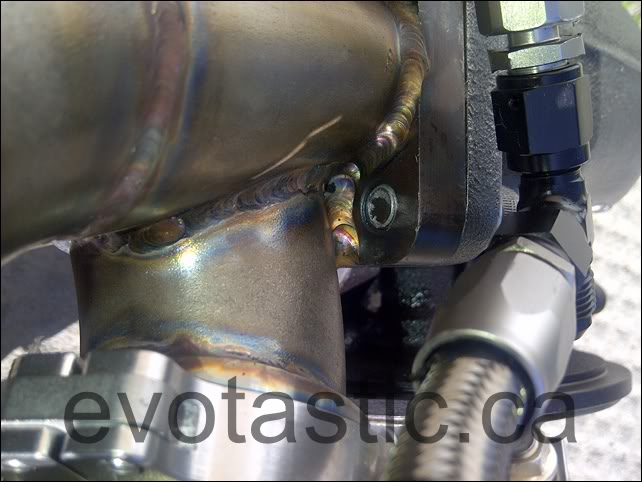
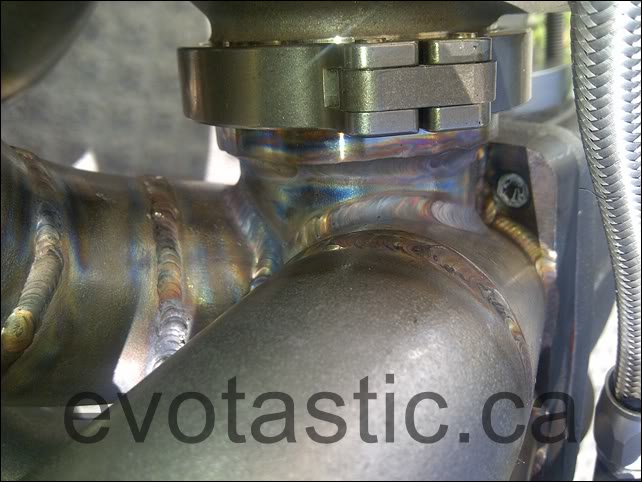
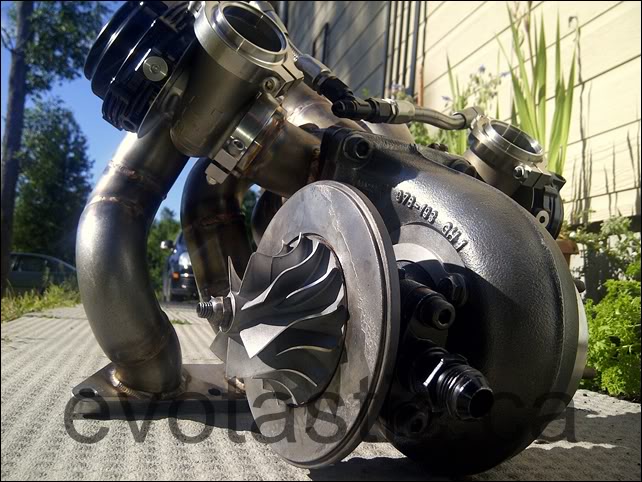
Thanks to Joe @ Red Jack Racing, my amazing, divided T3 manifold has come in. Need to find some heat shielding for that AN hose so close to the turbine housing. Car is scheduled to be put back together on Monday & Tuesday, some final work by my loyal mechanic on Wednesday and finally, starting on Friday. If all goes well obviously .
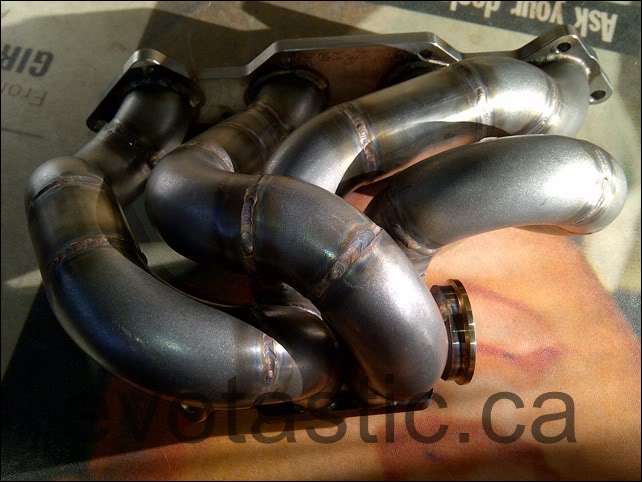
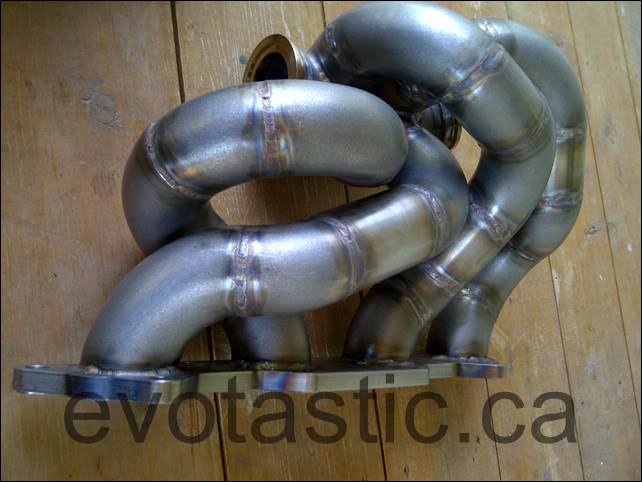
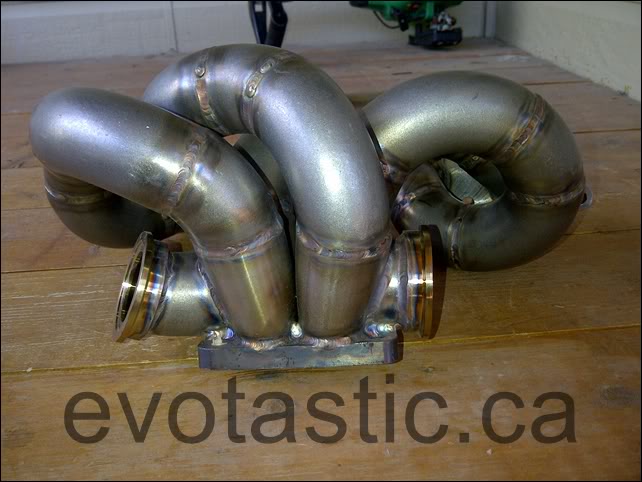
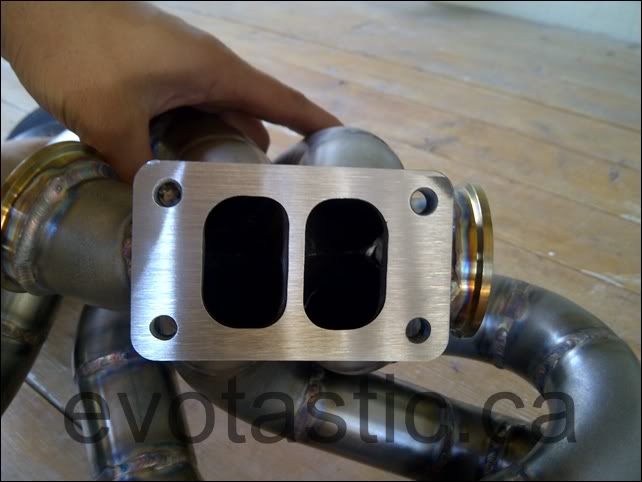

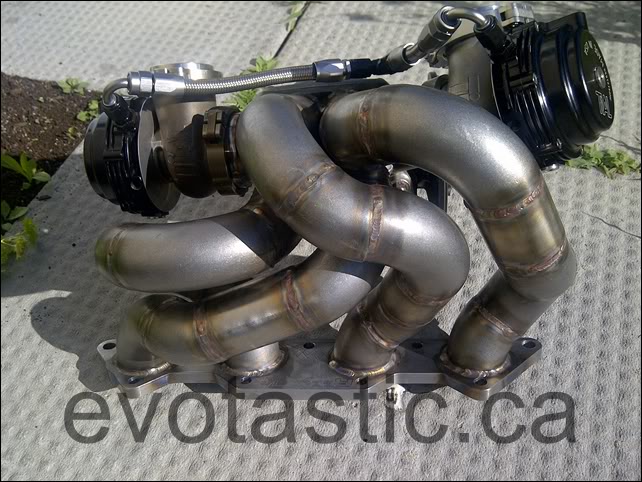
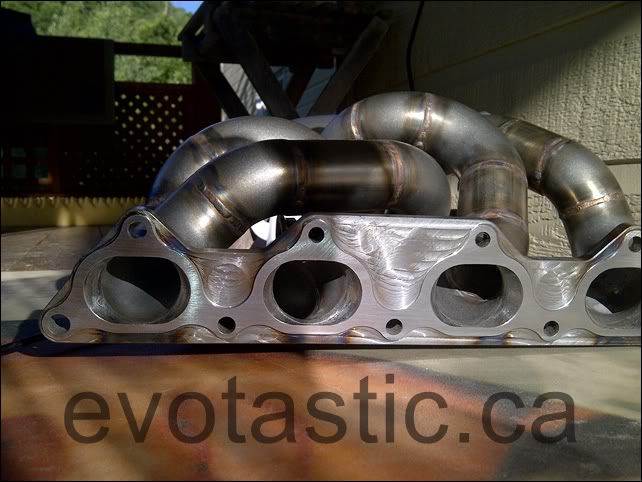
.