
2002 Montero Timing Belt
#61
 07-31-2013 | 12:31 AM

Member
Joined: Apr 2013
Posts: 30
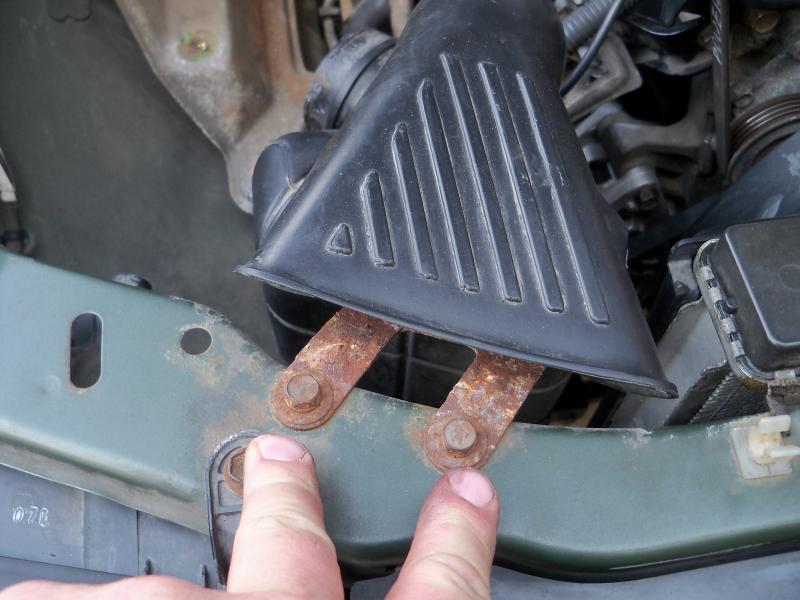
I left the air scoop on because these two bolts were rusted, otherwise you can remove it too. then drain the coolant from the white **** at the bottom of the radiator.

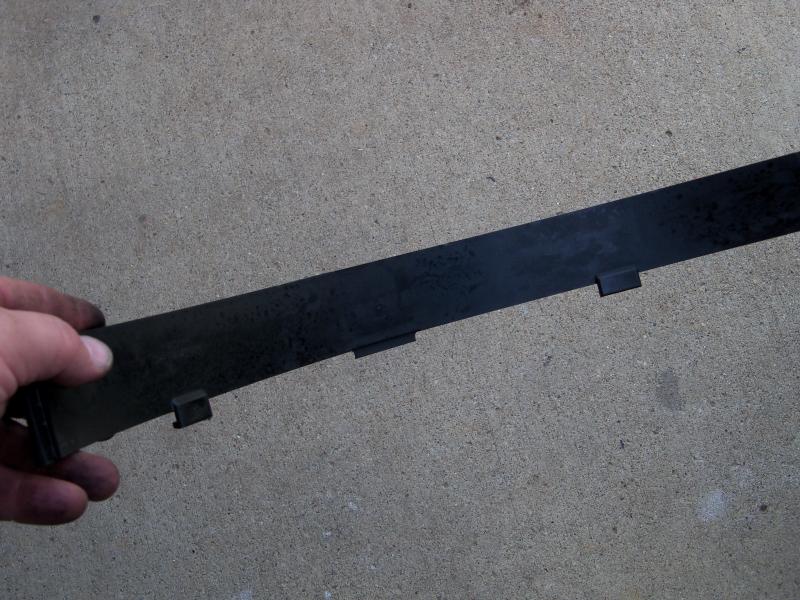
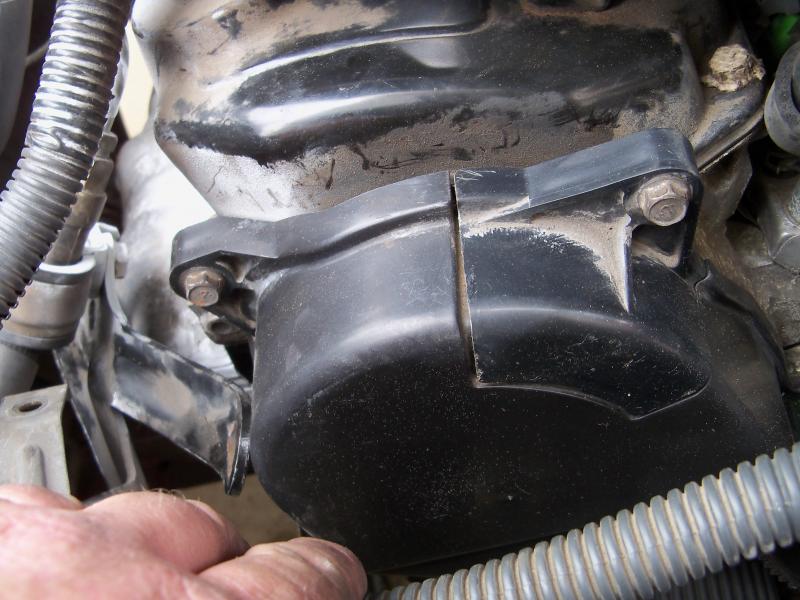
Remove this plastic piece from the bottom of the fan shroud
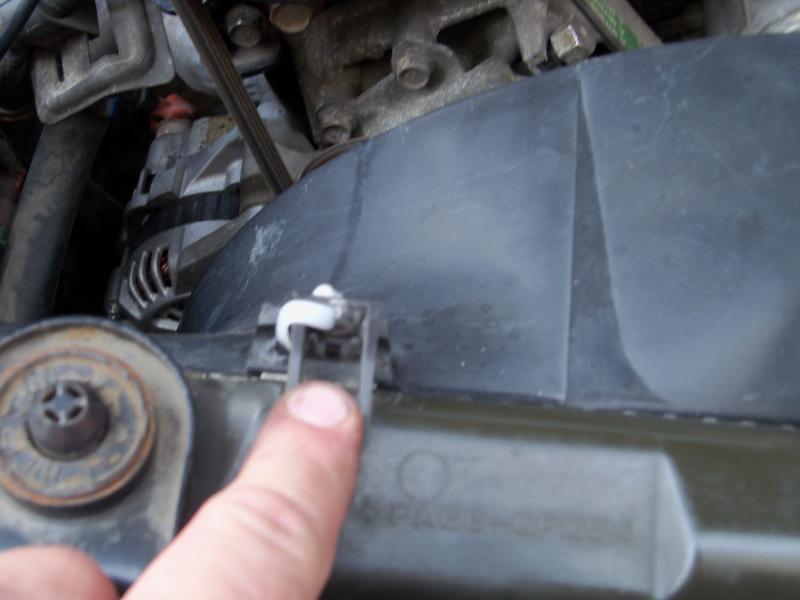
Then remove the 4 screws from the shroud. Mine had a screw missing and was zip tied in place


Remove this plastic piece from the bottom of the fan shroud

Then remove the 4 screws from the shroud. Mine had a screw missing and was zip tied in place


#62
07-31-2013 | 12:38 AM
Member
Joined: Apr 2013
Posts: 30
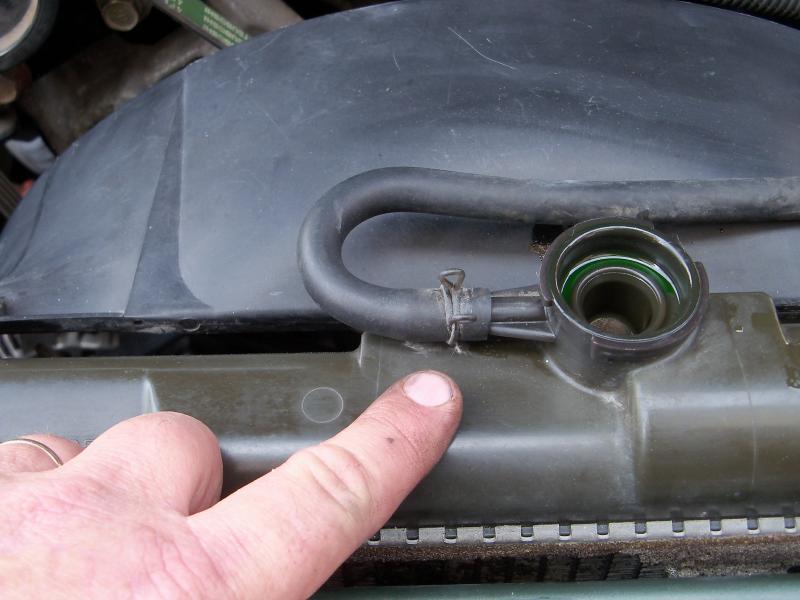
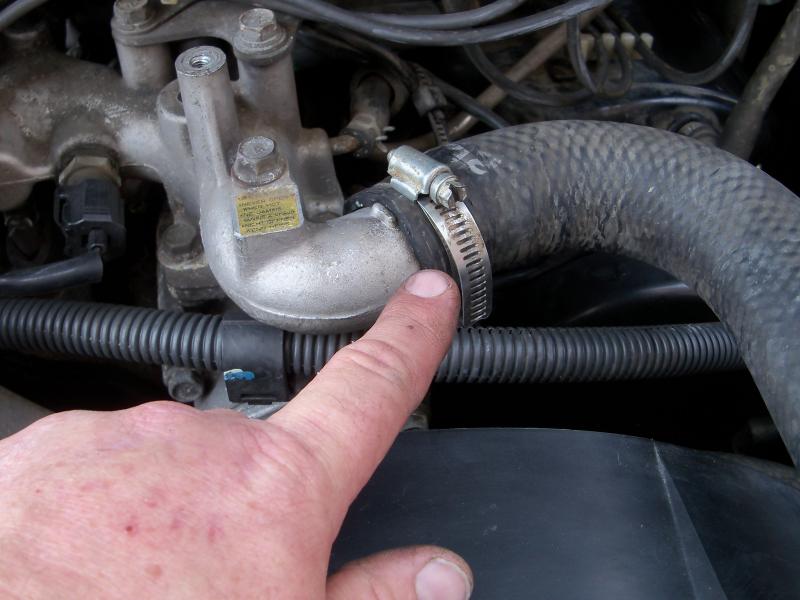
What can i say, It's a 15 year old truck, not every thing on it is in as new factory condition. Anyhow, remove the overflow hose
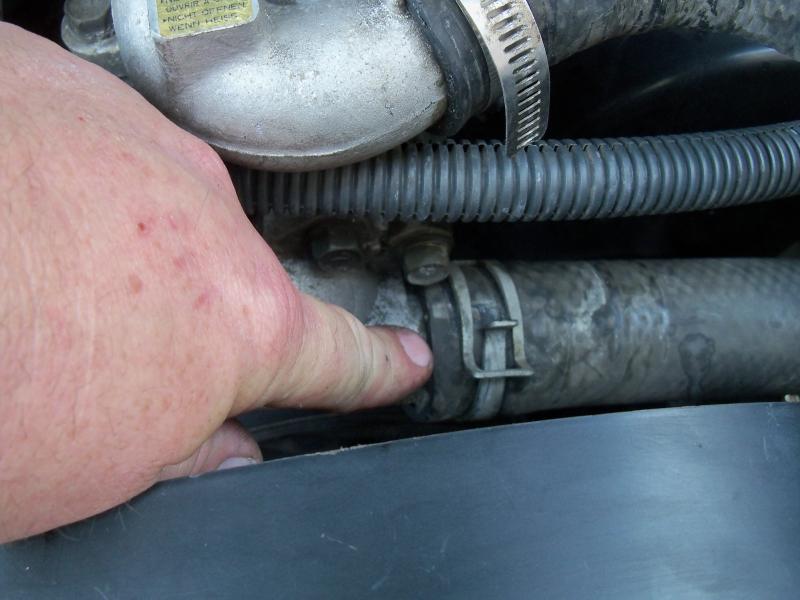
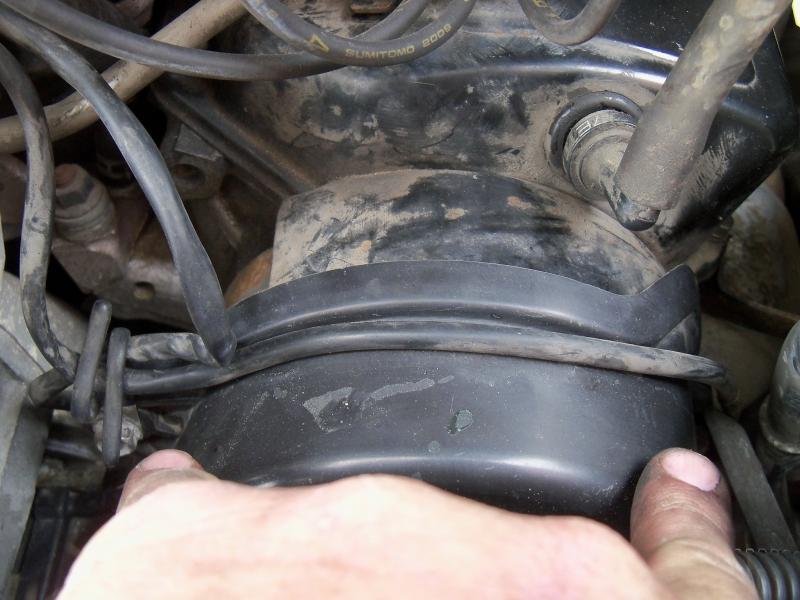
Disconnect the top and bottom radiator hose
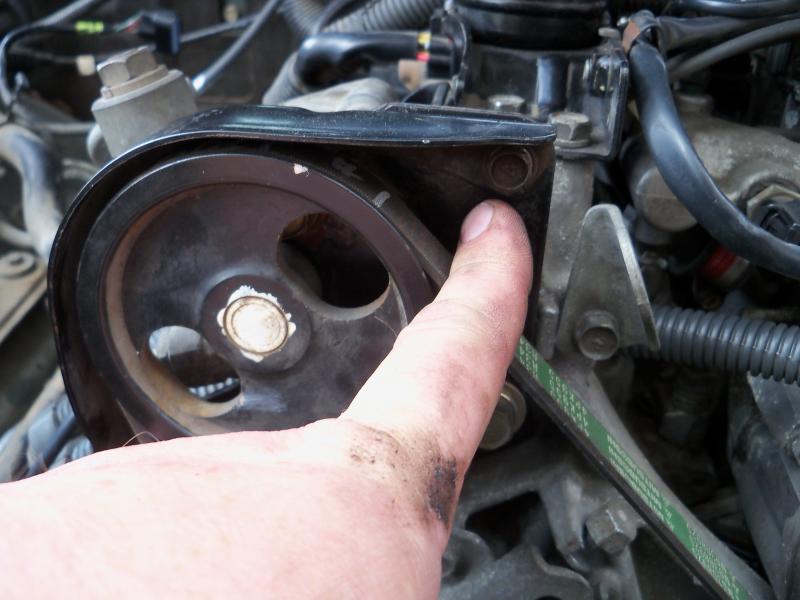
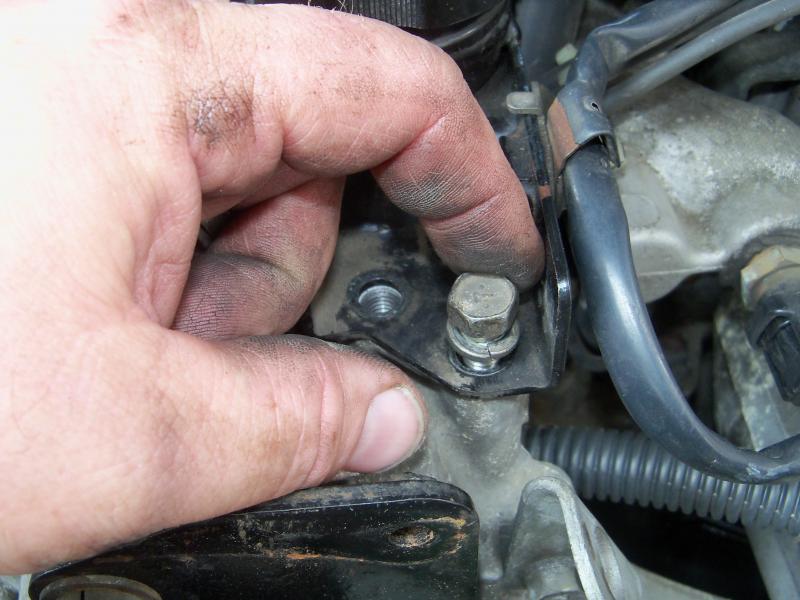
Remove this shroud and the bolts to the bracket behind it. Mark them and put them in a baggie so you don't get them mixed up. (Sorry about the extra pic)

Disconnect the top and bottom radiator hose


Remove this shroud and the bolts to the bracket behind it. Mark them and put them in a baggie so you don't get them mixed up. (Sorry about the extra pic)


Last edited by MXer746; 07-31-2013 at 04:59 AM.


#65
07-31-2013 | 08:11 PM
Member
Joined: Apr 2013
Posts: 30
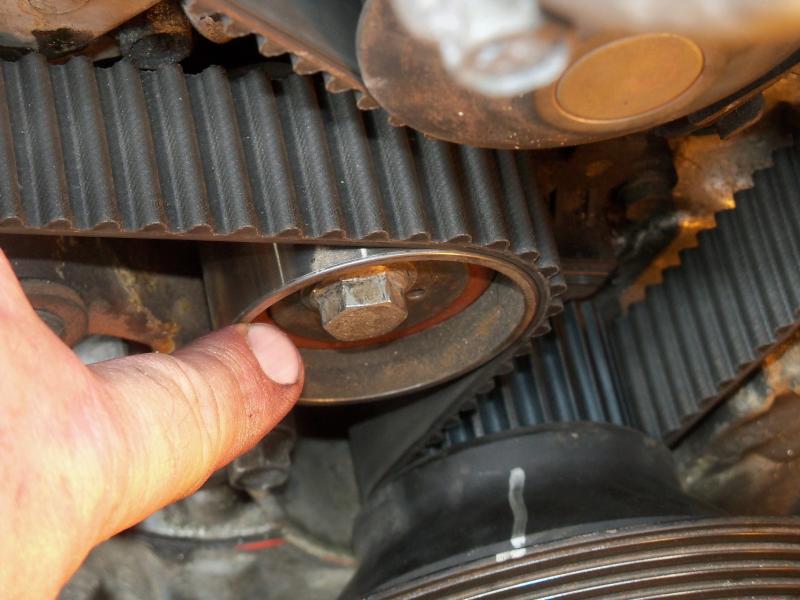
Loosen that nut on the adjuster pulley
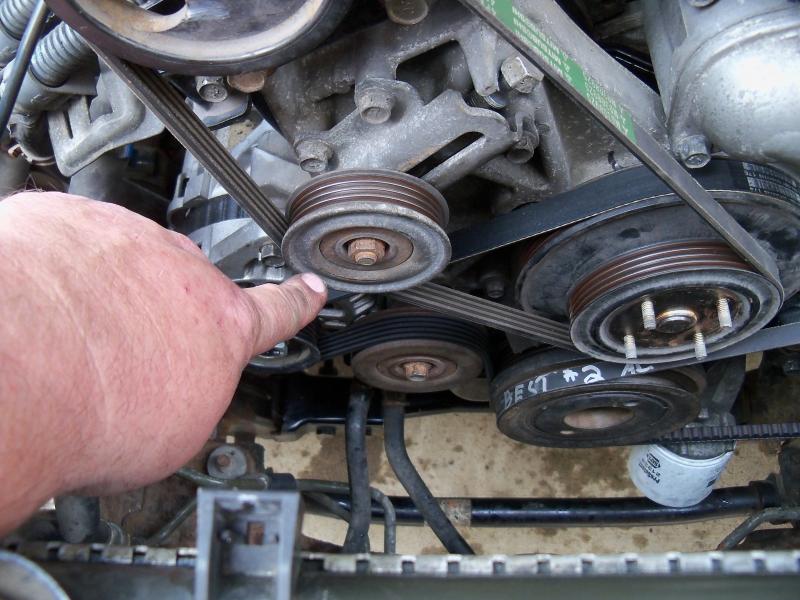
Then loosen the tensioner bolt and remove the belt
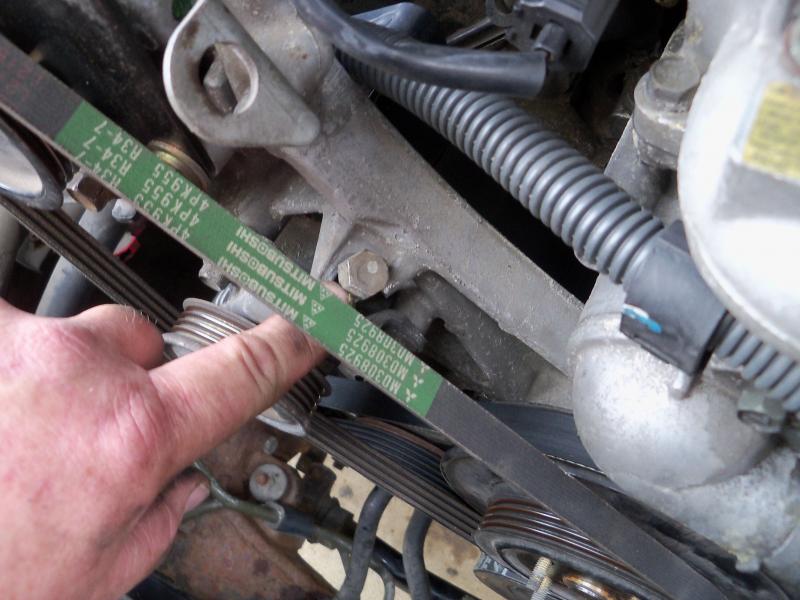
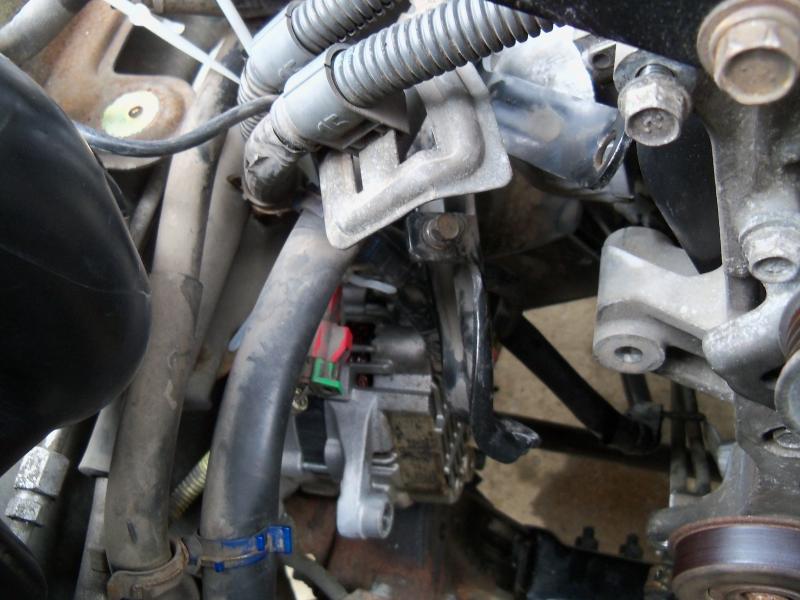
Loosen the center pulley nut on the top Air conditioner pulley, then use a 12mm socket and extension, and loosen the A/C belt tensioner and remove the A/C belt. Then remove these two bolt and remove the PS steering pump and lay it aside. Don't disconnect it though.
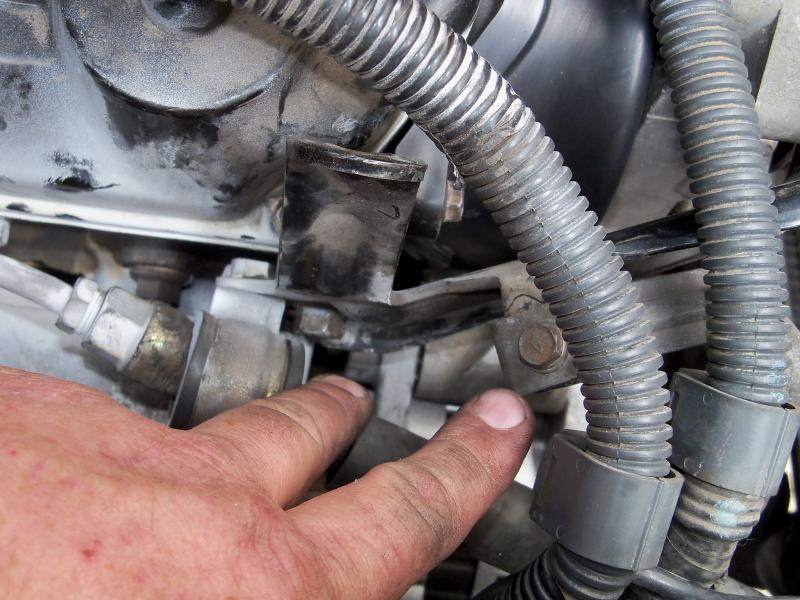
Do so by also removing these bolts on the bracket. Put them and a labeled baggie and also at this time unbolt the alternator. You don't have to disconnect it either. I used ty raps to tie them up and hang them so they're not hanging by the hoses or wires.

Then loosen the tensioner bolt and remove the belt

Loosen the center pulley nut on the top Air conditioner pulley, then use a 12mm socket and extension, and loosen the A/C belt tensioner and remove the A/C belt. Then remove these two bolt and remove the PS steering pump and lay it aside. Don't disconnect it though.

Do so by also removing these bolts on the bracket. Put them and a labeled baggie and also at this time unbolt the alternator. You don't have to disconnect it either. I used ty raps to tie them up and hang them so they're not hanging by the hoses or wires.


Last edited by MXer746; 08-28-2018 at 04:29 PM.
#66
07-31-2013 | 08:30 PM
Member
Joined: Apr 2013
Posts: 30
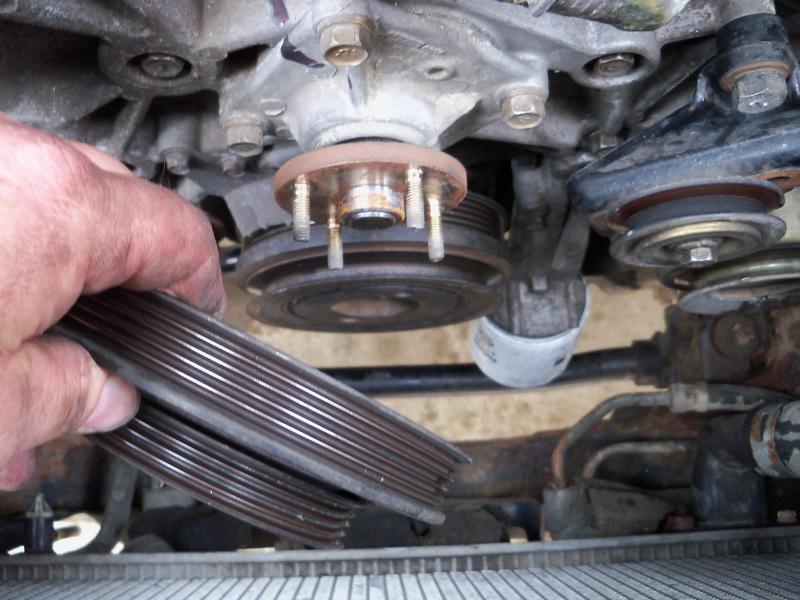
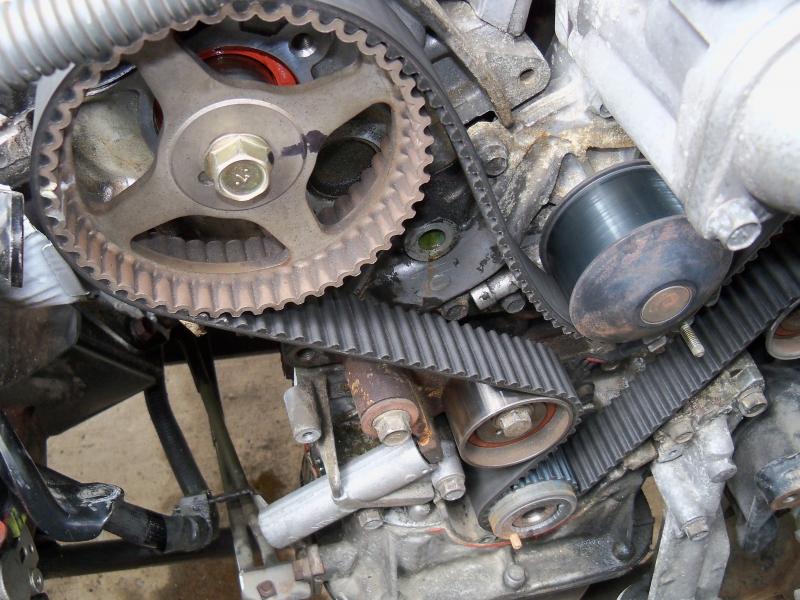
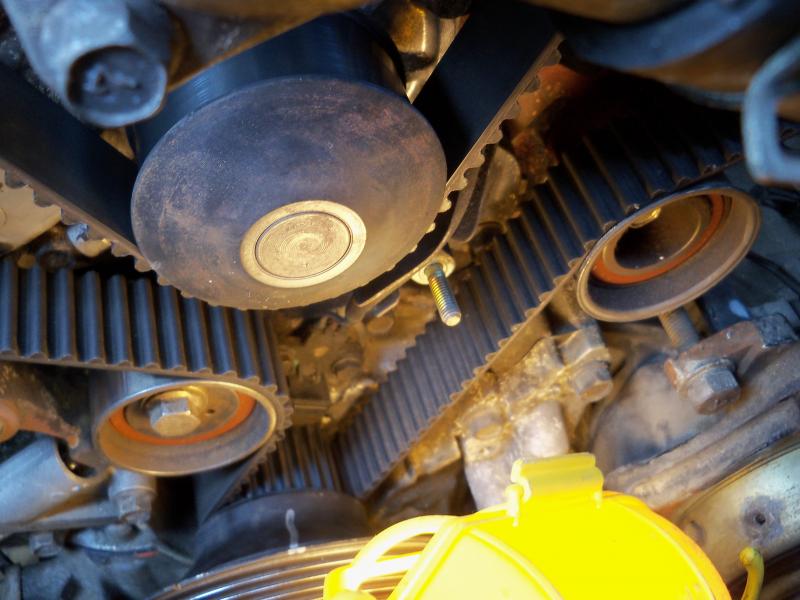
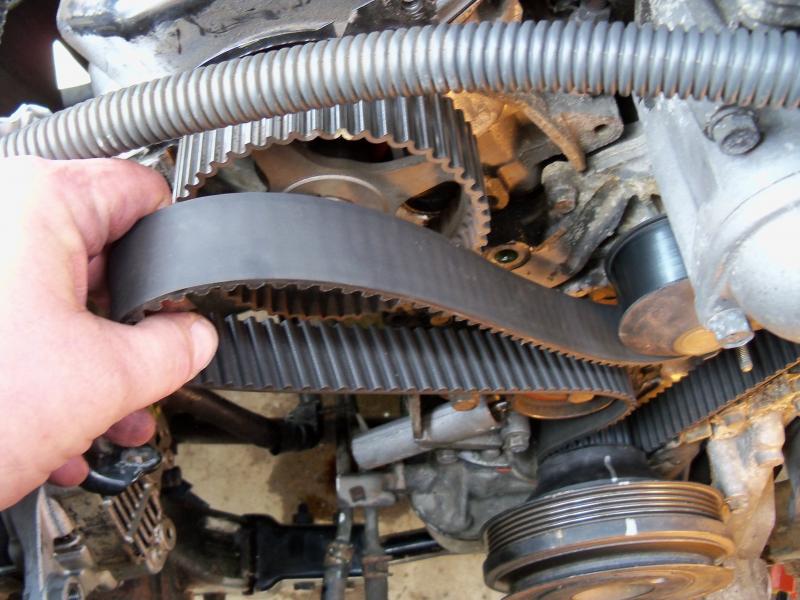
remove the remaining belts by loosening the tensioner pulley nuts, then the tensioner bolts. Then remove the water pump pulley
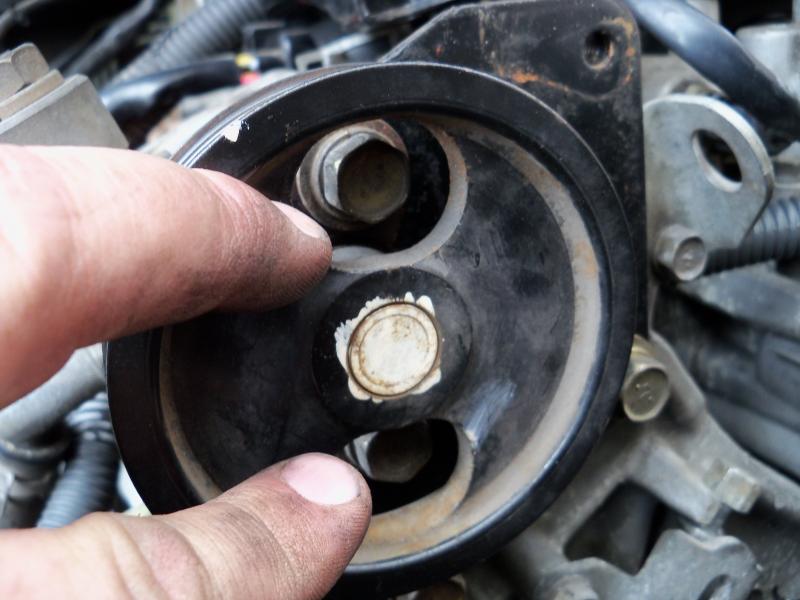
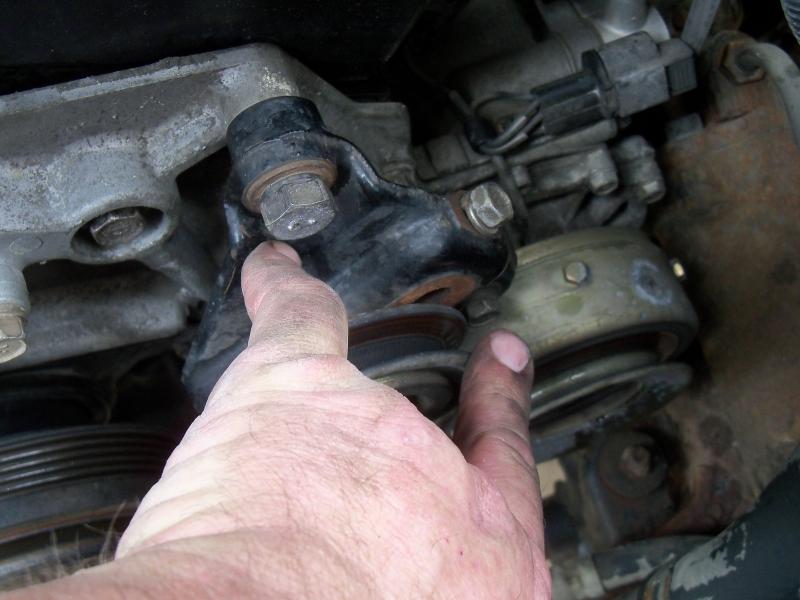
Remove the bolts holding the AC tensioner pulley, these two and I believ one more underneath, and remove the pulley/tensioner assy.
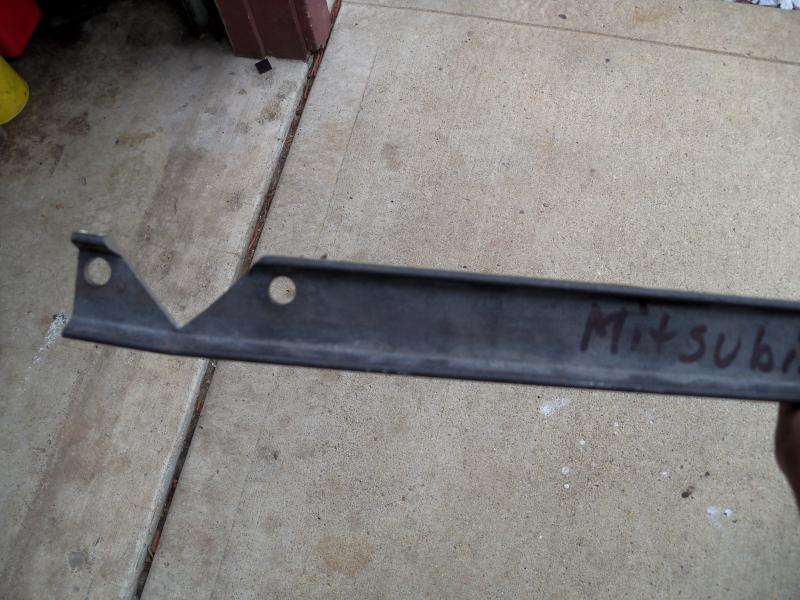
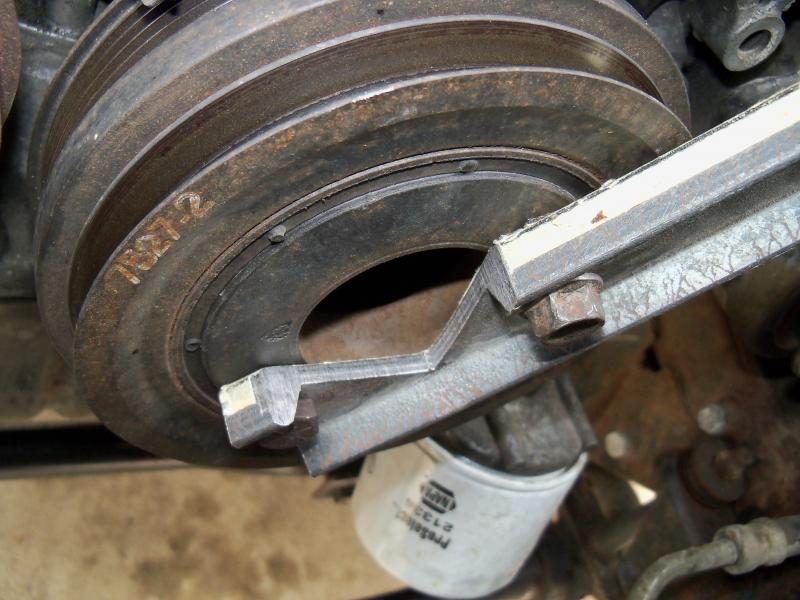
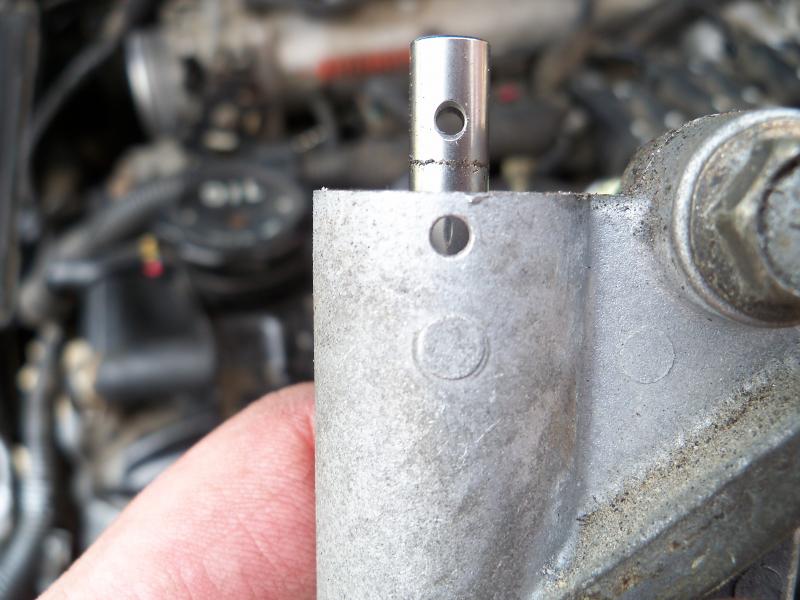
Now you get to either buy the tool from Mitsubishi, or NAPA has one to rent, or I made my own pulley holder but you need one like this. I just used a ruler for measurment for making my own as far as the hole size and distance between holes. Measure the holes on the MAIN crankshaft pulley.
Using two long bolts stick them through the holder into the crankshaft pulley to hold it while you loosen the nut inside.

Remove the bolts holding the AC tensioner pulley, these two and I believ one more underneath, and remove the pulley/tensioner assy.

Now you get to either buy the tool from Mitsubishi, or NAPA has one to rent, or I made my own pulley holder but you need one like this. I just used a ruler for measurment for making my own as far as the hole size and distance between holes. Measure the holes on the MAIN crankshaft pulley.

Using two long bolts stick them through the holder into the crankshaft pulley to hold it while you loosen the nut inside.


#68
08-02-2013 | 01:12 AM
Member
Joined: Apr 2013
Posts: 30
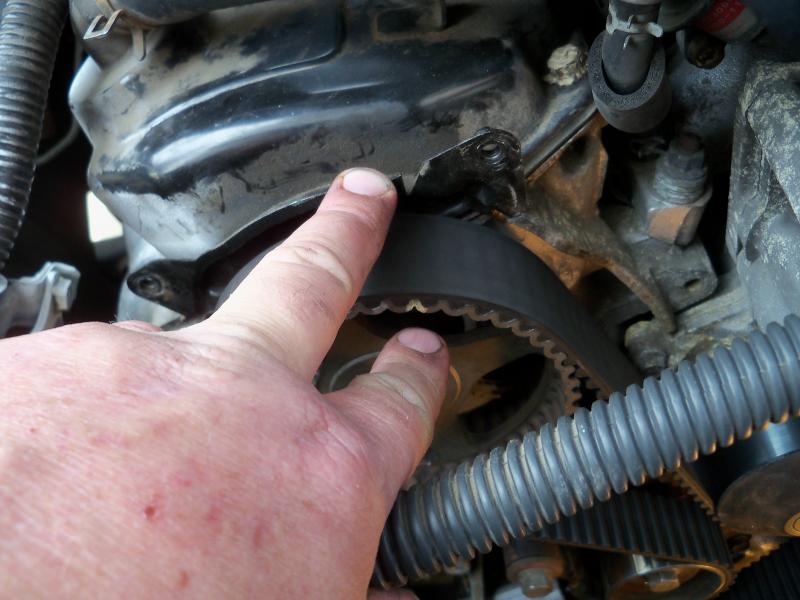
Take off the Left and Right camshaft pulley plastic covers. The right one, or drivers side one the bolts are kinda hidden.
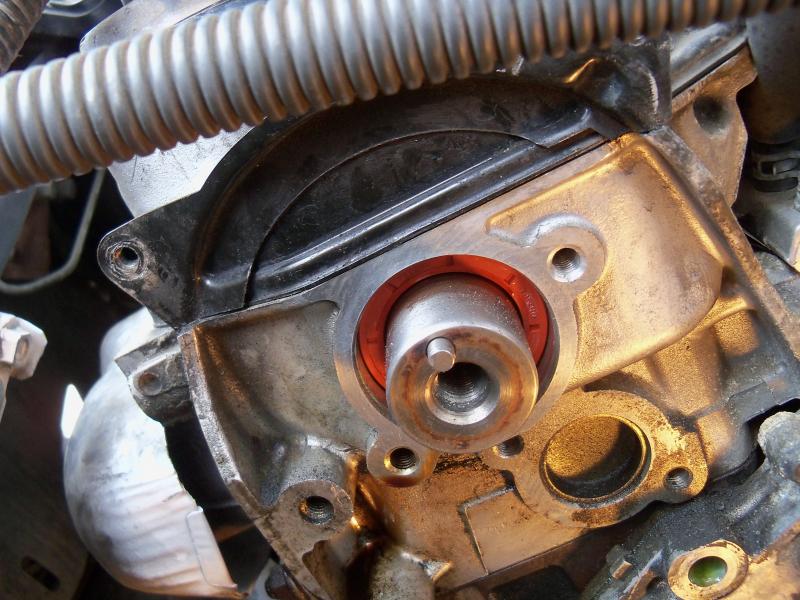
Take off the bottom cover too. In this pic you can see where I pushed the pass side cam shaft seal on too far ( It's the bright orange seal0 causing it to leak. If you ever have to change it, just push it on far enough to where it's flush with the head plus about 1/4 ". NOT all the way until it stops!
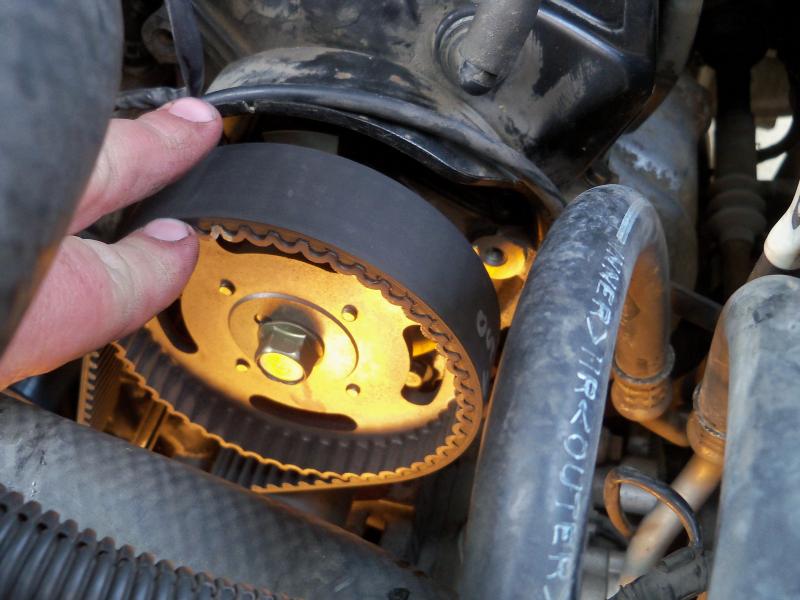
Put you crankshaft pulley temp. back on and rotate the crankshaft clockwise as you look at it until the white marks line up with the timing mark on the valve cover. It should line up on both sides and the crankshaft mark on the block


Last edited by MXer746; 08-02-2013 at 09:06 PM.
#69
08-02-2013 | 01:25 AM
Member
Joined: Apr 2013
Posts: 30
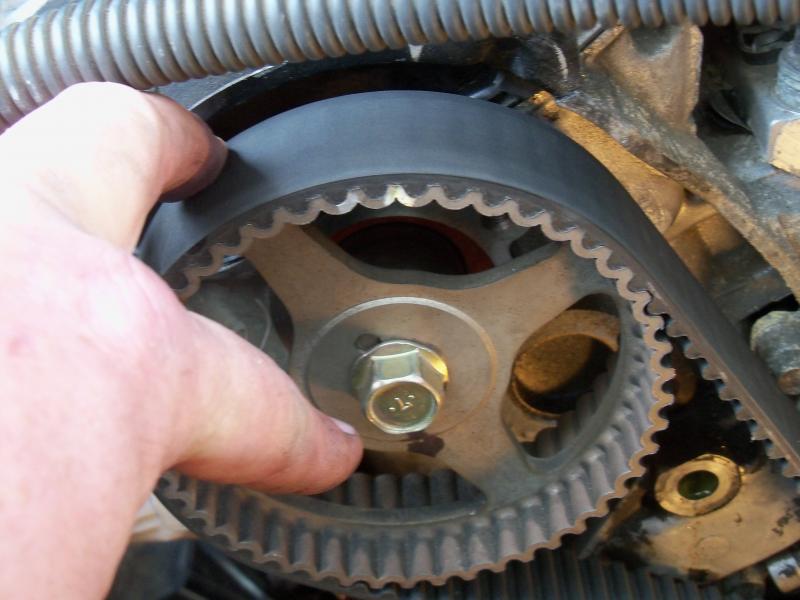
Now in my case I was changing the seal so at this time I had to loosen the camshaft seal, otherwise loosen the Tensioner pulley bolt and remove the belt.
Here's my seal pushed in TOO FAR! DON'T DO THIS!
Remove the belt tensioner

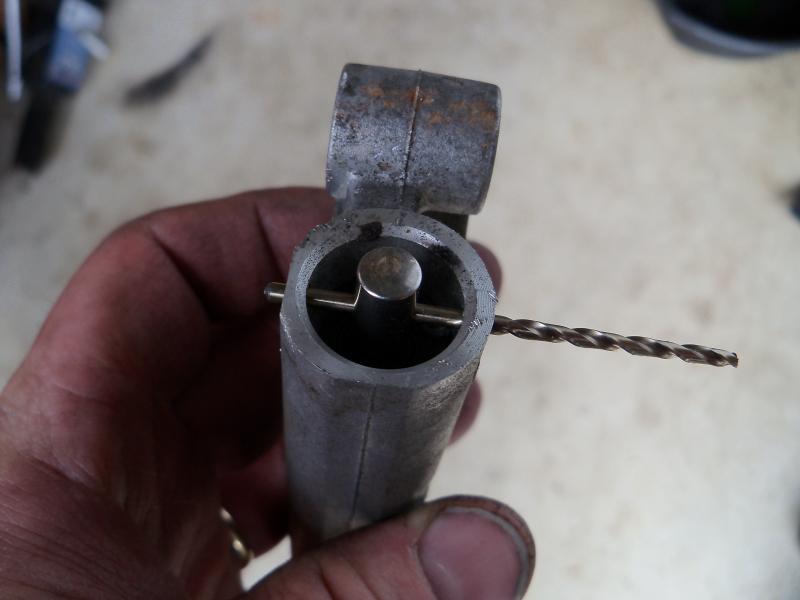
Now you have to line up these two holes on the tensioner. It WILL take a vise or some thing like that. (If not, then your belt tensioner is worn out and replace it!)
Now I used a drill bit to pin it, but Mitsubishi sells a pin for it, or some other pin will work, but it better be strong, not plastic or wood or aluminum. Squeeze it in the vise and pin it.


Here's my seal pushed in TOO FAR! DON'T DO THIS!

Remove the belt tensioner

Now you have to line up these two holes on the tensioner. It WILL take a vise or some thing like that. (If not, then your belt tensioner is worn out and replace it!)

Now I used a drill bit to pin it, but Mitsubishi sells a pin for it, or some other pin will work, but it better be strong, not plastic or wood or aluminum. Squeeze it in the vise and pin it.
