
Aftermarket Hitch Installation - UPDATED - COMPLETE
#181
 05-10-2014, 04:11 PM


I also see that you are having problems with your receptacles/plugs etc... here is a pic of what mine looks like and very convenient here... OK .. welp can't copy n paste here n no one know how to post pic's here I guess. I have a post into yahoo Q&A Maybe they can show me how to post them here. Until then have a nice day.
#182
05-17-2014, 10:42 AM

Our vehicle has the 10" Fosgate sub. Is there some kind of amplifier box mounted on the undercarriage just underneath it?
The reason I ask is that I'm installing a Hidden Hitch and I may have stripped the driver's side, front-of-the-vehicle-most threaded hole. I can tighten that bolt to 42 ft-lb, as specified, but it just does not feel right as I tighten. I have a helicoil kit for this particular thread, so I'd like to install a helicoil insert just to be on the safe side.
In order to do that I first have to drill out whatever remains of the present threads with a 13/32 bit, then tap the hole with the special helicoil tap, then twist in the stainless steel helicoil.
This is usually a very easy job, but in this case there is a black box of some sort that is directly underneath that particular bolt/hole -- at least enough so that I believe it is going to prevent my drill from properly drilling the hole.
Below are photos of the box (a portion of which has had the dirt rubbed off it) that also show two of the newly-installed hitch bolts. Again, the hole I want to deal with is the one toward the front of the vehicle (the bottom one in the photo).
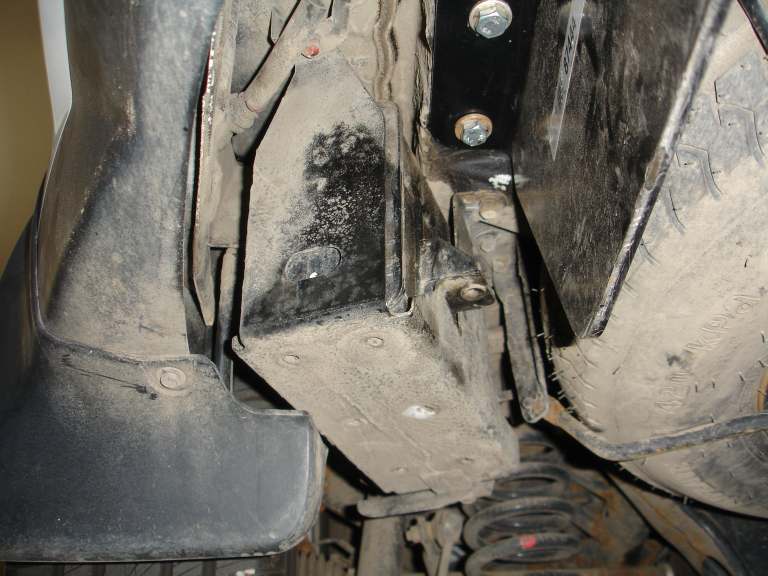
Notice that for some reason Mitsubishi loves painting the heads of some bolts red, like the one on the bracket at the top of the box toward the rear of the vehicle. (There is another one at the front of the vehicle that is being wetted by a leak of either transmission fluid or engine oil. Needless to say, the fact that that bolt's head is marked red is a very inconvenient truth when it comes to diagnosing the source of the leak. While you're at it, also notice the red dot painted on the coil spring.)
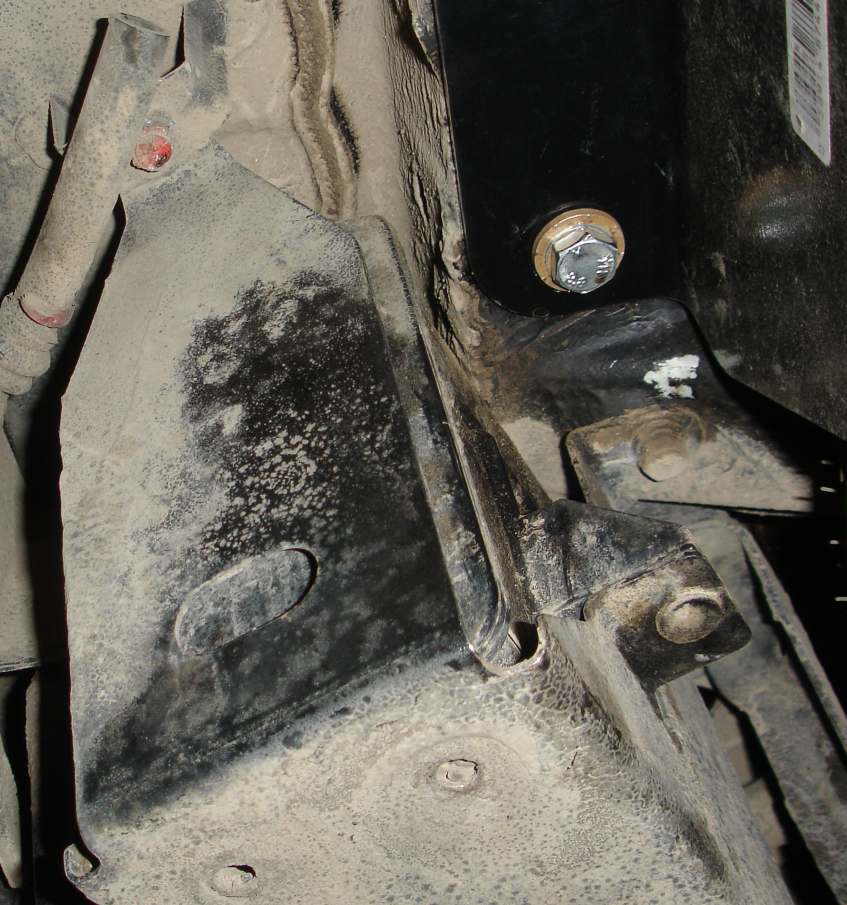
What is that box? There's a cable/wire that goes into/out of the box on the front-most end. After just a short distance, I can't really see where it goes from there.
There are three or four rather small 10 to 12 mm bolts that fasten the mounting bracket of that box onto the undercarriage. I think I can remove them to allow the box to move a bit without disconnecting the cable, but I'd like to know what the heck is in that box before doing anything.
Does anyonw know what is the purpose/function of that box?
Thanks.
The reason I ask is that I'm installing a Hidden Hitch and I may have stripped the driver's side, front-of-the-vehicle-most threaded hole. I can tighten that bolt to 42 ft-lb, as specified, but it just does not feel right as I tighten. I have a helicoil kit for this particular thread, so I'd like to install a helicoil insert just to be on the safe side.
In order to do that I first have to drill out whatever remains of the present threads with a 13/32 bit, then tap the hole with the special helicoil tap, then twist in the stainless steel helicoil.
This is usually a very easy job, but in this case there is a black box of some sort that is directly underneath that particular bolt/hole -- at least enough so that I believe it is going to prevent my drill from properly drilling the hole.
Below are photos of the box (a portion of which has had the dirt rubbed off it) that also show two of the newly-installed hitch bolts. Again, the hole I want to deal with is the one toward the front of the vehicle (the bottom one in the photo).
Notice that for some reason Mitsubishi loves painting the heads of some bolts red, like the one on the bracket at the top of the box toward the rear of the vehicle. (There is another one at the front of the vehicle that is being wetted by a leak of either transmission fluid or engine oil. Needless to say, the fact that that bolt's head is marked red is a very inconvenient truth when it comes to diagnosing the source of the leak. While you're at it, also notice the red dot painted on the coil spring.)
What is that box? There's a cable/wire that goes into/out of the box on the front-most end. After just a short distance, I can't really see where it goes from there.
There are three or four rather small 10 to 12 mm bolts that fasten the mounting bracket of that box onto the undercarriage. I think I can remove them to allow the box to move a bit without disconnecting the cable, but I'd like to know what the heck is in that box before doing anything.
Does anyonw know what is the purpose/function of that box?
Thanks.
Last edited by Outlaander; 05-17-2014 at 10:45 AM.
#183
05-17-2014, 04:54 PM
Well, whatever that box is, it has multiple connections, including a probably 1" diameter hose.
I removed its bracket's three mounting bolts and lowered it out of the way. I then drilled, tapped and "helicoiled" the hole. A new M10(1.25)x40mm turned in very nicely by hand with almost zero "play".
Re-installed the box.
Installed the hitch and put the muffler back on its rubber mounts for the last time.
The hitch is as solid as a rock.

#185
05-17-2014, 06:14 PM
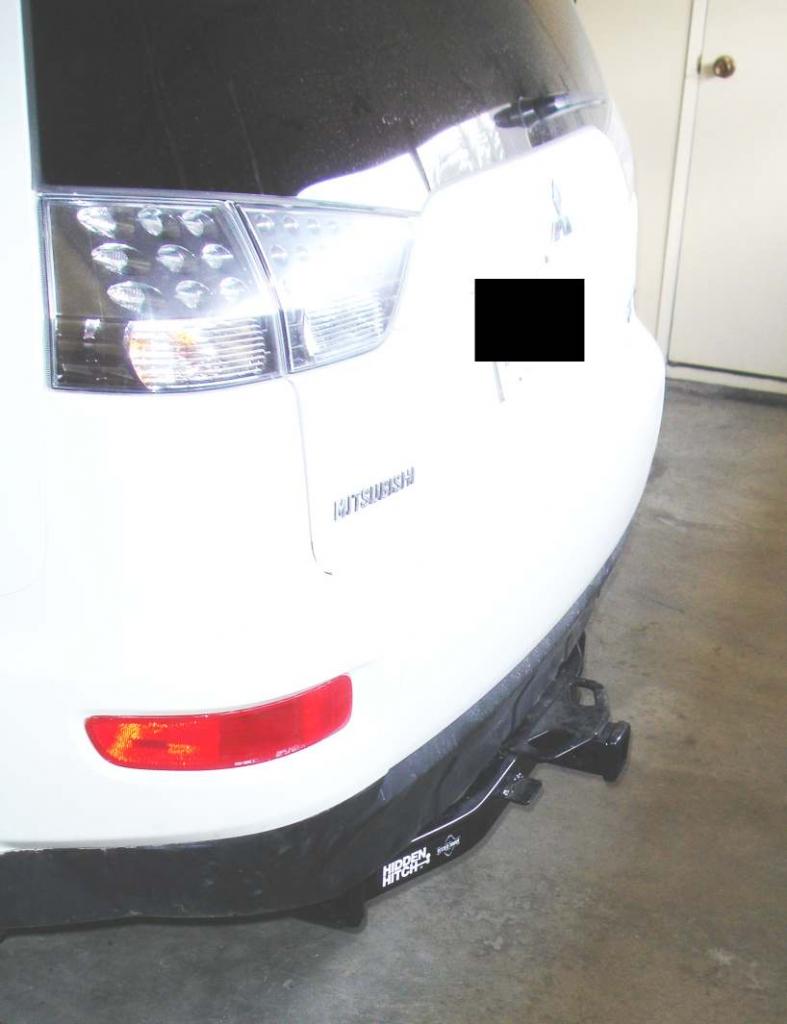
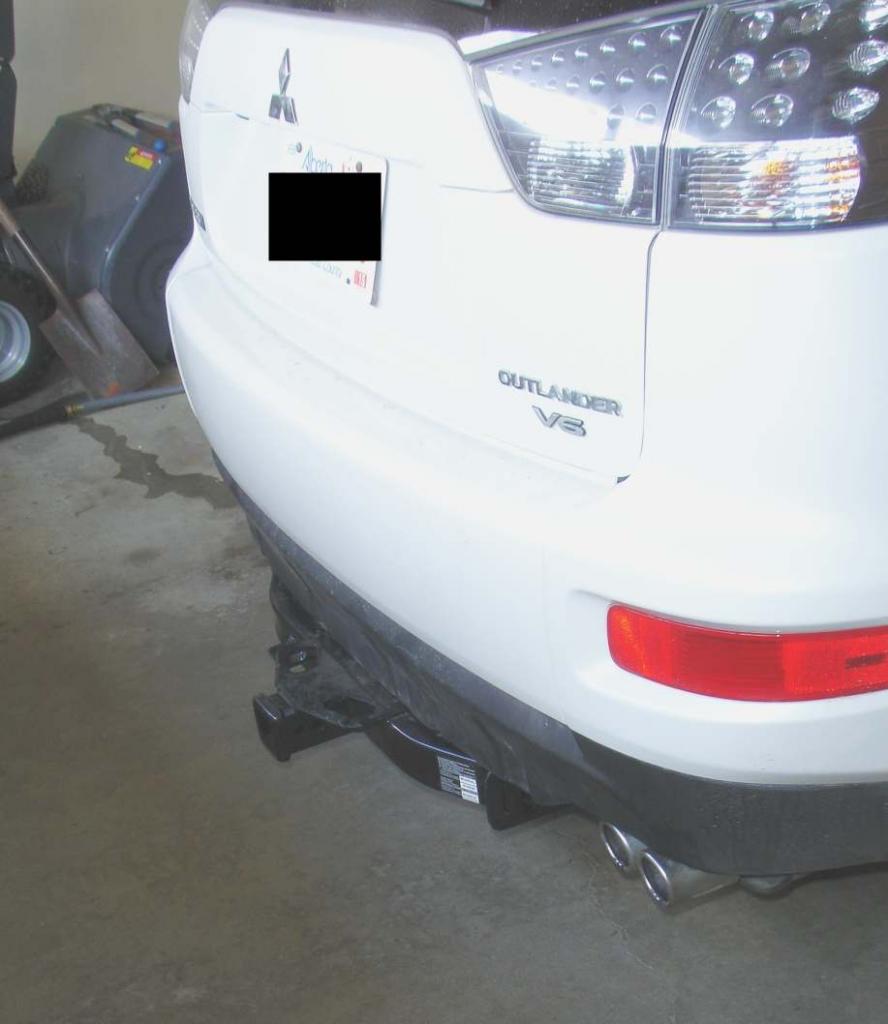
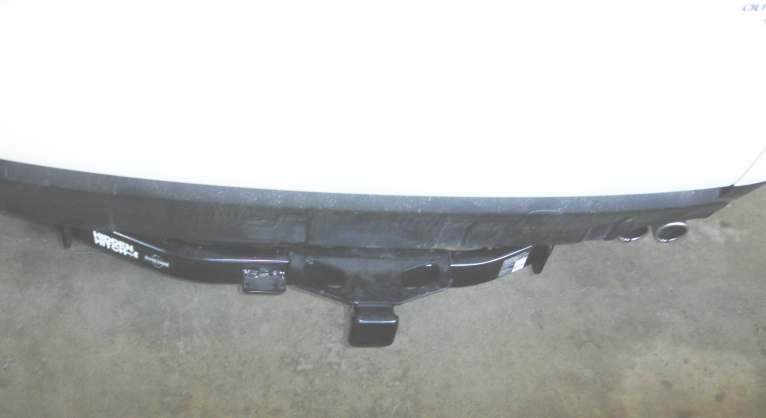
Unfortunately I haven't bought a receiver tube or hitch ball yet, so I cannot show a photo with those in place.
Hope this helps.
#186
05-17-2014, 06:29 PM
Thank you Sir  . It seems there isn't much difference between the Hidden Hitch and Curt, they look almost the same and they both show a lot at the back. Two bad nobody in the UK is willing to ship the hitch I posted on page #17, that is a really nice really hidden hitch.
. It seems there isn't much difference between the Hidden Hitch and Curt, they look almost the same and they both show a lot at the back. Two bad nobody in the UK is willing to ship the hitch I posted on page #17, that is a really nice really hidden hitch.
#187
05-18-2014, 09:50 AM
The Hidden Hitch looks to me identical to the Draw Tite hitch. I would not be surprised if they're manufactured in the same facility, on the same assembly line, and just have different names painted on them before they leave the factory. In Edmonton, they're both sold out of the same warehouse.
If I had this job to do over again, I would without any doubt buy a M10(1.25) tap to clean the threads in those six holes before attempting to screw in the bolts. This relatively inexpensive operation would have in the end saved me a lot of hassle. I would highly recommend this to anyone doing this job.
If I had this job to do over again, I would without any doubt buy a M10(1.25) tap to clean the threads in those six holes before attempting to screw in the bolts. This relatively inexpensive operation would have in the end saved me a lot of hassle. I would highly recommend this to anyone doing this job.
#188
08-26-2014, 04:13 AM

Hey
Just a question. I found an after market tow-bar, including everything, in the States for far less than the ones here in Australia. Might sound like a dumb question, but would they fit my Outlander here please?
Thanx
Just a question. I found an after market tow-bar, including everything, in the States for far less than the ones here in Australia. Might sound like a dumb question, but would they fit my Outlander here please?
Thanx
#189
04-27-2015, 10:31 AM

You have to watch your wiring harness warranty date closely as the modules frequently go out on these harnesses and they won't warranty them a day past purchase!
#190
06-11-2015, 01:45 PM

"If I had this job to do over again, I would without any doubt buy a M10(1.25) tap to clean the threads in those six holes before attempting to screw in the bolts. This relatively inexpensive operation would have in the end saved me a lot of hassle. I would highly recommend this to anyone doing this job."
EXACTLY!!....I just put a curt on my 2012 outlander just before Memorial day weekend. I had to buy a tap to clean the threads. Was very careful to use lots of PB Blaster, and back the tap out often to clean out all the crap. It took about an hour and a half to get the threads of all 6 holes cleaned out to where the bolts went in smoothly! It's amazing just how much gets up in there in just 3 years....sure would have been nice if the holes had plastic plugs installed at the factory!
EXACTLY!!....I just put a curt on my 2012 outlander just before Memorial day weekend. I had to buy a tap to clean the threads. Was very careful to use lots of PB Blaster, and back the tap out often to clean out all the crap. It took about an hour and a half to get the threads of all 6 holes cleaned out to where the bolts went in smoothly! It's amazing just how much gets up in there in just 3 years....sure would have been nice if the holes had plastic plugs installed at the factory!
Last edited by jfleag61; 06-11-2015 at 01:47 PM.