When you click on links to various merchants on this site and make a purchase, this can result in this site earning a commission. Affiliate programs and affiliations include, but are not limited to, the eBay Partner Network.
How to Remove Power Steering Lines - 94 Montero (Pics)
Mitsubishi Montero & Montero SportThis sport utility vehicle offers more size than the other Mitsubishi SUVs, but manages to keep a sporty look and comfortable feel, unlike many larger SUVs.
Good grief......this "simple" project really turned into a major effort. I probably just should have cut off the rotten bottoms of each line and slid a rubber hose & clamps on them as I originally had thought of doing.
StudebakerHawk, just be honest with us - if it was simple and easy you would not enjoy it as much. If a project takes one beer time it is hard to justify spending the whole weekend in garage and need for new tools
On the serious note - I'm glad you were able to source the original Mitsubishi lines. Would be interesting to measure Rock Auto threads and Mitsubishi threads to see what is the difference.
I'm not sure what you mean by filing the threads. When I talked about filing the nut I meant to just nick the nut with the file (not on the thread) to see if material its made from is soft or hard. If you want to re-size the threads you got to do it with the die of the correct size and run it the full length of the nut. Just filing off the tips of the threads will not do it. I personally would not go that direction. It might just weaken the connection.
Hunter.....Simple and easy? Well, maybe I will agree with you after this job is complete.......good to have a challenge once in a while, but seems they are tossing all those shop gremlins at me on these darn power steering lines. Not a "one beer job", but might drive a sober man to binge drink.....ha ha......pass me another 6pac of germ-free Koronna.......and no one in my home garage is allowed to wear those confounded face masks......shoot, cant drink and wear a mask at the same time.
Filing threads.....Yea, I had the idea of just filing off some of the "ridge" on the threads so it would screw in easier, and thought you had agreed......my bad. I am hoping that the OEM threads will measure less than the Rock threads.....no fuss, no muss. Then return those gypsie lines back to Rock.......or use them as straws to sip my Koronna from a safe distance.
Hunter......I got the new OEM Mitsubishi low pressure (return) line in. There were absolutely no new OEM high pressure lines in stock at any Mitsu location in the US. So, I measured the thread OD on the new OEM line and compared to the original OEM line and the Rock Auto line:
I put the calipers on them and got:
New OEM thread Dia: 15.76 mm
Old rusty OEM thread Dia: 15.45 mm
New Rock Auto thread Dia: 15.75 mm
So, it looks like the Rock Auto threads were correct. I guess I will just have to work hard to get the new line nut to thread into the steering box, pushing downward as I try to rotate the nut. Looks like I will have to go buy a 17mm crows-foot and a shorty 17 mm wrench for this job, as I cant cheat with the socket and extension on an uncut line (DOHHHH!!!).
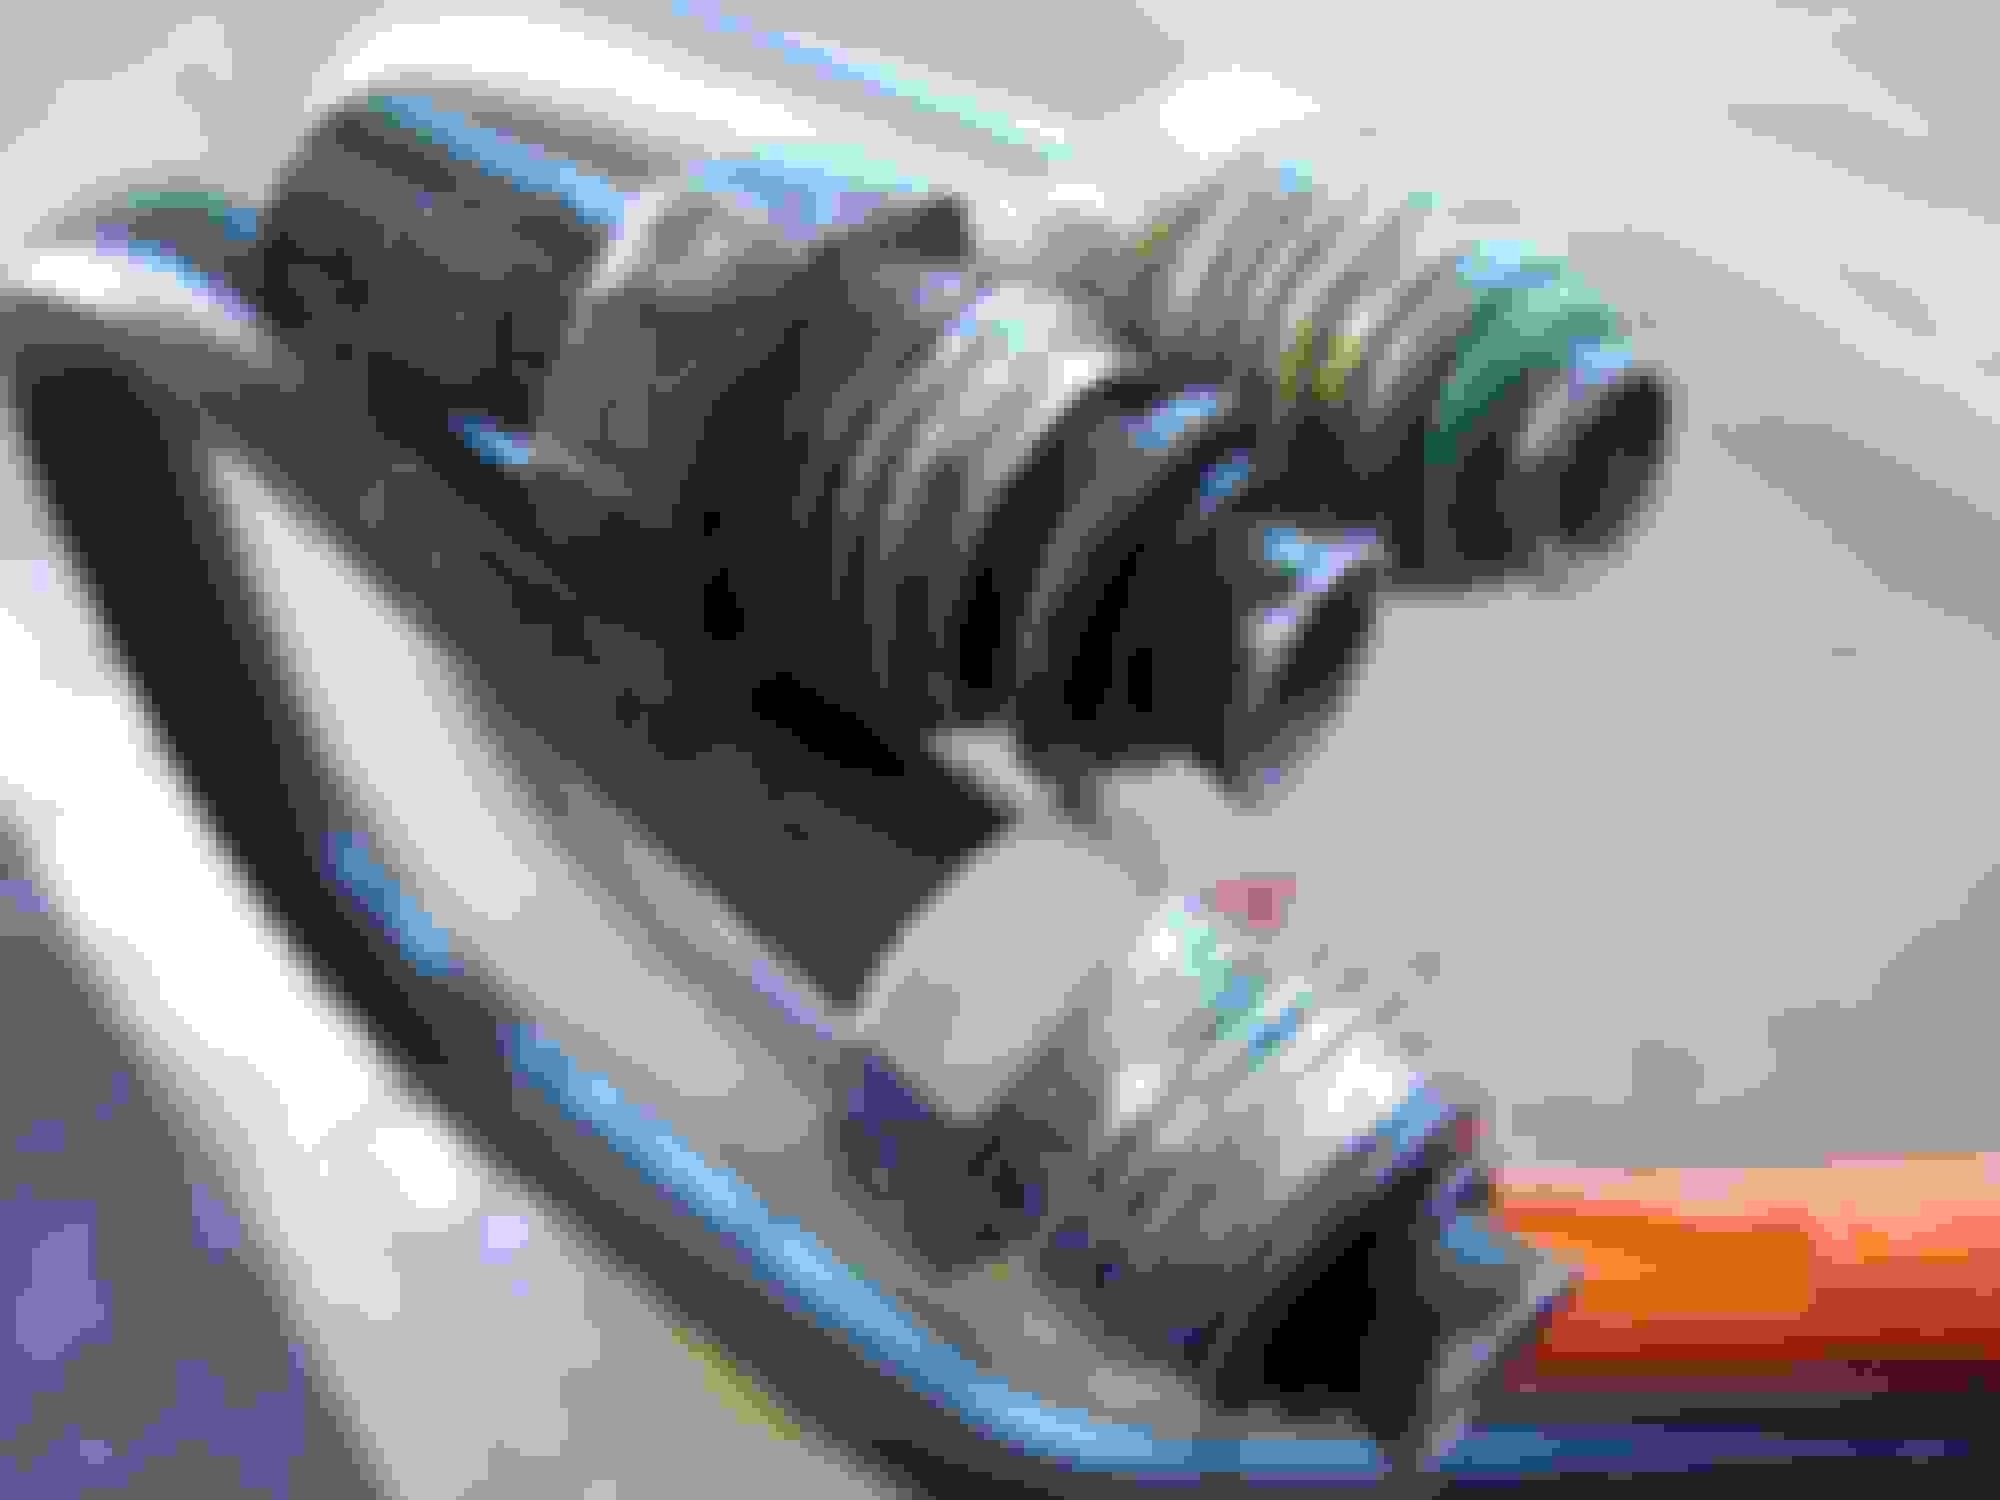
New Mitsu OEM on botom, Old leaking OEM in middle, and new Rock Auto at top, sporting the green Irish Oring.
That is interesting. It seems like the thread is suppose to "give" a little and vonform to the sealing surface in order to seal fully. Do you know what torque those nuts are supposed to be at? I'm curious how close you are to sealing point from where it gets tough to turm the nut. A claw foot wrench is a good idea. Ive seen 6- point clawfoot flare wrenches for this purpise. Seems like that style will be less likely to slip in a tight place.
Yea, it looks that way, as the old OEM nut threads were deformed/rounded as opposed to the clean-edged new OEM threads. The Rock Auto one still has anti-seize on the threads, which makes it look deformed a bit......I was only able to barely get the threads started when I stopped, as I did not want to strip out the steering box threads. I will be picking up the crow-foot set and some some other stubby types, and may grab those longer "S" types which may "save the day" on this job.
Torque....Not sure, but with those small rubber O-Rings, I dont think it should be too tight. Also, the OEM nut was designed to bottom out against the steering box, so I guess they had allowed just enough thread length to squash the Oring a bit before the nut hit the steering box shoulder. (I was not able to even get a small sharp pick between the old nut and the steering box shoulder when I was cleaning it before trying to take it off).
Forgot to update: Installed the OEM Mitsu. new power steering line and the Rock Auto high pressure line. I guess they are just designed to thread in tight, which I dont appreciate much. The crows-feet attachments worked best, along with a couple long extensions and ratchet. Had front tired jacked up off the ground and without the engine running, I first rotated the steering wheel in small amounts to the right, then left. Then more rotations right and left, added some fluid, then cranked up engine and did the same with the steering wheel. Seems to have gotten all the air out of the lines, and the power steering works fine.
 06-20-2020, 04:59 PM