
HID install on 2013 SE...


Thread Starter
|
Senior Member
Joined: Sep 2015
Posts: 174
From: Iowa
Will be installing HIDs on low and high beams in the morning...
Opt7 Boltzen Canbus Series with relays and capacitors...
OPT7 Boltzen AC Canbus Series: 35w HID Kit
OPT7 HID Kit Wire Relay Harness Anti-Flicker - Opt-7
OPT7 HID Kit Capacitors Warning Light Cancellors (Pair) - Opt-7
stay tuned for pics!!
Opt7 Boltzen Canbus Series with relays and capacitors...
OPT7 Boltzen AC Canbus Series: 35w HID Kit
OPT7 HID Kit Wire Relay Harness Anti-Flicker - Opt-7
OPT7 HID Kit Capacitors Warning Light Cancellors (Pair) - Opt-7
stay tuned for pics!!
Thread Starter
|
Senior Member
Joined: Sep 2015
Posts: 174
From: Iowa
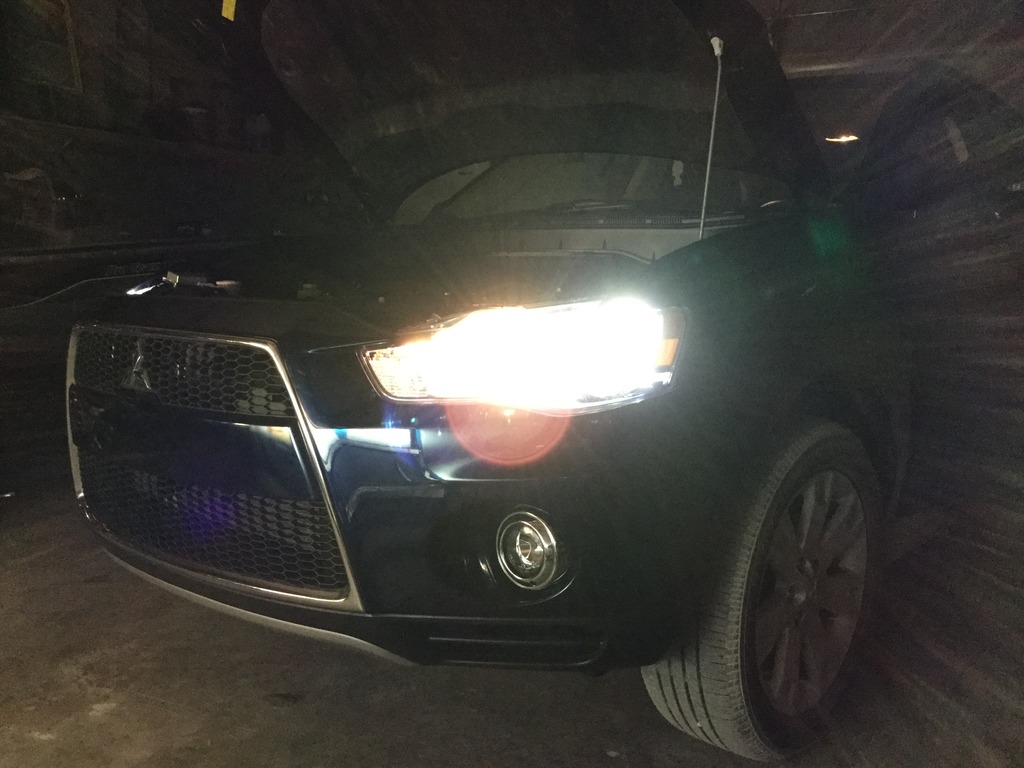
Halogen low with halogen fog...
Halogen high (obviously with low halogen too)...
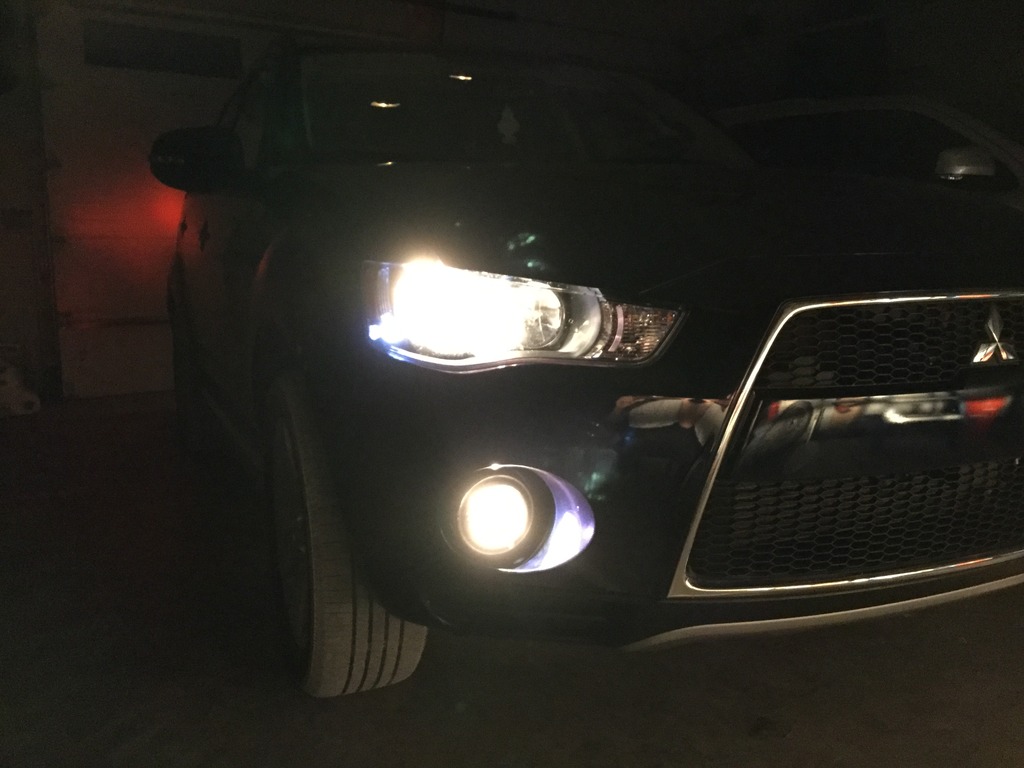
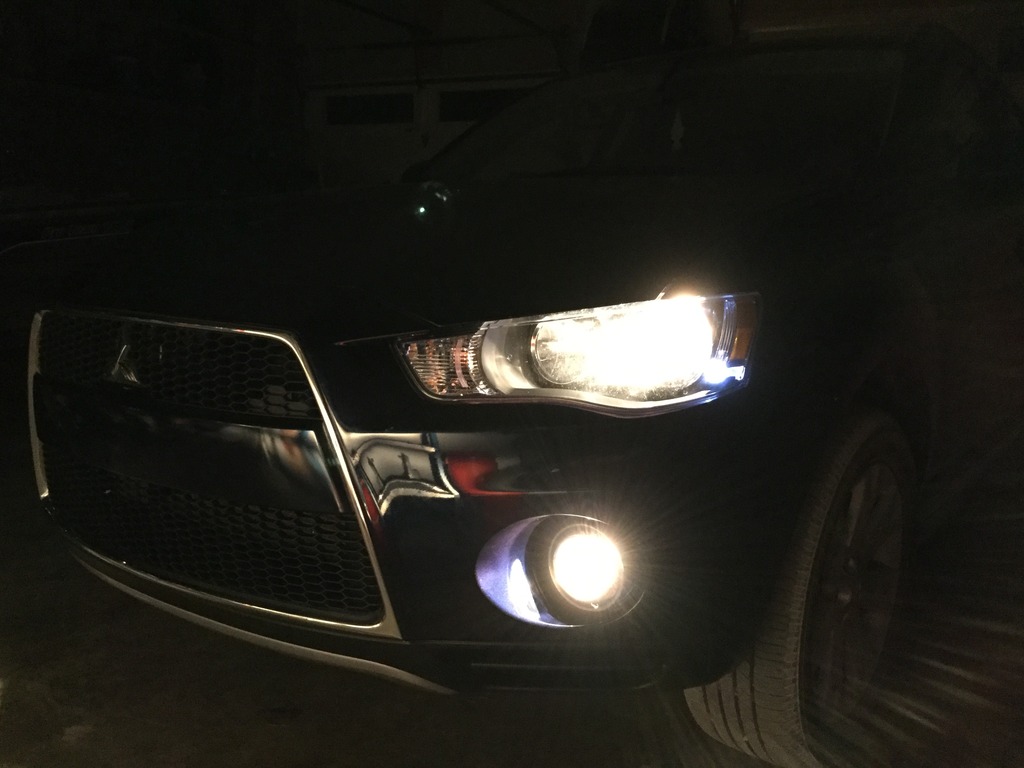
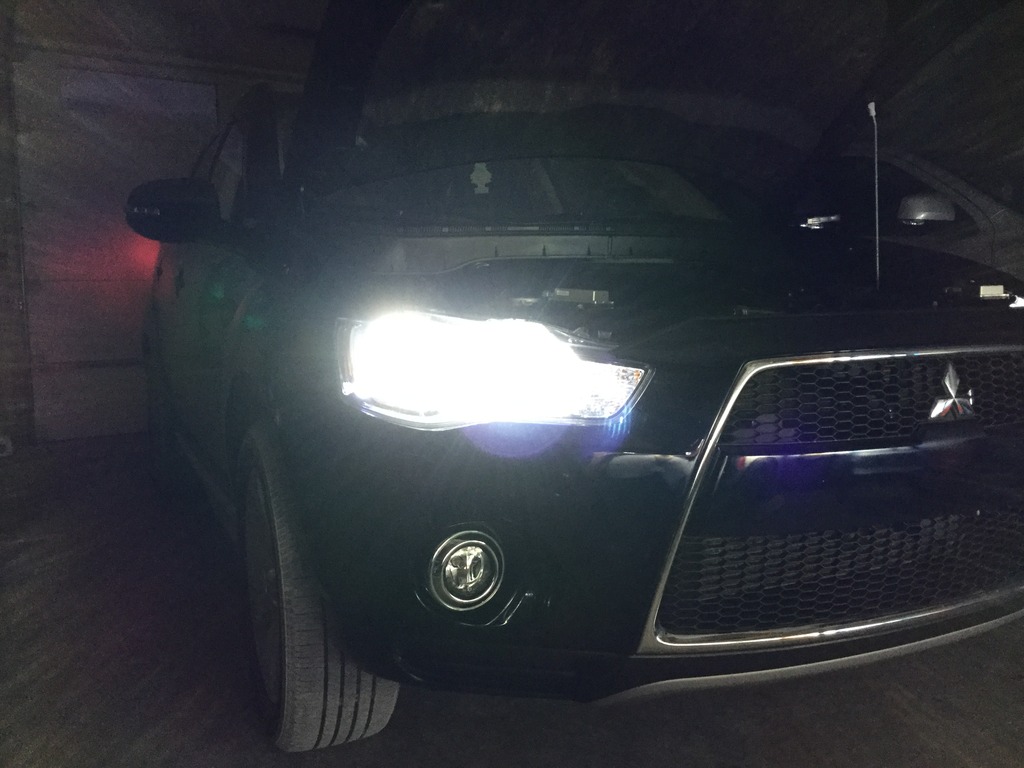
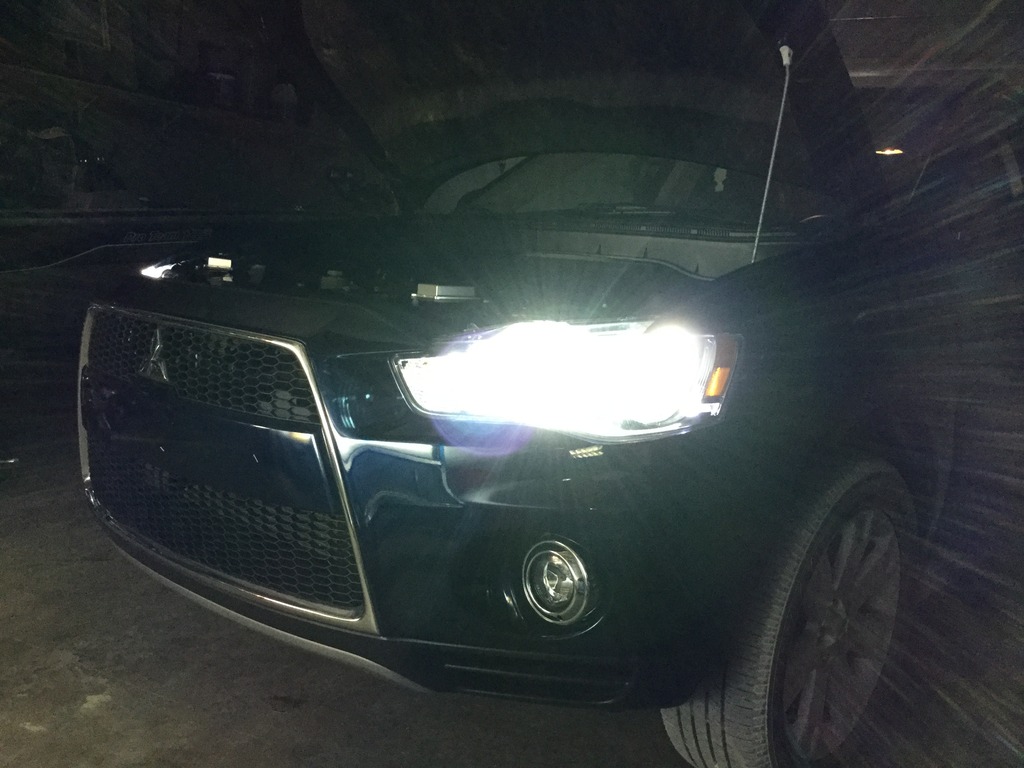
5000k HID low with halogen fog...
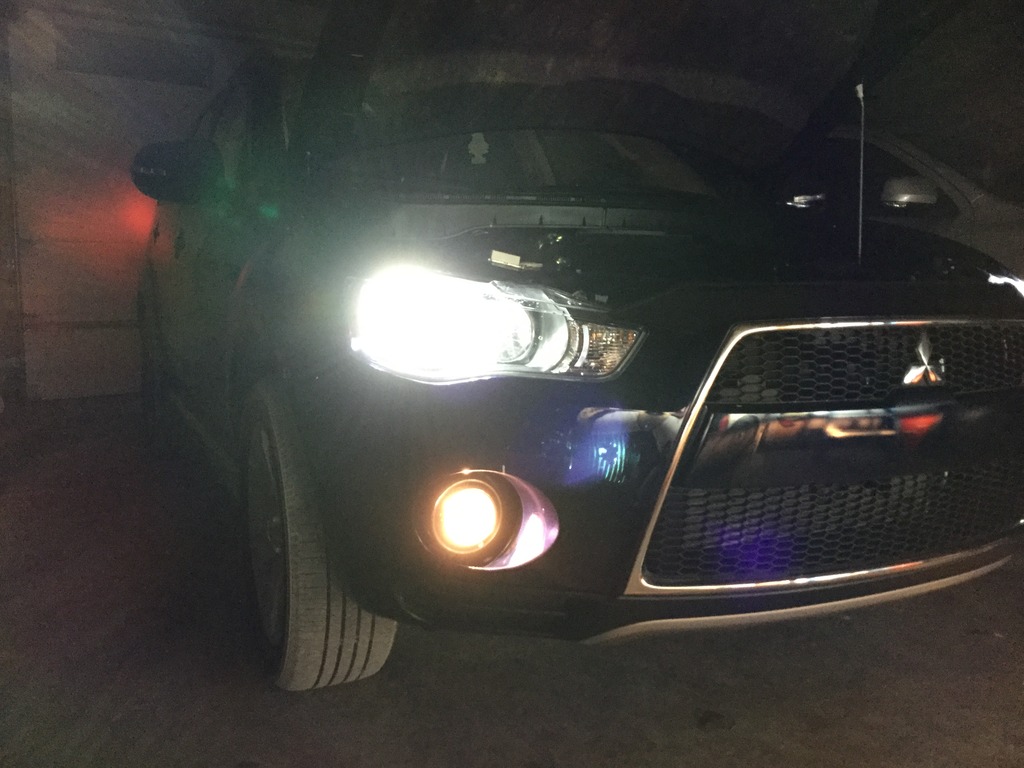
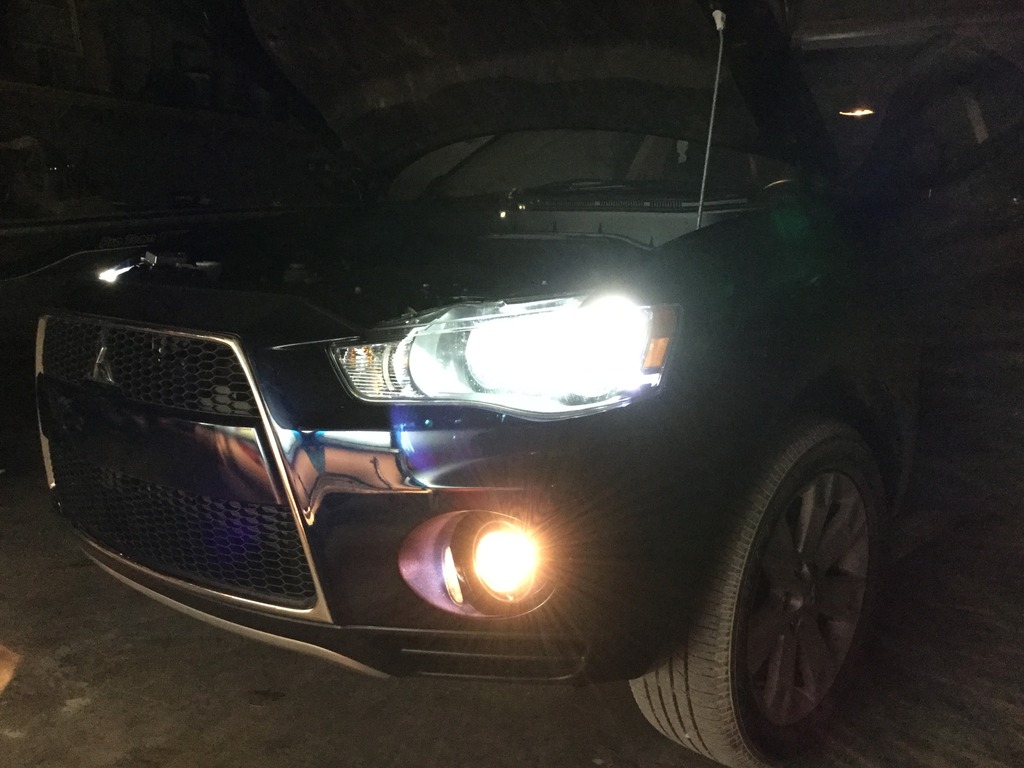
5000k HID low with halogen high...
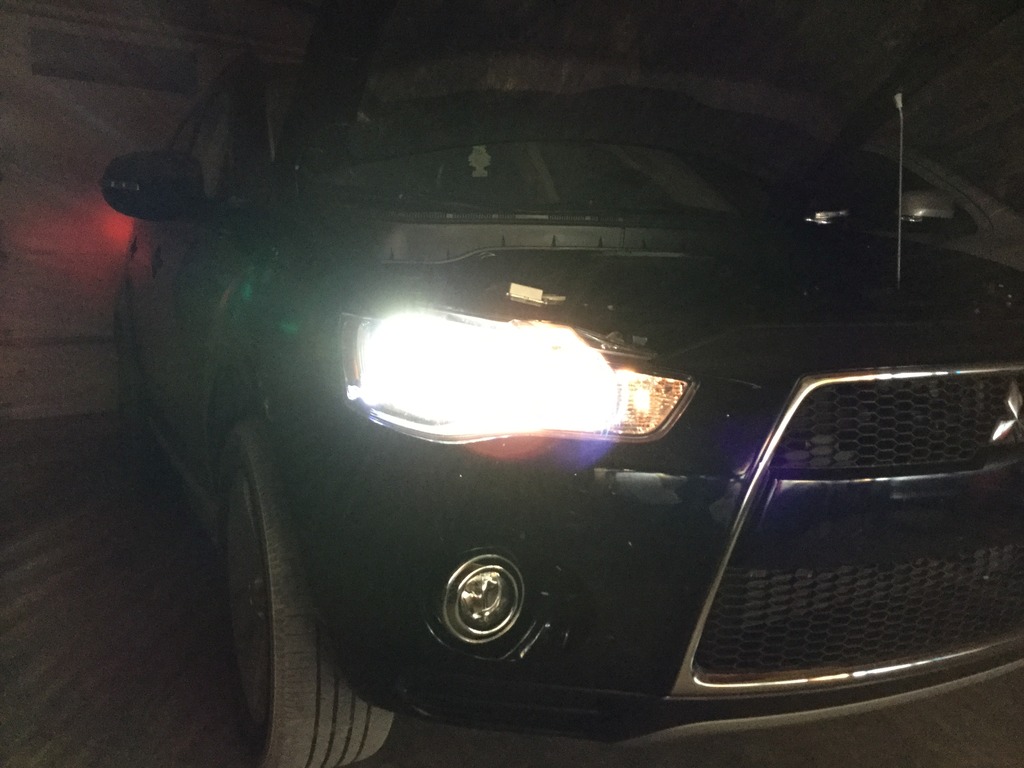
5000k HID low and 5000k HID high...


Halogen high (obviously with low halogen too)...


5000k HID low with halogen fog...


5000k HID low with halogen high...


5000k HID low and 5000k HID high...


Last edited by caskey_b; Oct 12, 2015 at 11:54 AM.
Thread Starter
|
Senior Member
Joined: Sep 2015
Posts: 174
From: Iowa
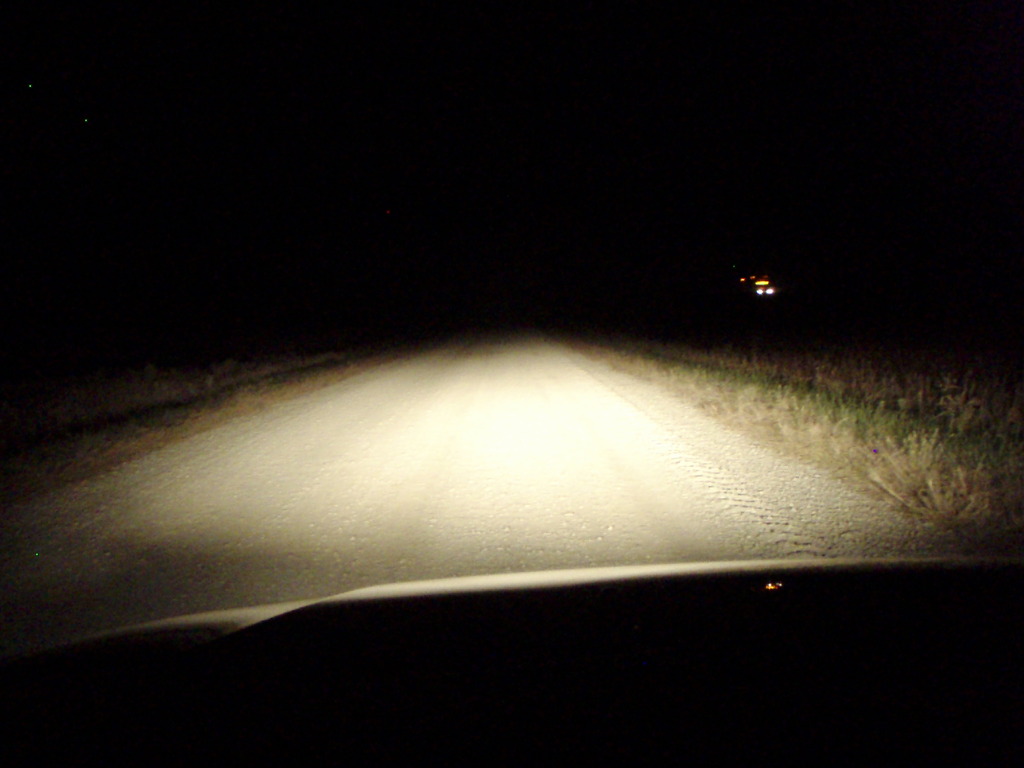
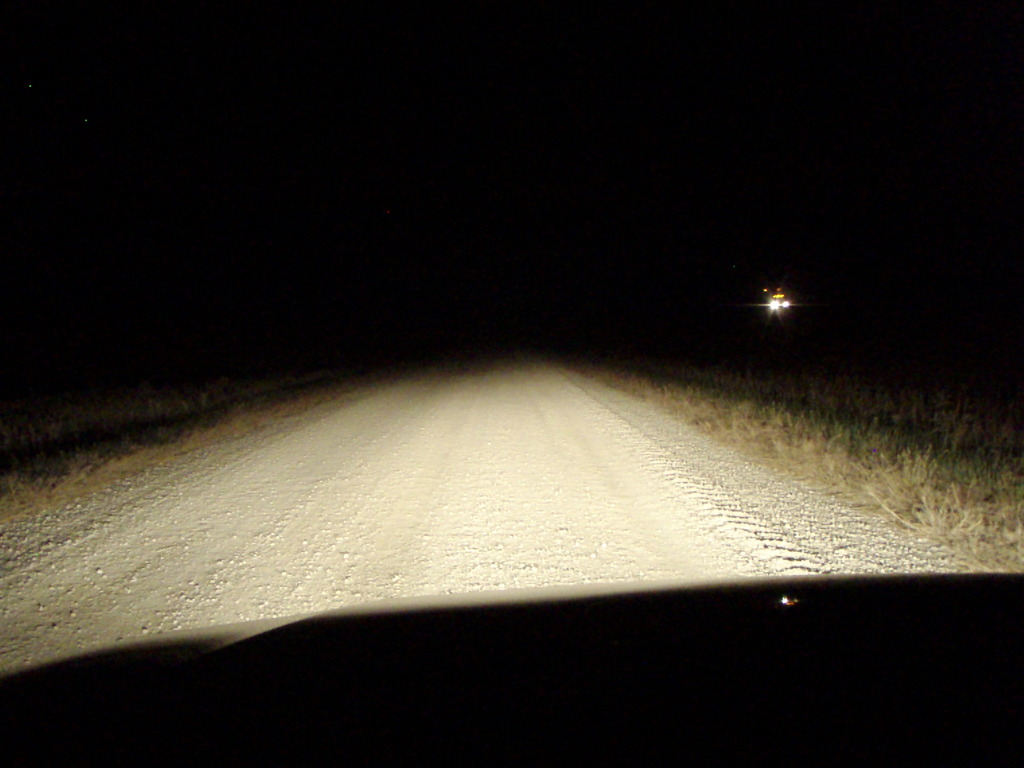
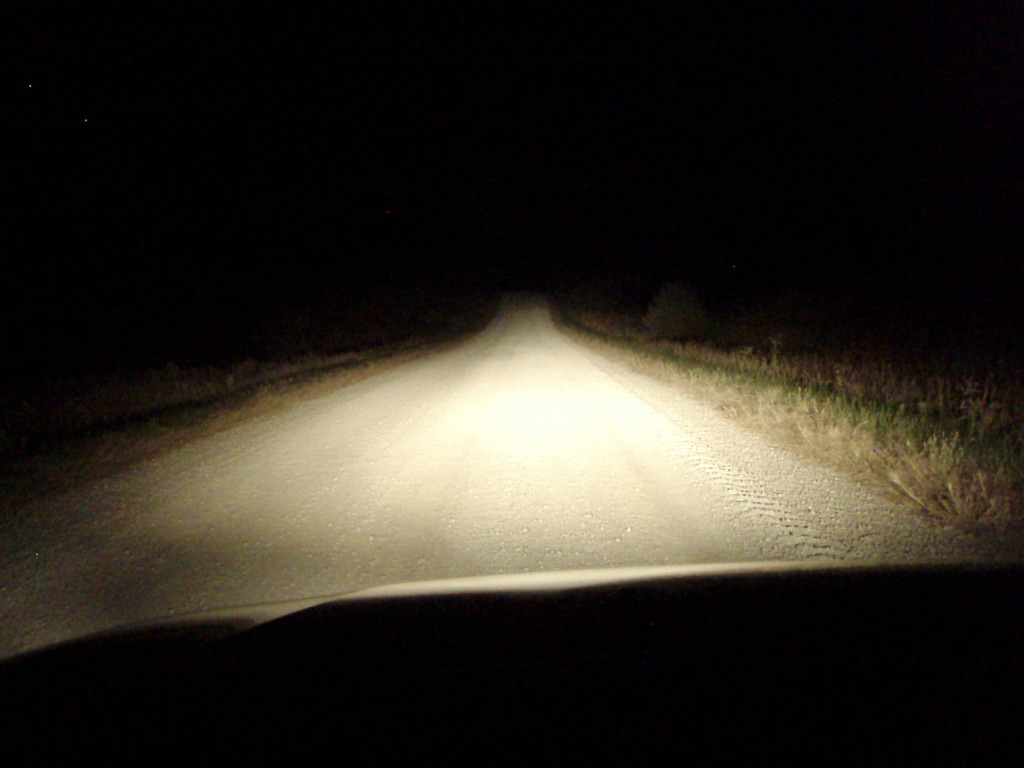
Road view....
Halogen low...
Halogen low with halogen fog...
Halogen high (obviously with low halogen too)...
5000k HID low...
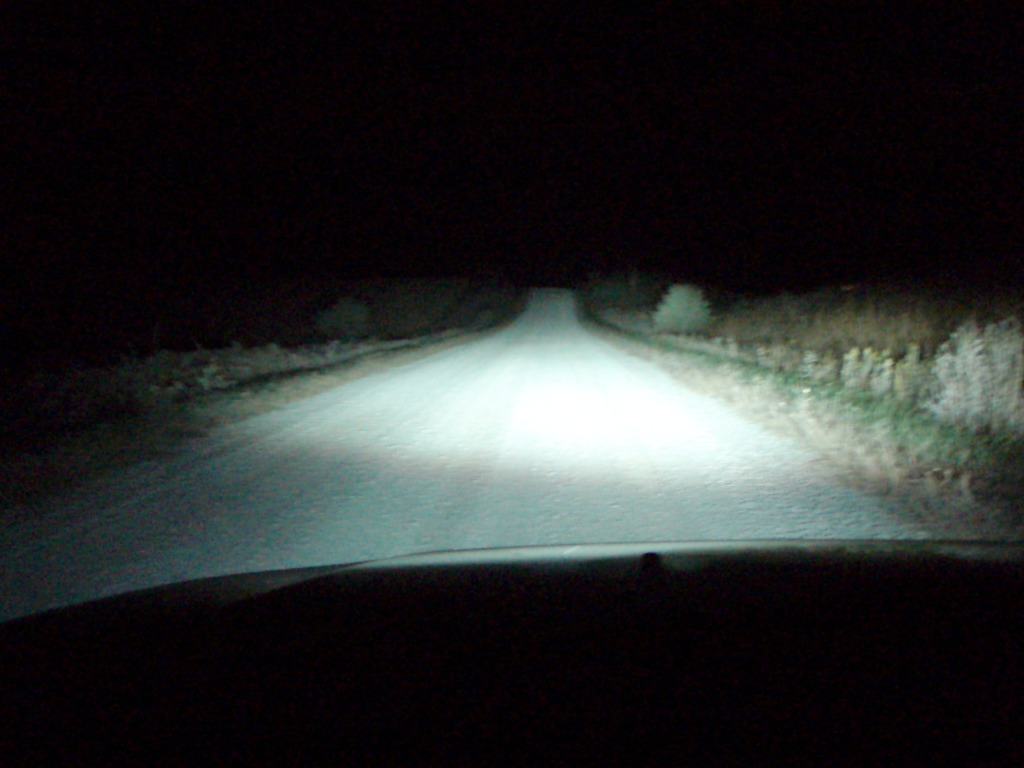
5000k HID low with halogen fog...
5000k HID high and low...
Halogen low...

Halogen low with halogen fog...

Halogen high (obviously with low halogen too)...

5000k HID low...

5000k HID low with halogen fog...

5000k HID high and low...

Last edited by caskey_b; Oct 30, 2015 at 05:03 AM.


Thread Starter
|
Senior Member
Joined: Sep 2015
Posts: 174
From: Iowa
Installing bulbs is pretty self-explanatory..
Here is where I grounded both relays. It's on the driver side right in front of fuse box under hood.
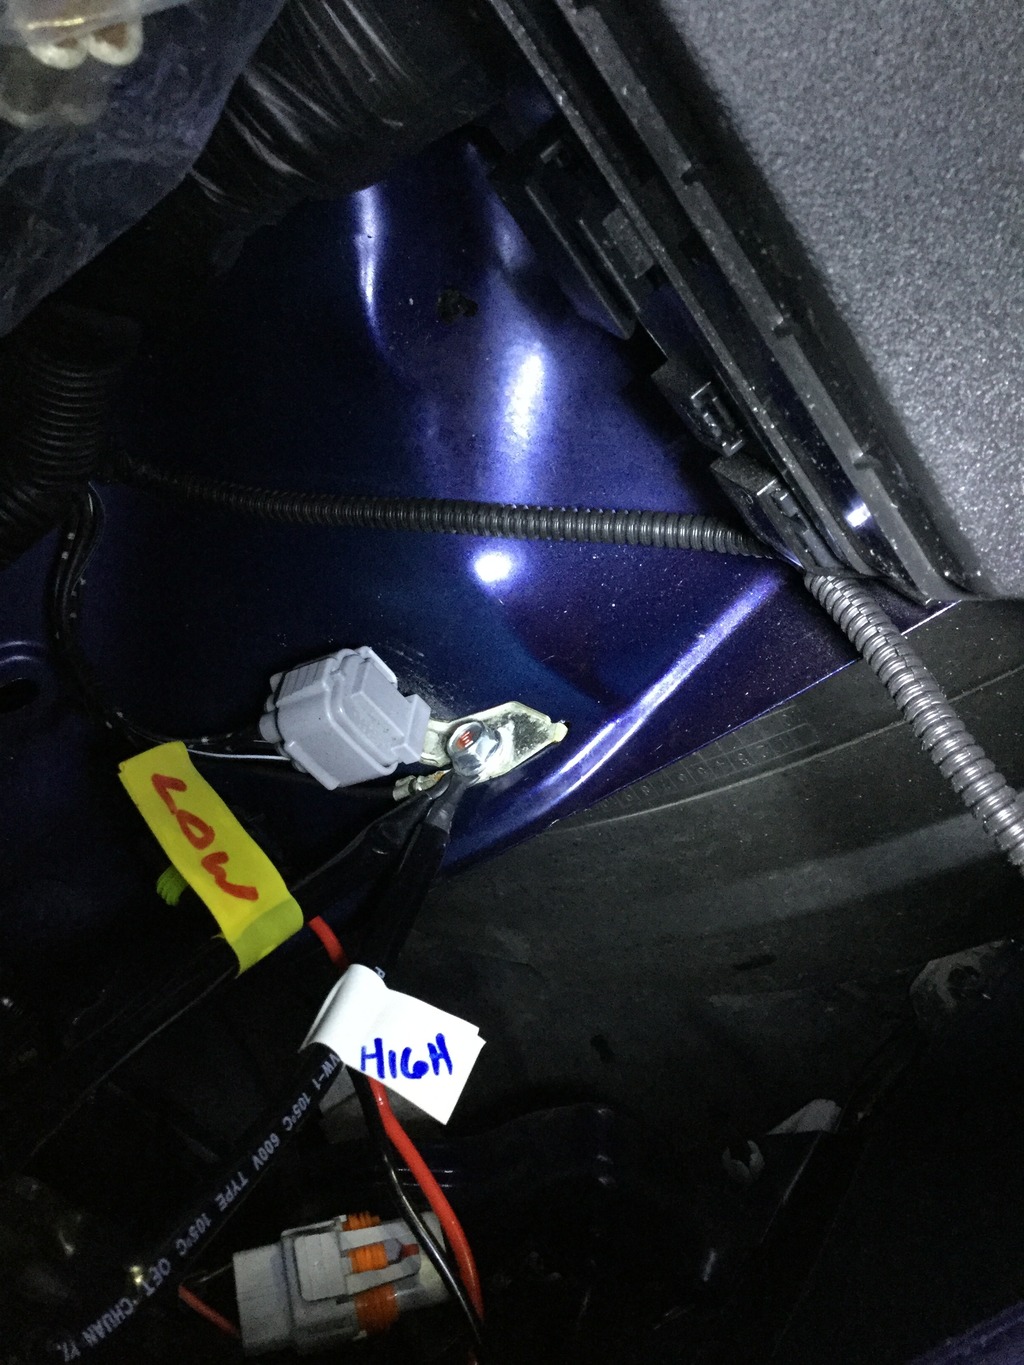
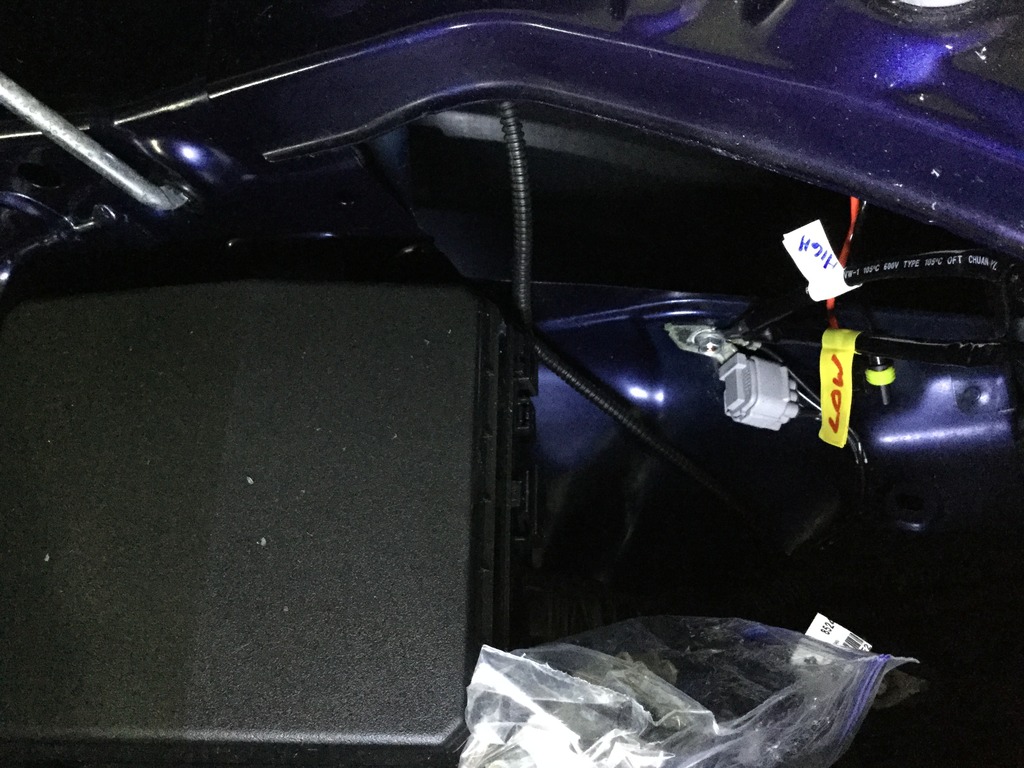
You will see I labeled every single connection (high and low) when installing. Once wires are tucked away neatly, it's very difficult to follow wires if you do end up needing to replace a bulb, ballast, relay, etc. Precautionary measures!!!
And hot relays got hooked directly to positive lug on battery...

Last edited by caskey_b; Oct 14, 2015 at 10:13 PM.


Thread Starter
|
Senior Member
Joined: Sep 2015
Posts: 174
From: Iowa
Routing relay wiring to passenger side of vehicle...
Under intake mounting location..
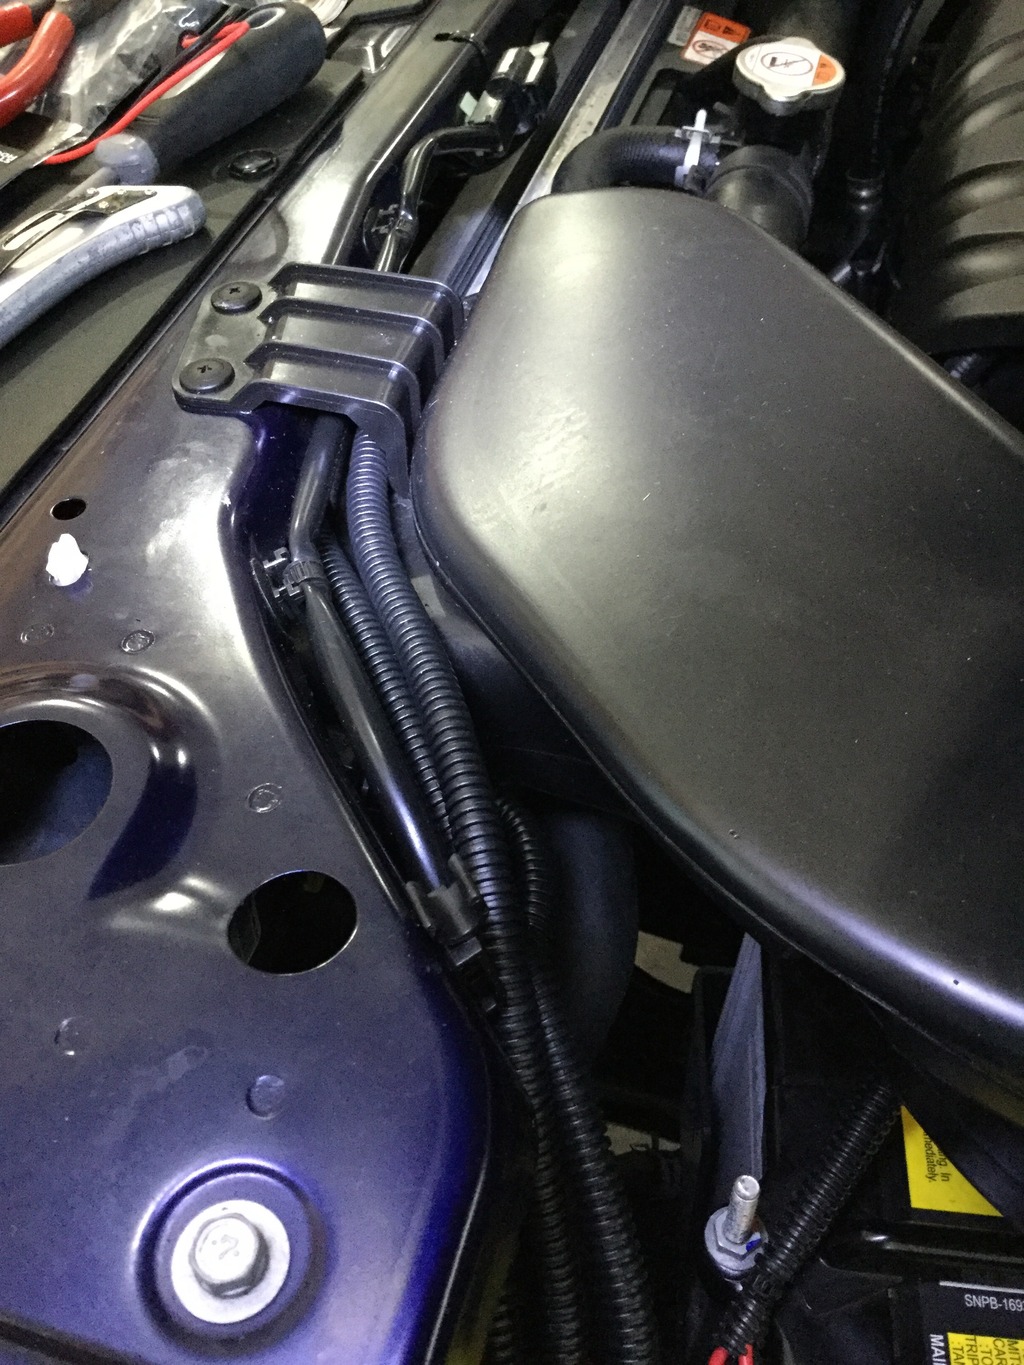
And above radiator, tucked away under this panel (can see zip-ties where relay wiring is hidden underneath)...
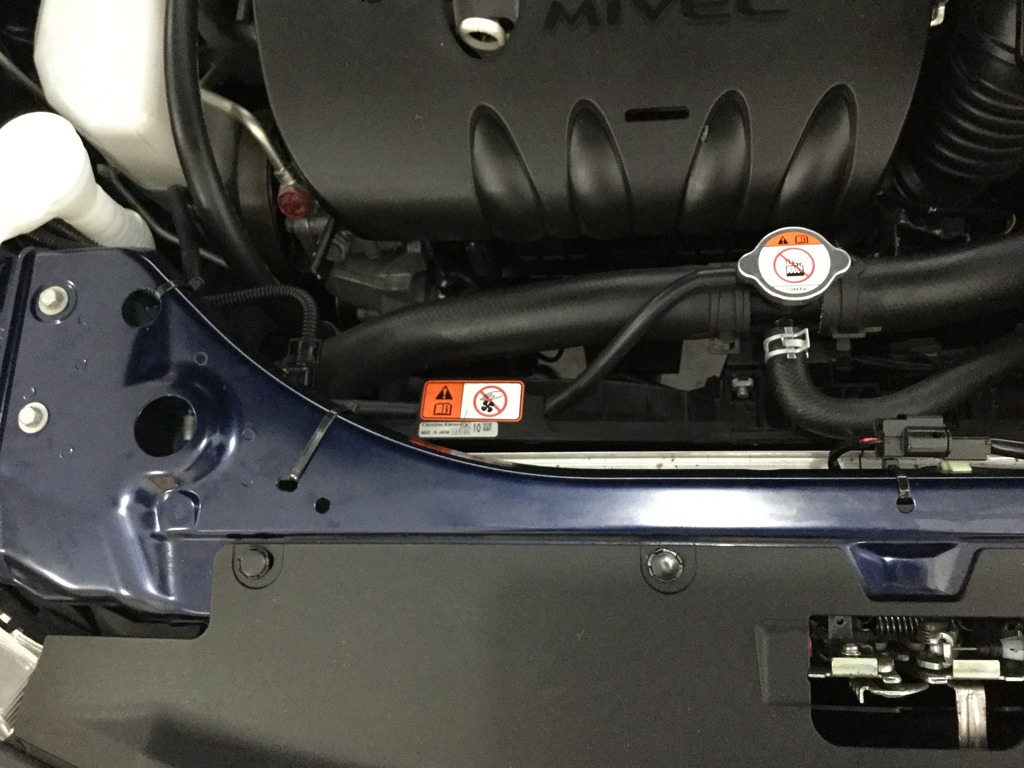
Behind washer fluid fill neck on passenger side...
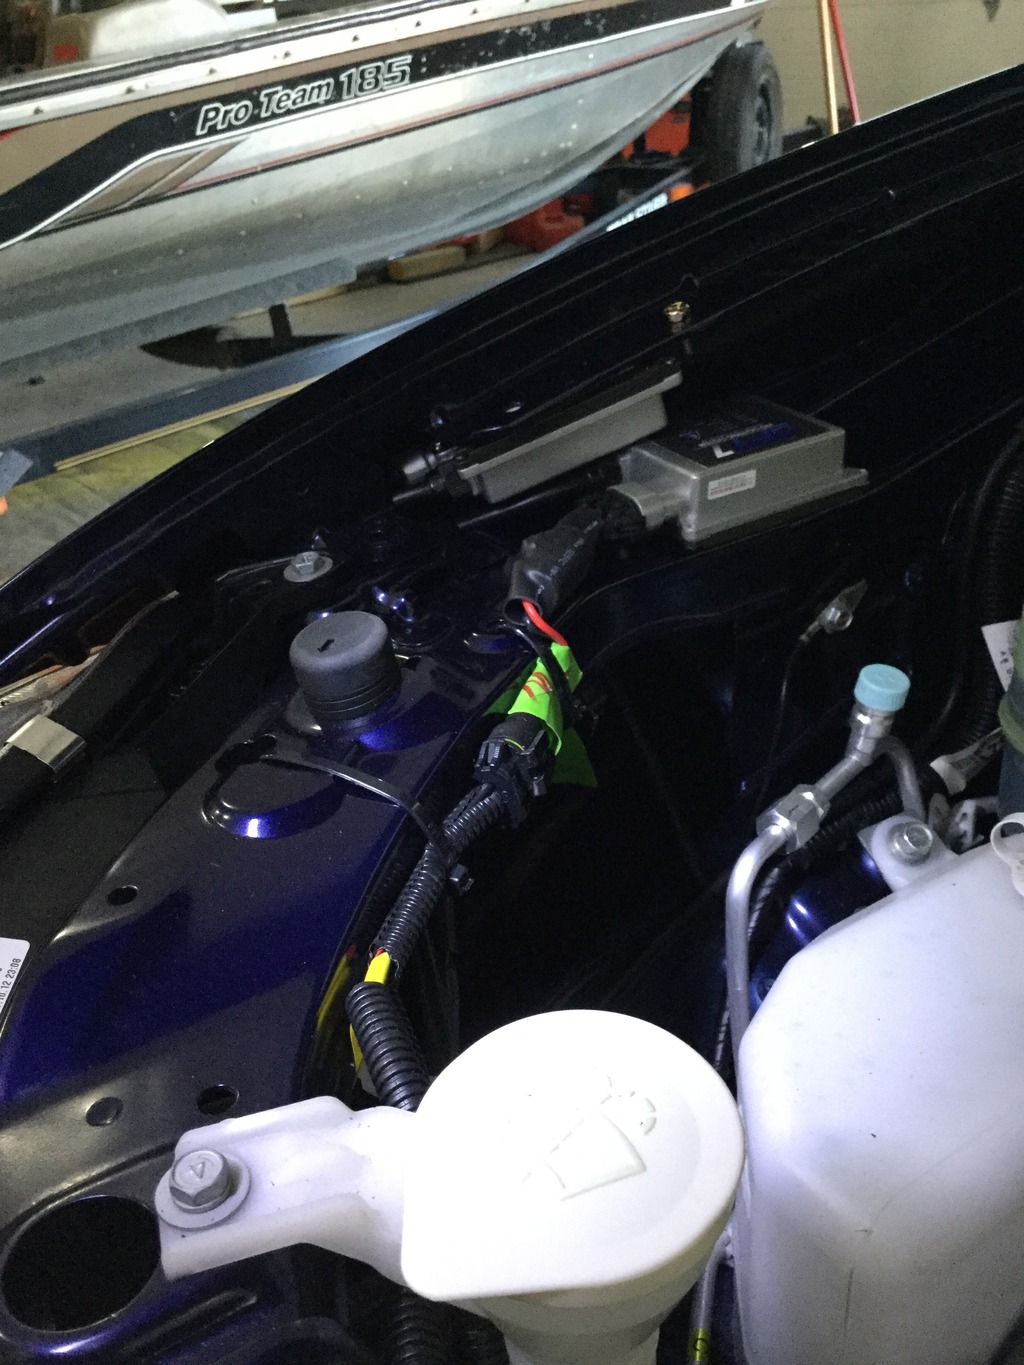
And ballasts for passenger side lamps I could not mound exactly the same way as driver side without cutting and splicing relay so they are mounted a little different.
Last edited by caskey_b; Oct 14, 2015 at 10:16 PM.
Thread Starter
|
Senior Member
Joined: Sep 2015
Posts: 174
From: Iowa
*********IMPORTANT NOTE IF DOING HIGH BEAM HIDS**********
This particular model year, 2013, and I would assume all other 2010-2013 at least, have a dust cover that screws on for the high beam bulb... You will have to drill a 7/8" hole next to the factory grommet that allows the factory wiring through...
The good news is this kit come with a rubber grommet so a 7/8" hole is perfect and I silicone'd it up after to ensure a good seal (better than the factory grommet seal in my opinion).
Thread Starter
|
Senior Member
Joined: Sep 2015
Posts: 174
From: Iowa
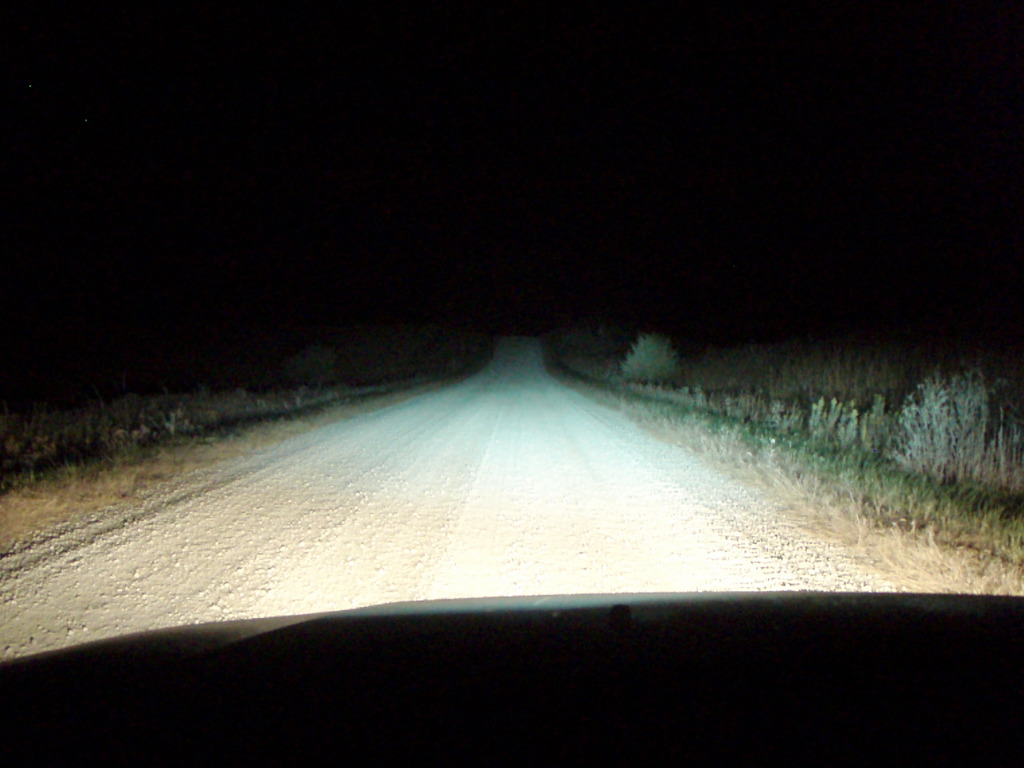
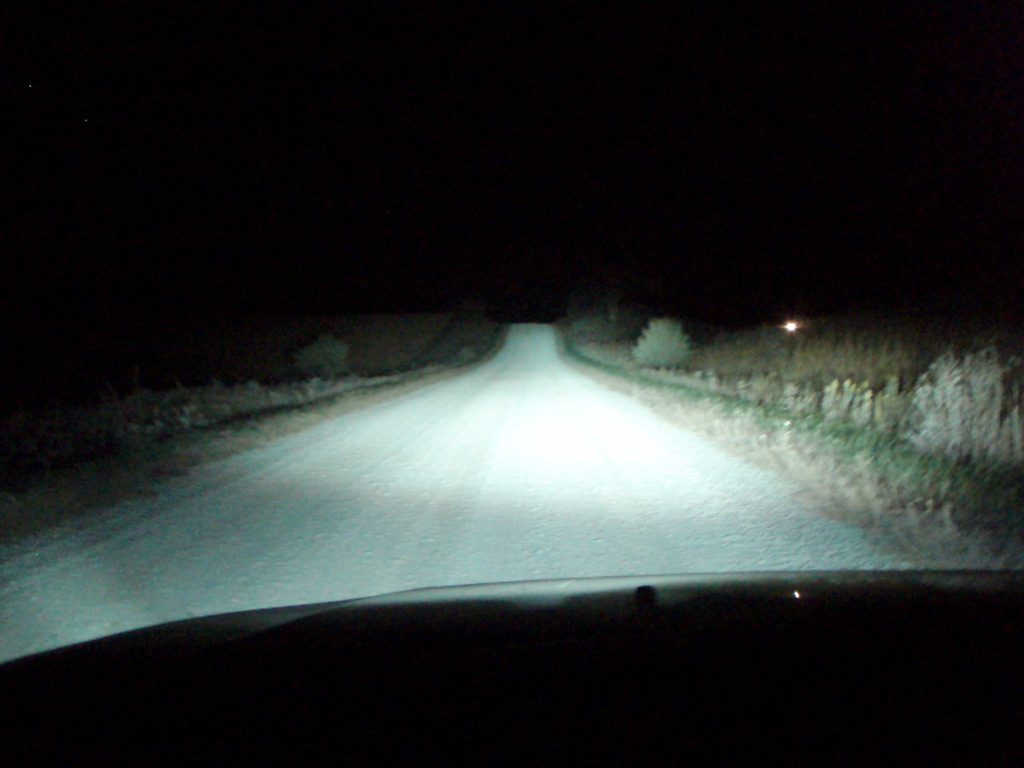
Road pics updated...
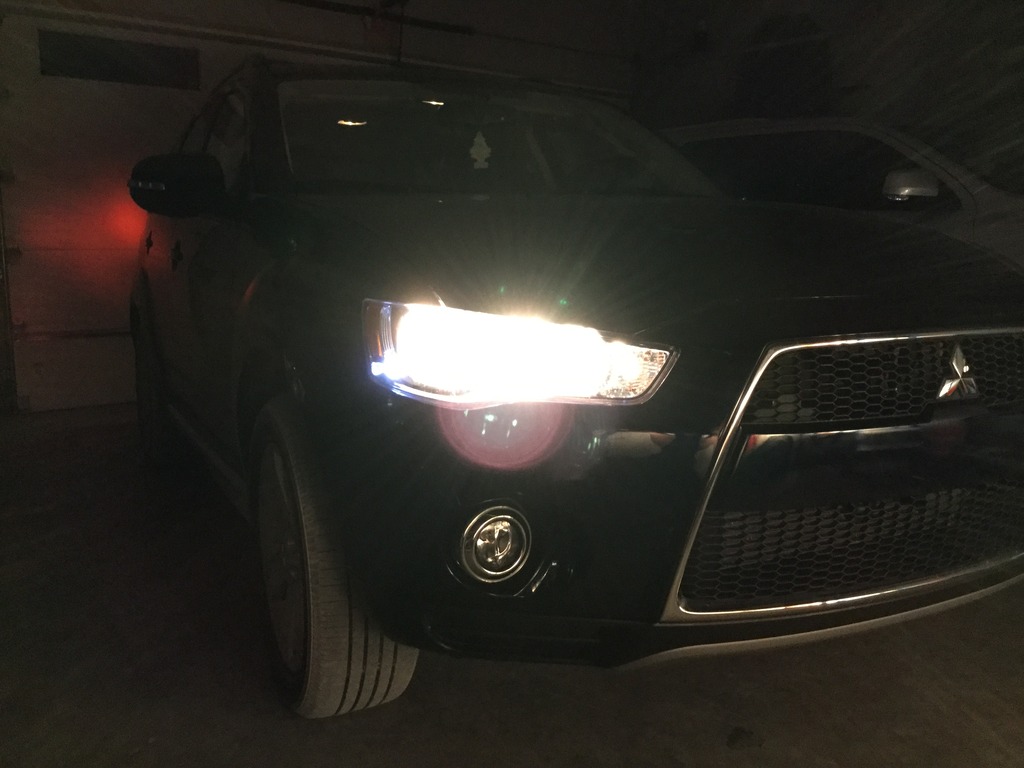
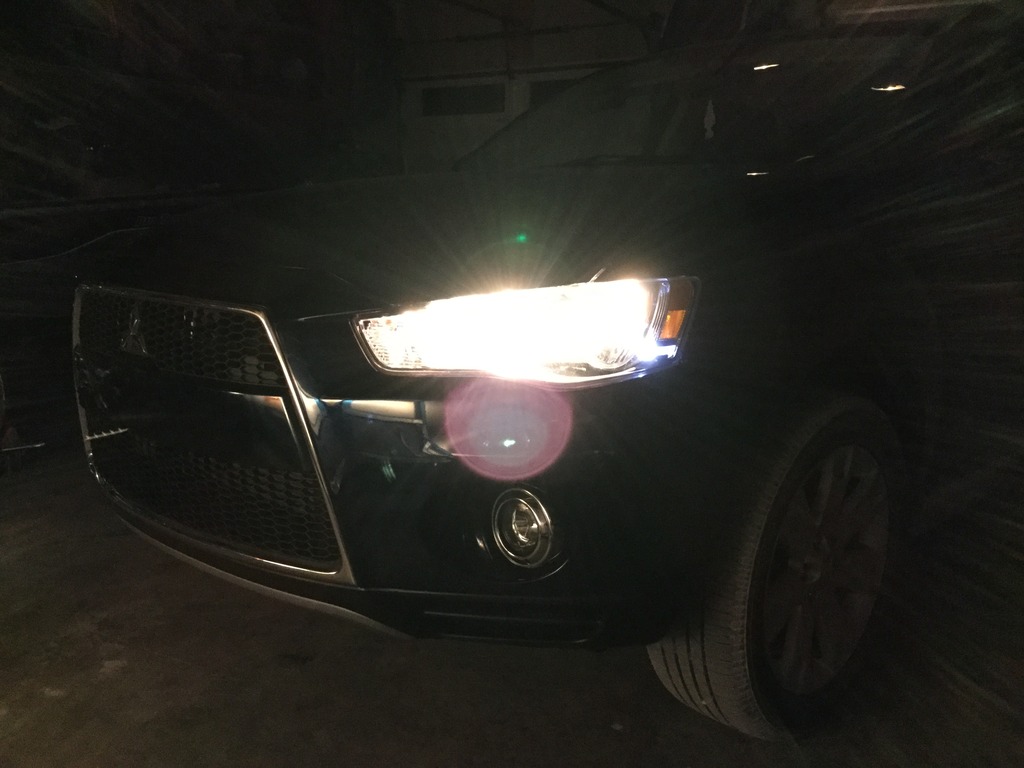
Night and day difference between halogen and HID. I adjusted the height a little after installing the HIDs, they were a little too low and could really tell after installing the HIDs.
Excellent light output now!!!
Night and day difference between halogen and HID. I adjusted the height a little after installing the HIDs, they were a little too low and could really tell after installing the HIDs.
Excellent light output now!!!

Thread
Thread Starter
Forum
Replies
Last Post
BrunoBoy650
Nitrous, Super Chargers, & Turbos
5
Apr 10, 2007 03:27 PM