
SMALL UPGRADES


Junior Member
Joined: Jun 2007
Posts: 22
Hello guys,
I just came back from holidays and tomorrow I go for next two weeks of holidays..
I'm glad You like this project and i will answer all Your questions in about two weeks.
I have already made three complets of these LED lights for my friends and You may see them on the roads, and I'm considering starting some bigger manufacture, so this back lights will be available from me worldwide..this still depends on my motivation
I thought about some options and this is what came to my mind:
I will give all the details for free, so you can make this on Your own,
or I can manufacture and send separate or a complet of:
Led diodes, Tuned LED lamps, controller and wires.
Cheers
Paul


Junior Member
Joined: Jun 2009
Posts: 12
From: Warsaw, Poland
Hi,
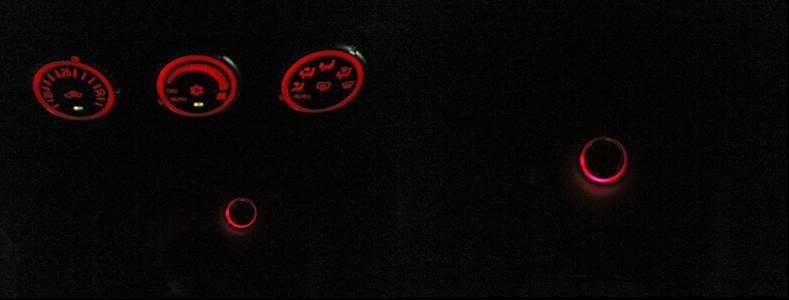
my holidays went fine with my family and Outi and as I come back, I will share some details about this set of backlights if someone tries to make it on his own.
Here is a photo of a friend's car with these backlights based on my conception:
http://www.fotosik.pl/pokaz_obrazek/...2495d2ada.html
http://www.fotosik.pl/pokaz_obrazek/...43dc8eb46.html


Senior Member
Joined: Aug 2007
Posts: 947
From: M�xico
Thank's 
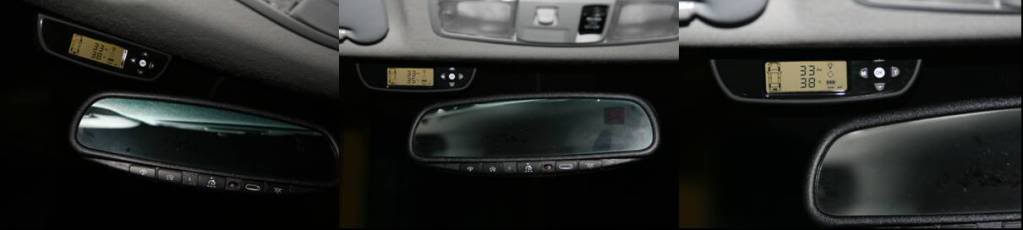
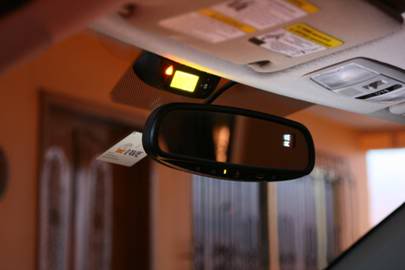
The mirror is GENTEX P/N 50-GENK60. More pics here in post # 29:
https://mitsubishiforum.com/forum/sh...t=17867&page=3
The mirror is GENTEX P/N 50-GENK60. More pics here in post # 29:
https://mitsubishiforum.com/forum/sh...t=17867&page=3

Junior Member
Joined: Jul 2007
Posts: 16
From:
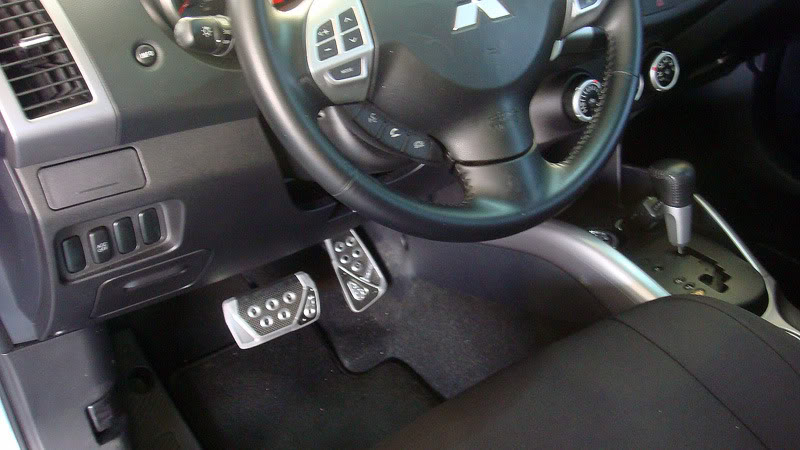
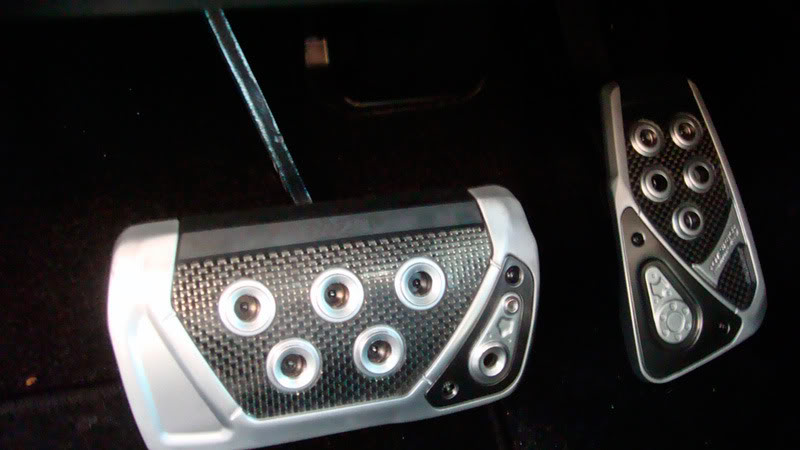
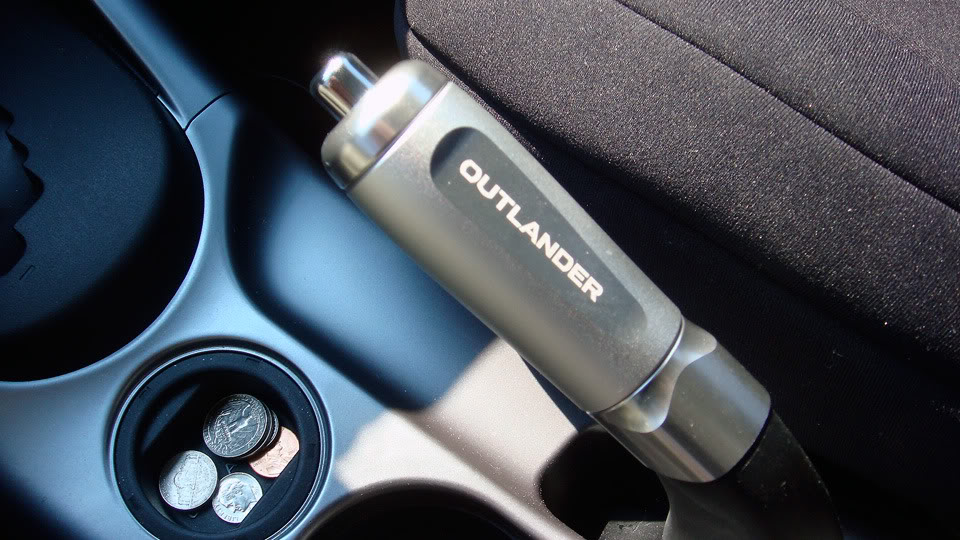
Added this the other day. Word of warning, your old brake grip will be trashed so there's no going back. The instructions call for heating your old brake grip with a hair dryer and then to pull it off. I tried it but it's stuck on really tight. I continued heating it and eventually the top layer started to fade and age and discoloartion, etc... still no go. So instead I just cut it off. It's a thick rubber. Anyway, once that was off, installing the aluminum grip is a cinch. Just slide it on and tighten two screws. It's surprisingly heavy. Has a nice weight to it and feels really good to grip; fills your hand out more. Here's some pics along with the instruction manual.
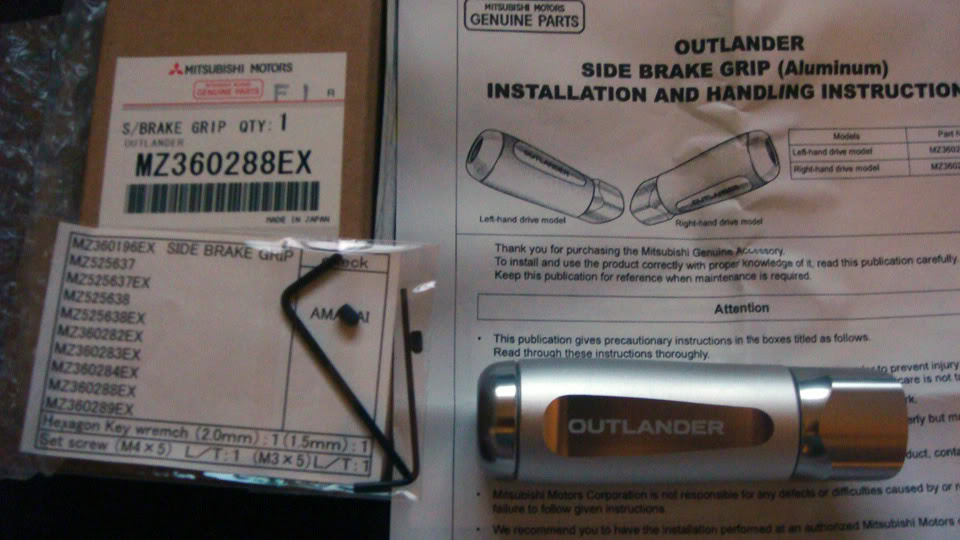

Manual:
http://www.fileden.com/files/2008/12...MZ360288EX.pdf
Manual:
http://www.fileden.com/files/2008/12...MZ360288EX.pdf