
Aftermarket Mudguard Installation


Thread Starter
|
Senior Member
Joined: Oct 2007
Posts: 293
From:
As you all know, dealership mudguards are over priced. My dealer wanted 170 CND for a set of four. No way am I getting those.
I remember that one member on this forum purchase "Powerflow" Splash Guards, and it should fit with some cutting and modifications. You can get them at Canadian Tire in Canada. However, the pictures in that threads are dead, so you could only read the instructions told. You will need Powerflow Profit "4" type.
Apprently, the rear will fit on without any modifcation, fronts will require some cutting.
I only did the fronts for now because Canadian Tire had no stock.
Here is a quick write up:
-REMEMBER when cutting. Cut in small portions. Think twice, Cut Once
You need more screws and 4 body clips. Package only comes with 2 mudguards + 6 screws.
You need a basic tools, knife, screw driver (flat + phillips)
1 - Remove the 3 clips on each side of the wheel well
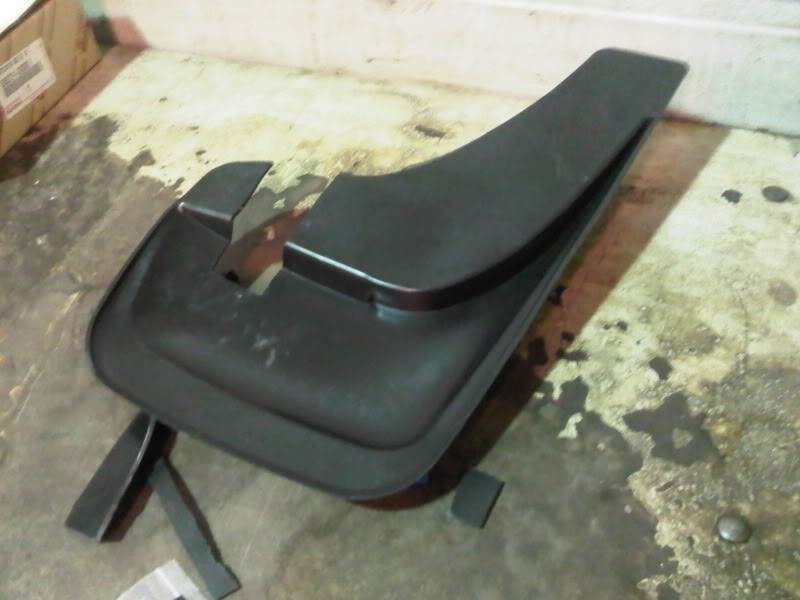
2 - Fit splash guards onto position. At this point, you will know what to need to be cut.
3 - Cut slash guards. Note, these are made of soft rubber, any sharp knife can cut it.
4 - After cutting, fit onto position to see if it sits how you want it to be.
5 - Place in 2 self tapping body clips on the 2 holes on the body. Its behind the plastic shield. You could get these clips at any hardware store or automotive store.
6 - Screw 2 screws on each clips, which will then secure splash shield. I then screw 2 more screws on the lower part, onto the plastic. Package only comes with 6 screws. Get more!
7 - I then super glue the little flap onto the body of the car. You cant use screws because body is metal. I don't know how long that can last on there. Need to think of another solution.
8 - All done!
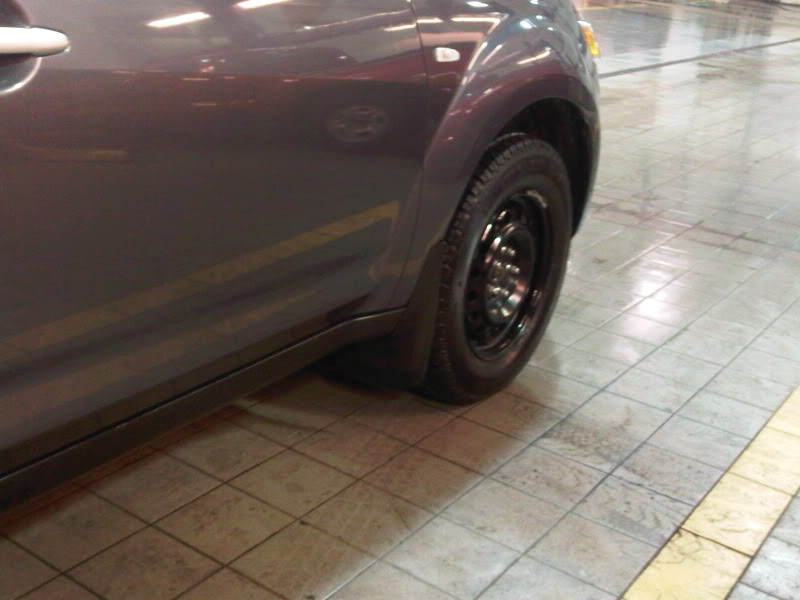
Left Side:
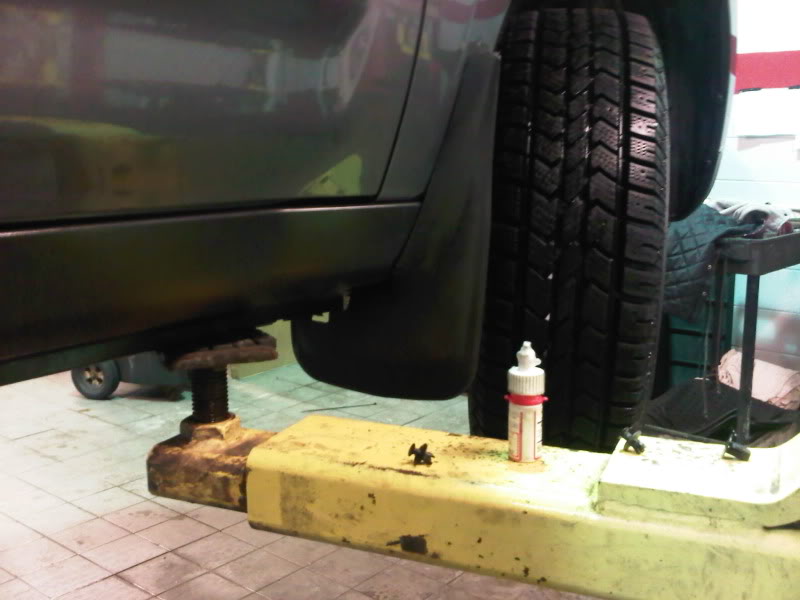
This side, I mess up. I cut too much. Again, think twice before cutting.
I end up gluing a smaller piece onto the gap. Its less noticeable.
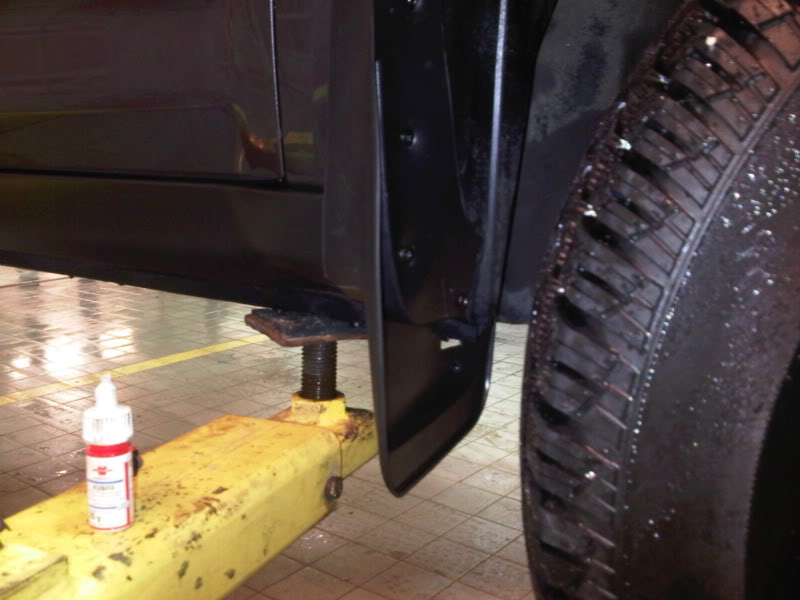
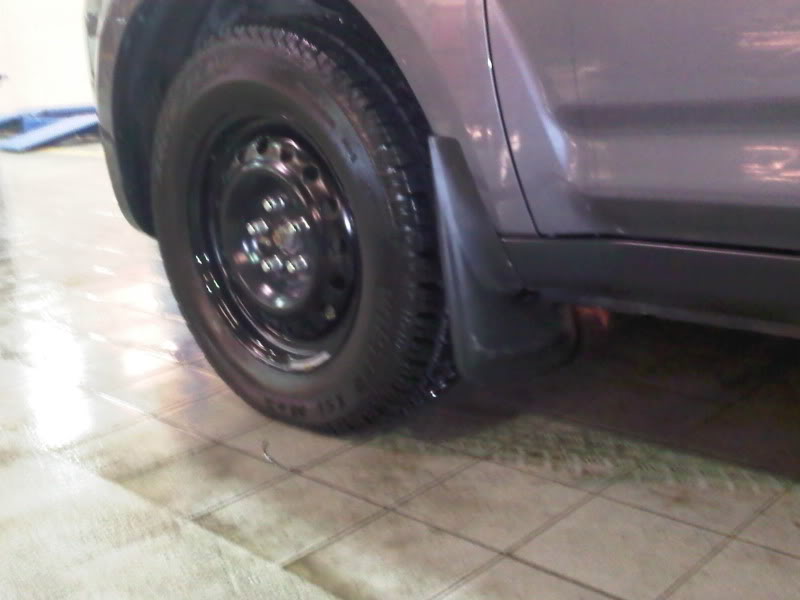
Right Side:
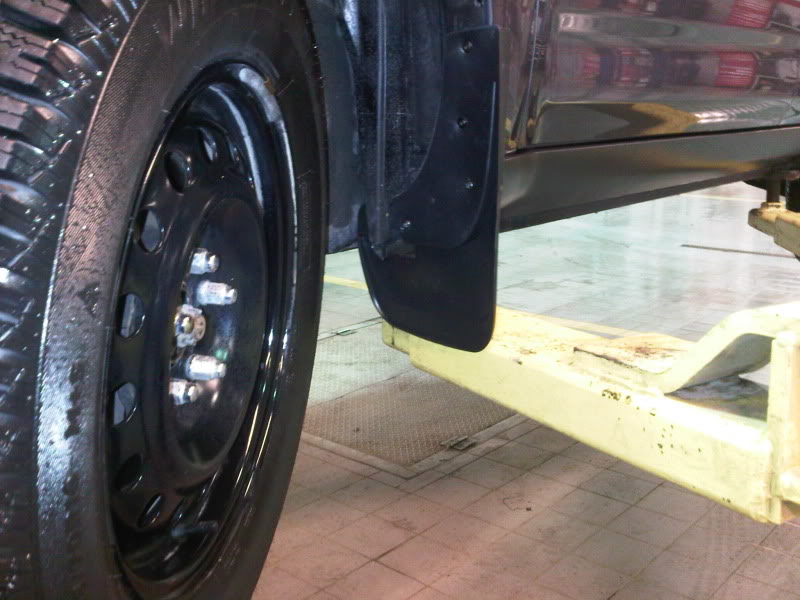
This side is much better. Notice the second picture. That amount cut off is right on!

These are the body clips you will need for the screws to hold onto.
Price of Parts: 20.99 CND!
I remember that one member on this forum purchase "Powerflow" Splash Guards, and it should fit with some cutting and modifications. You can get them at Canadian Tire in Canada. However, the pictures in that threads are dead, so you could only read the instructions told. You will need Powerflow Profit "4" type.
Apprently, the rear will fit on without any modifcation, fronts will require some cutting.
I only did the fronts for now because Canadian Tire had no stock.
Here is a quick write up:
-REMEMBER when cutting. Cut in small portions. Think twice, Cut Once
You need more screws and 4 body clips. Package only comes with 2 mudguards + 6 screws.
You need a basic tools, knife, screw driver (flat + phillips)
1 - Remove the 3 clips on each side of the wheel well
2 - Fit splash guards onto position. At this point, you will know what to need to be cut.
3 - Cut slash guards. Note, these are made of soft rubber, any sharp knife can cut it.
4 - After cutting, fit onto position to see if it sits how you want it to be.
5 - Place in 2 self tapping body clips on the 2 holes on the body. Its behind the plastic shield. You could get these clips at any hardware store or automotive store.
6 - Screw 2 screws on each clips, which will then secure splash shield. I then screw 2 more screws on the lower part, onto the plastic. Package only comes with 6 screws. Get more!
7 - I then super glue the little flap onto the body of the car. You cant use screws because body is metal. I don't know how long that can last on there. Need to think of another solution.
8 - All done!
Left Side:
This side, I mess up. I cut too much. Again, think twice before cutting.
I end up gluing a smaller piece onto the gap. Its less noticeable.
Right Side:
This side is much better. Notice the second picture. That amount cut off is right on!
These are the body clips you will need for the screws to hold onto.
Price of Parts: 20.99 CND!
Last edited by ShortyRider; Feb 17, 2011 at 09:24 PM.


Thread
Thread Starter
Forum
Replies
Last Post
rdenis
Mitsubishi Outlander
200
Nov 6, 2020 07:36 PM
mehr_ak
Mitsubishi Outlander
3
Oct 13, 2013 01:34 PM